


Easy Whole Wheat Bread
This is the easiest bread recipe you’ll find. There are only a handful of ingredients and the recipe is very forgiving.
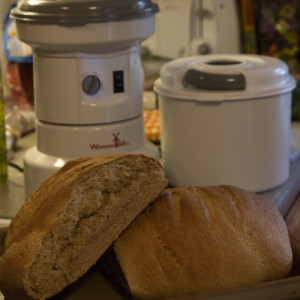
I have mostly used wheat for grinding into flour for biscuits, pancakes and corn bread. This was my first attempt at bread from scratch. The results were perfect and the recipe gave me two generous loaves so I was able to share one with my neighbors who also loved it. Now my neighbor is looking to get a grain mill for herself so she can bake great whole grain bread at home.
I used our Kitchenaid mixer to do most of the work. This saved time time and effort but if you don’t have one you can do this all by hand.
The prep time below does not include time spent letting the bread rise, oven heat up or the overhead of me filming everything and talking about it for my youtube video (scroll to the bottom of the page for the video).
- 24 ounces hard red wheat berries
- 24 ounces hard white wheat berries
- 1 tablespoon salt
- 2 tablespoons yeast
- 6 tablespoons sugar
- 4 cups 110 degree water
- little oil (I used olive oil) to grease the bowl and pan
- Measure out 24 ounces of hard red and white wheat and put into a bowl for sorting (this will total 48 ounces which is more then I say in the video but I needed extra. This should cover it)
- Put wheat berries on a plate and search for stones discarding any you find. Put only enough wheat that when you shake the plate you end up with a single layer. The stones will be either black or grey.

Sort through wheat berries for stones
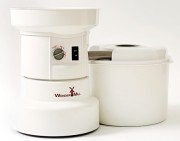
- Once all stones are removed turn the dial on the WonderMill to bread, turn on the WonderMill and pour wheat berries into hopper. It takes about three minutes to grind.

Pour wheat into hopper
- After flour is ground assembly all the ingredients and move over to the mixer. Add four (4) cups of flour to the mixer and then add the salt, yeast and sugar.
- Mix the ingredients until equally incorporated and then add four (4) cups 110 degree water while the mixer is mixing.

Add water to dry goods and mix
- Next you are going to add flour until the dough pulls away from the sides of the bowl while the mixer continues to mix.

Add flour until it pulls from the sides of the bowl
- Once the dough pulls away from sides change to the dough hook on your mixer

Swap mixer for dough hook
- Continue mixing with the dough hook and adding flour a little at a time until it again pulls away from the sides of the bowl.

Mix until dough pulls away from the sides
- Once the dough hook pulls the dough from the sides you are ready to let the dough rise. It is better to error on a little less flour (and resulting with doughier dough) then more as you can get a loaf brick with too much flour.
- Using the mixing bowl remove the dough from the bowl into a temporary container and add a little oil to the bowl to keep the dough from sticking

add oil to rising bowl
- Place the dough in the mixing bowl and cover. Allow the dough to rise until it has doubled in size.

Allow dough to rise
- My rise time was about 20 minutes but it will vary.

Risen dough
- Once risen push the dough down and replace dough hook and kneed for under a minute

Use dough hook to kneed dough
- Next take a cookie sheet ( I used a stoneware one) and lightly oil

Oil stone before baking
- Place dough on cookie sheet, cut into two loaves and score the top

Cut Loaves and score top
- Heat oven to 410 degrees. allowing dough to rise on the stove while the oven heats
- Place cookie sheet in the oven for approximately 30 minutes
- Remove the cookie sheet when the top is a nice golden brown and enjoy

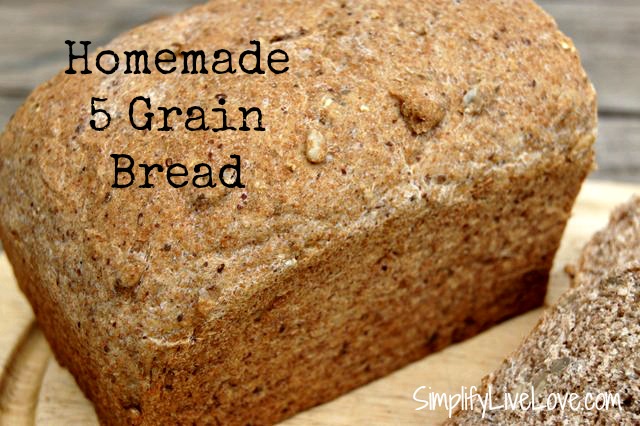
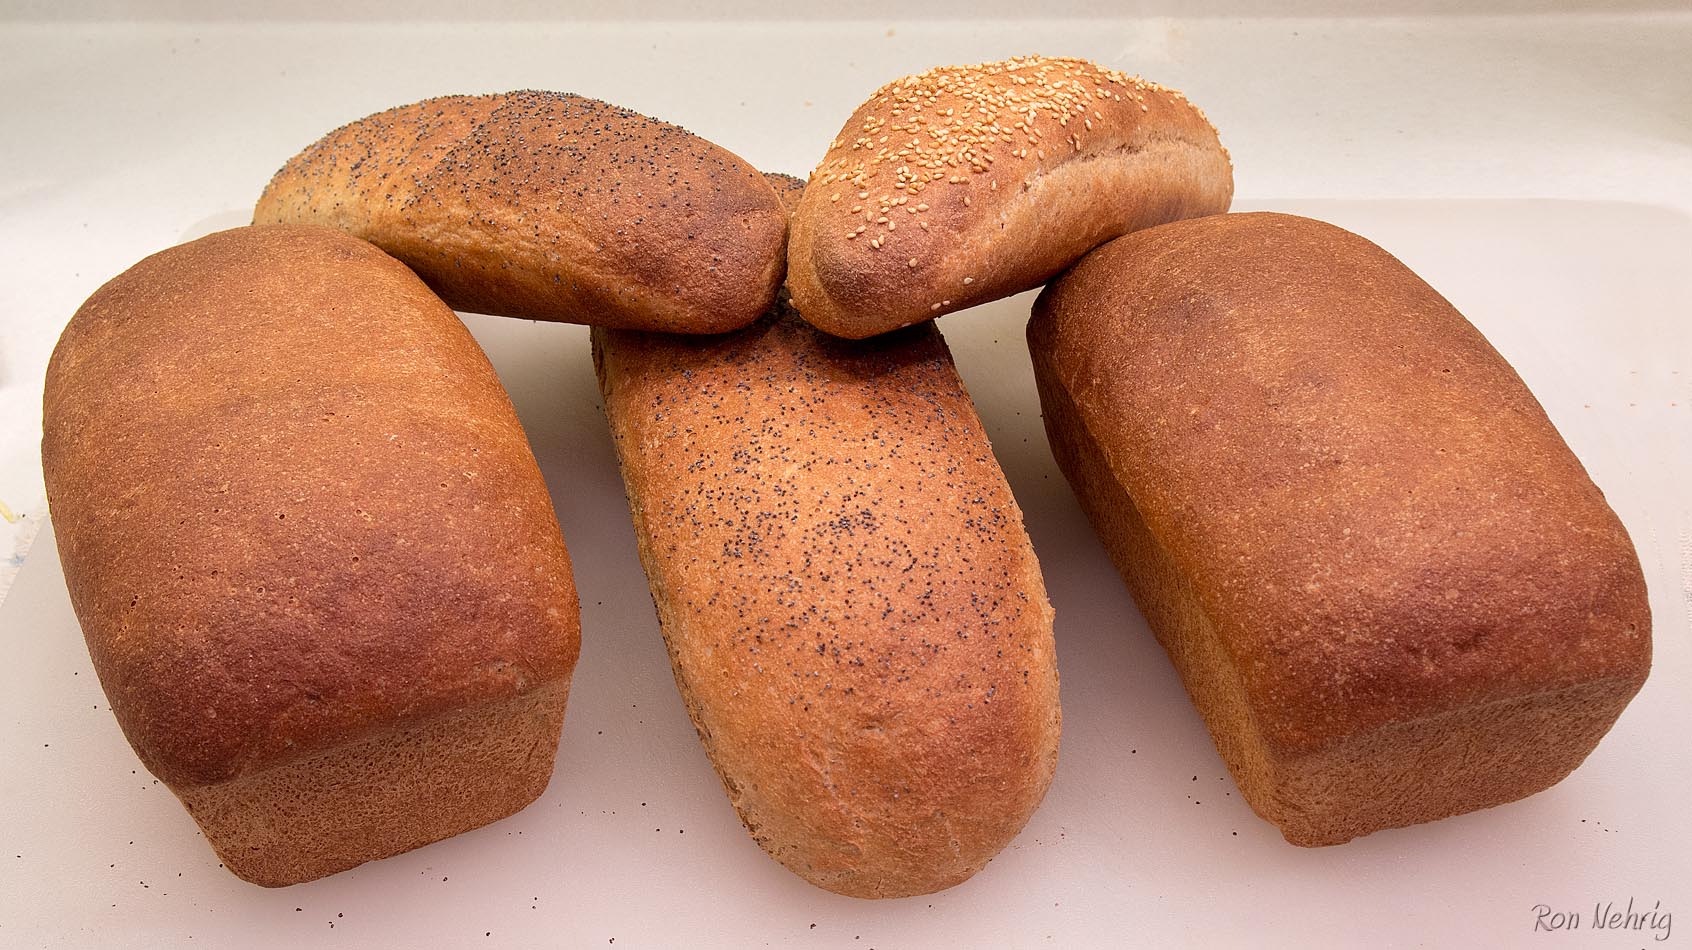
Finished loaves hot from the oven


2 Responses to Easy whole wheat bread made using Kitchenaid mixer