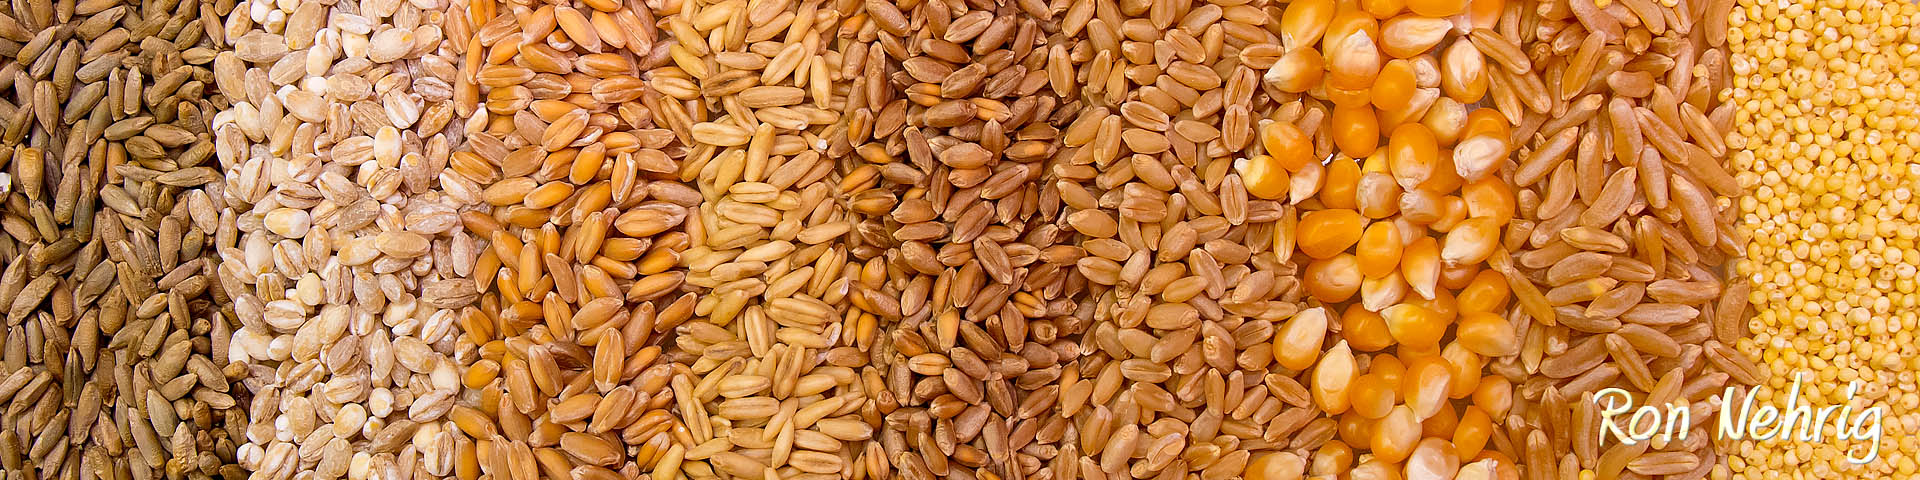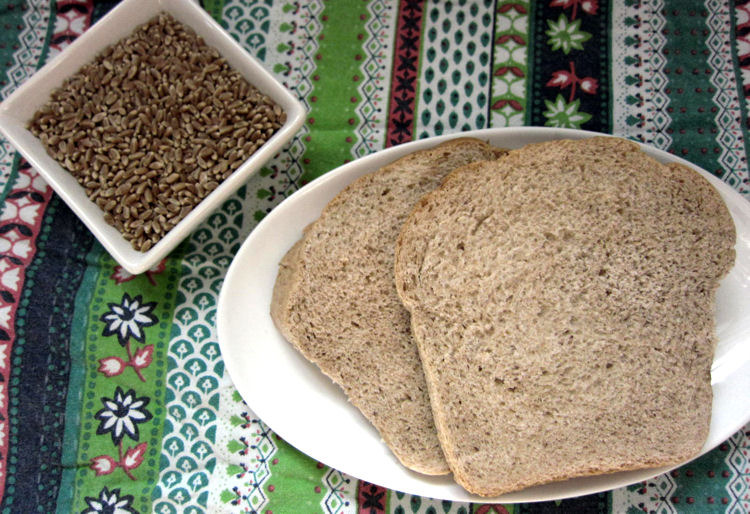
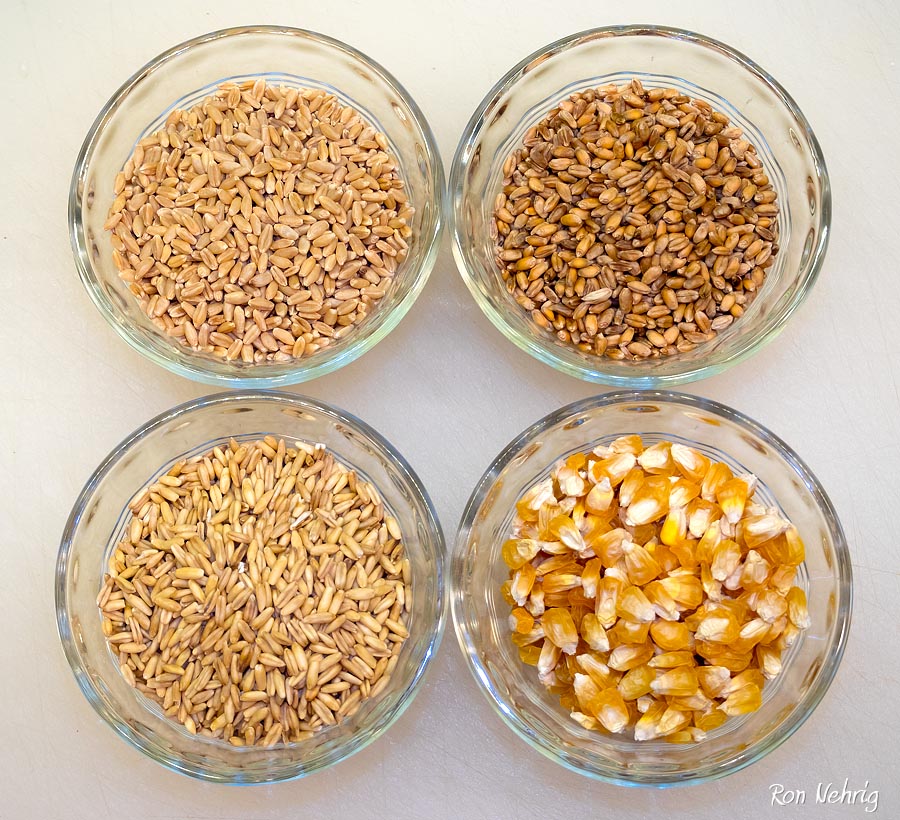
Top Left: Hard White Wheat, Hard Red Wheat, Oats, and Corn
Ron’s Sourdough Country Bread, with Hard White Spring Wheat, Hard Red Winter Wheat, Oats, and Corn, all milled right before using in the WonderMill.
I experiment a lot with grain blends, it’s a creative door that opened when I began milling. I keep 12-15 grains in the cupboard and can weigh out what I want and mill it into fresh flour at a moment’s notice. I’ve spent many months tweaking this recipe, changing the grain blend, increasing or decreasing Half & Half, Olive oil, Kosher salt, raw sugar, sourdough, trying to reach a compromise between my simple French Country, which, has no milk and relatively little oil, and my richer sandwich bread, which holds up longer, when it needs to.
One day, while baking bread for a party, I made two batches, and on the second, decided at the last minute to add some sourdough starter to the poolish; then remembered I had bought some Poppy seeds, sprinkled those on top before baking, and BAM! a new favorite recipe emerged. I topped another loaf with Sesame seeds and that was great too!
This blend of grains is excellent, but it isn’t all that makes this bread great; the other ingredients make a pleasant light crumb that is good at room temperature, and excellent lightly toasted, which is my favorite; it doesn’t stale quickly due to the milk and extra oil, yet isn’t as rich as the recipe I typically use for sandwich bread.
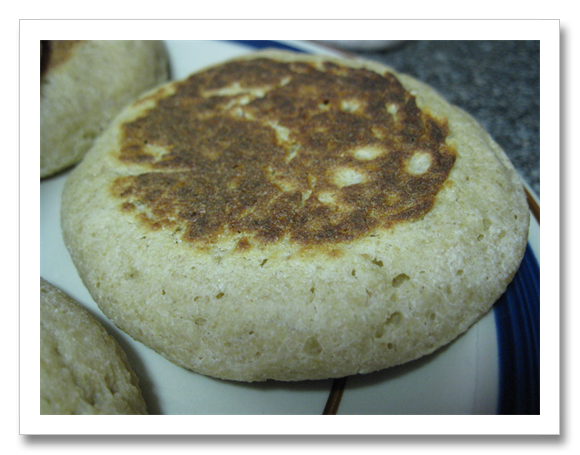
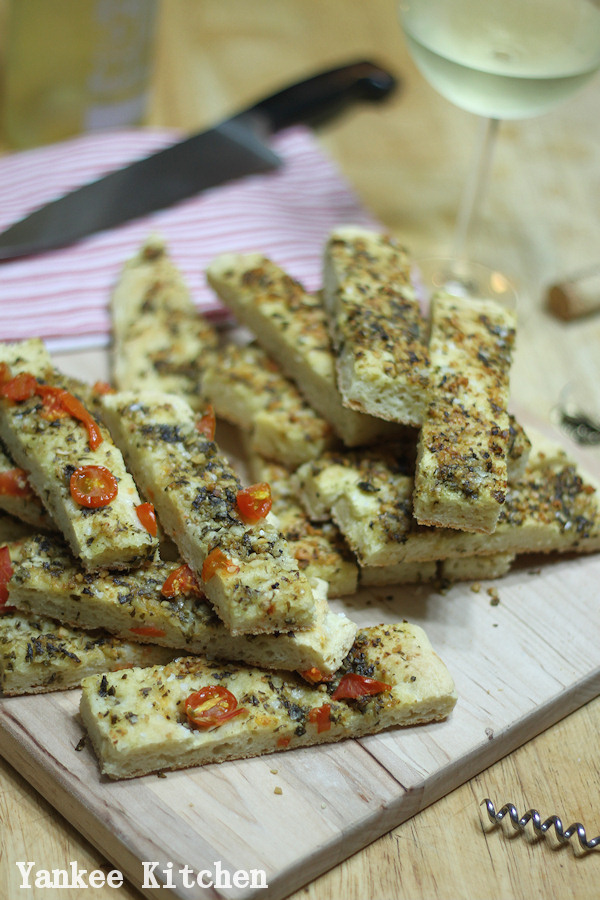
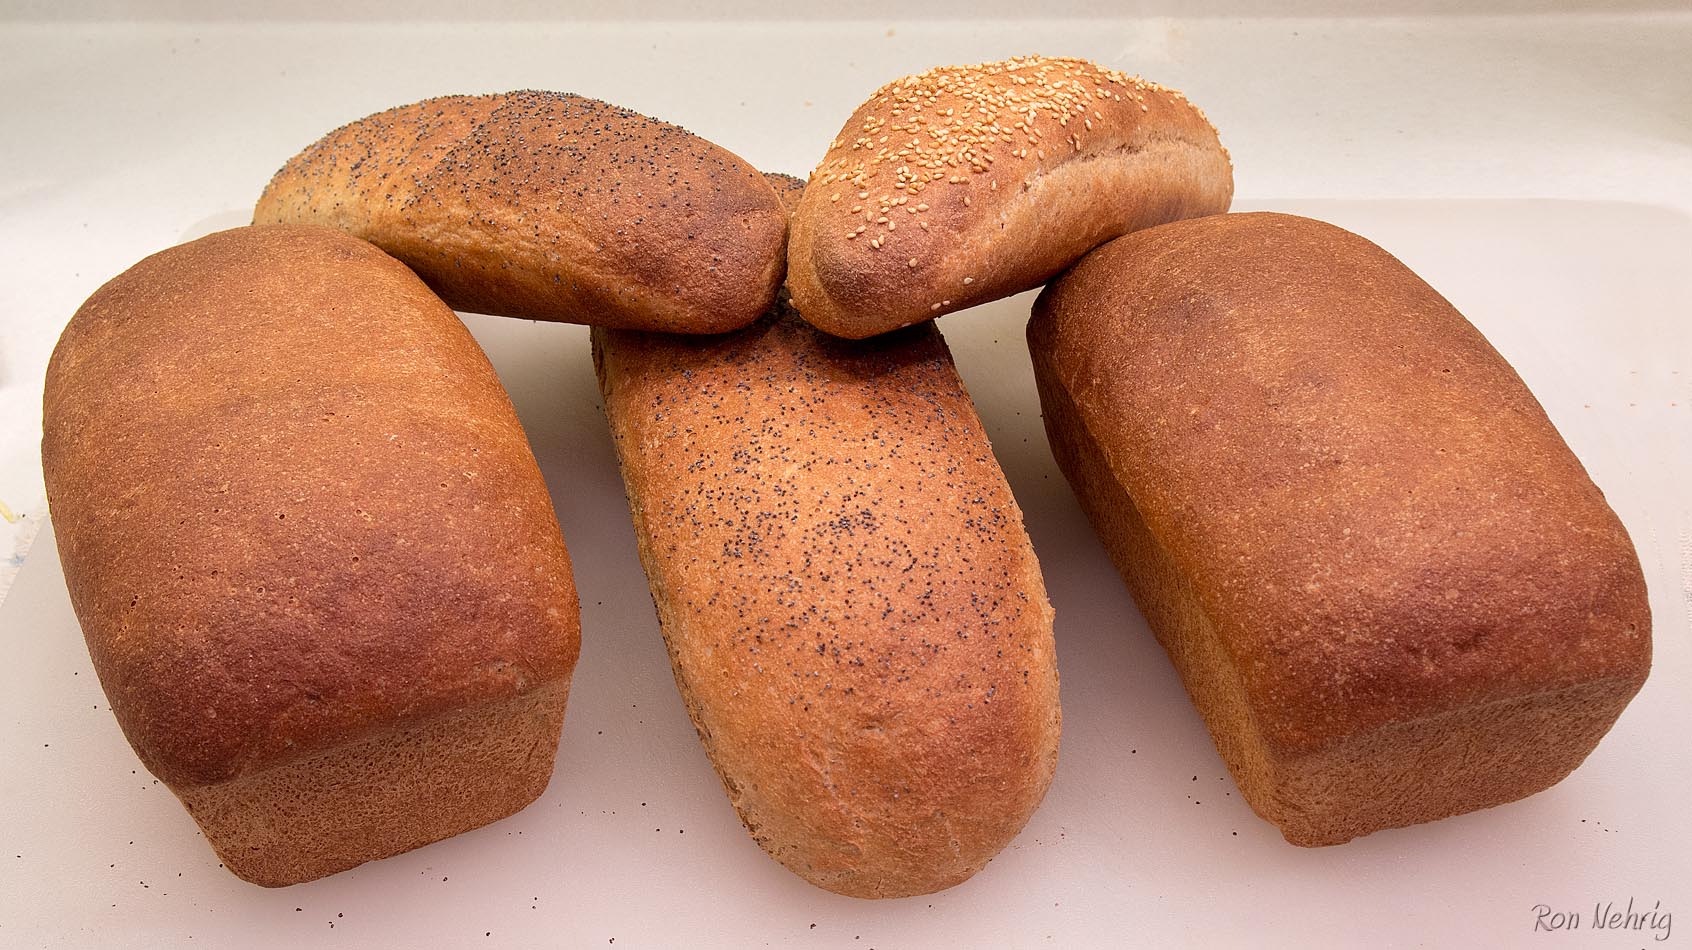 I’ve also become fond of these shapes. The small baguette size is great for small snacks at home, or gatherings, usually sliced thin with cheese and olive oil or butter or together with Artichoke/Chard dip. The larger batard is a nice size for a larger toasted snack with cheese, ham, Olive Oil, summer sausage, or a small sandwich. In the summer, when the tomatoes are growing and I’m eating a lot of sandwiches, I more often use a bread pan to make rectangular sandwich bread because I want a Big BLT.
There’s really nothing like the aroma of freshly milled grain. Here, the corn was milled last, and is on top.
For this bread I want a fine and light crumb, so I double or triple mill the bran. After milling the flour in the WonderMill at the finest setting, I sift the bran out with my fine flour sifter. The sifted out bran is about 10% of the total flour weight from the WonderMill, though some wheat varieties produce less bran than others; in three stone or steel burr mills I’ve tested the bran and other larger bits can be as much as 50%, so, for these, it would be very helpful to sift and double or triple-mill. I then re-mill the bran at the finest setting, and if I’m feeling really picky I’ll sift it again and re-mill that; each pass turns about half the bran into fine enough particles to pass through the sifter, but what is left has been made smaller and more flexible. Bran can also be re-milled in a little spice mill, a.k.a. blade type coffee grinder, which isn’t quite as effective, but in one step manages to bash the bran into smaller, more flexible particles. Bran has escaped mills for millenia, due to it’s thin and flexible nature; in the WonderMill I figure it is so light some of it floats through the micronizer while the heavier bits of grain get effectively bashed into fine particles. Dough with re-milled bran is noticeably smoother and more elastic, so I nearly always include this process. See Double Milling on my Blog.
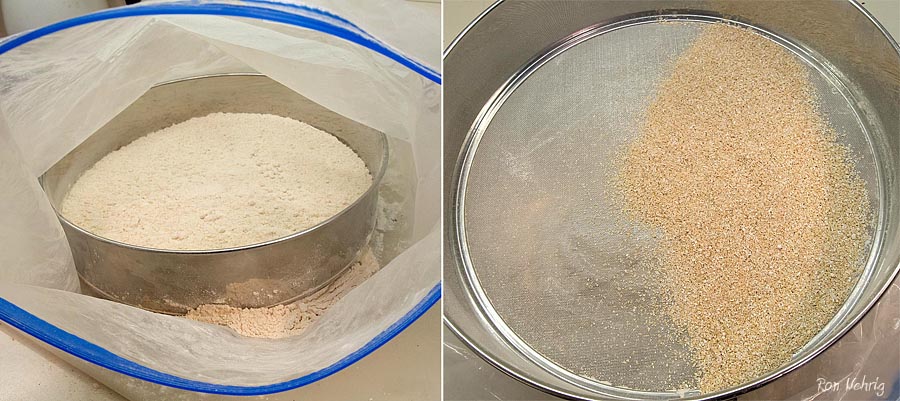
Sifter in a bag, and bran which will be re-milled and returned to the flour
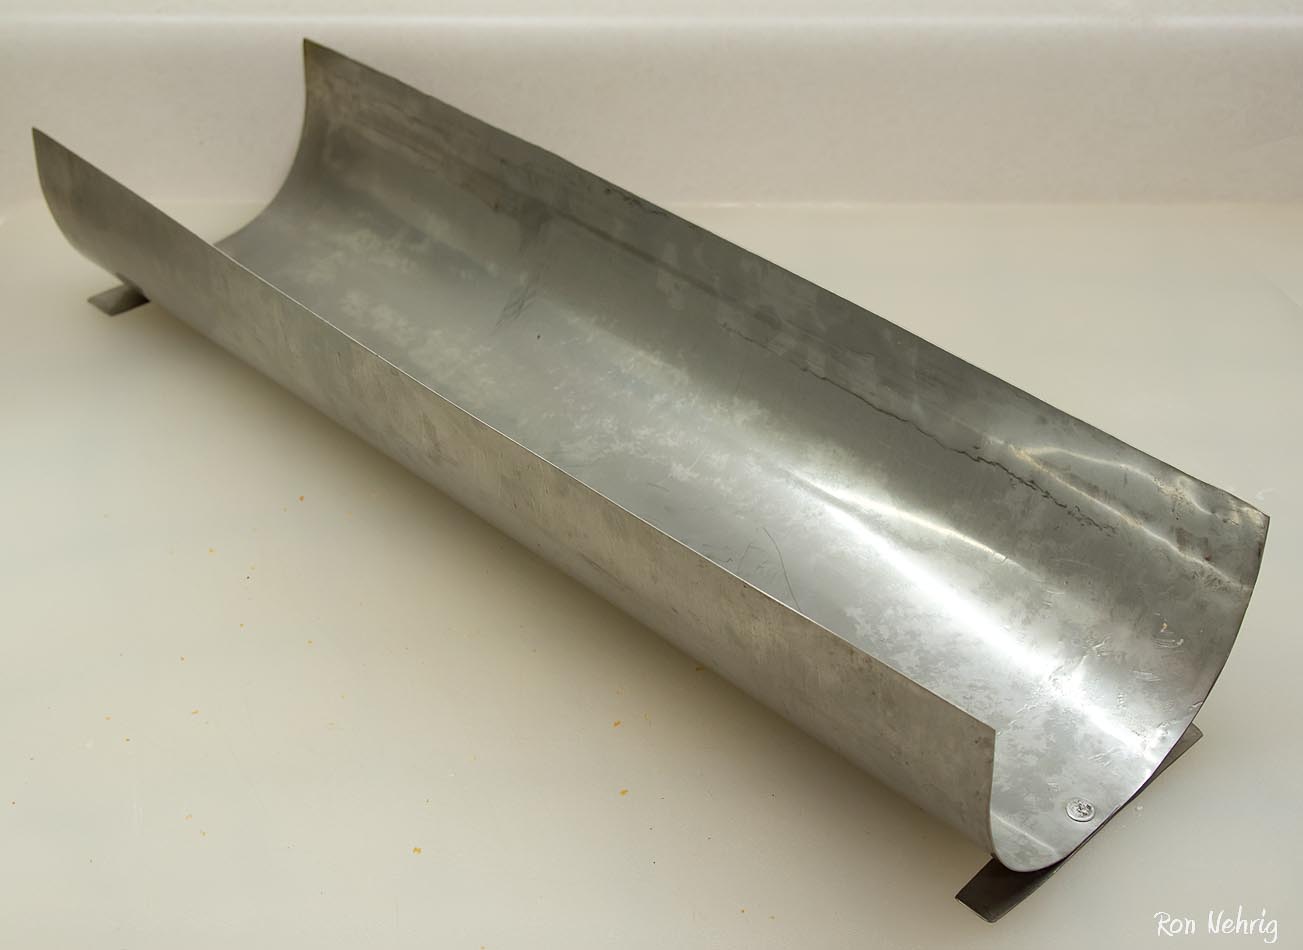
Stainless Batard Pan
This recipe is for 3 lbs of dough, which equals two batards, a batard and two baguettes, four baguettes, two 8.5″x4.5″ bread pans, or any combination. I made a pan for a batard to help support it while proofing and baking; it is like a baguette pan but larger and makes a nice rounded loaf. I usually line my pans with parchment or a reusable cookie sheet liner, which I also find useful to help pizza slide off the peel and keep the pizza stone clean.
I weigh the grains I need for the recipe, then mill them together, adding the Corn last since I have to increase the coarseness setting to get the larger kernels to feed in the WonderMill. I mill the White Wheat separately, because I mill some extra for the work surface and dough adjustments. Weights are necessary when milling many types of grain for a recipe, allowing me to mill exactly what I need, so if you are measuring by volume be prepared to adjust the flour.
This recipe uses a Poolish together with Sourdough Starter to develop extra flavor, increase storage life and to give it greater ability to rise and stay round; I only let the poolish ferment for 2 or 3 hours because I prefer a mild flavor, and this fits well with a day of baking bread on short notice. Because I sift out the bran and re-mill it, I add this bran to the poolish, together with enough flour to make up the total weight, figuring the bran will have extra time to hydrate and soften.
Feel free to change the grain blend, as long as the total weight of flour doesn’t change. If you’re not using Oats and Corn remove the Vital Wheat Gluten. I often use some Rye in this recipe, or swap the Oats for Barley, or some Khorasan for some of the White or Red Wheat.
I use Half & Half in this recipe because I always have it around, but it could be milk if you prefer. The oil can be Olive oil, Canola, or a mix, including some butter.
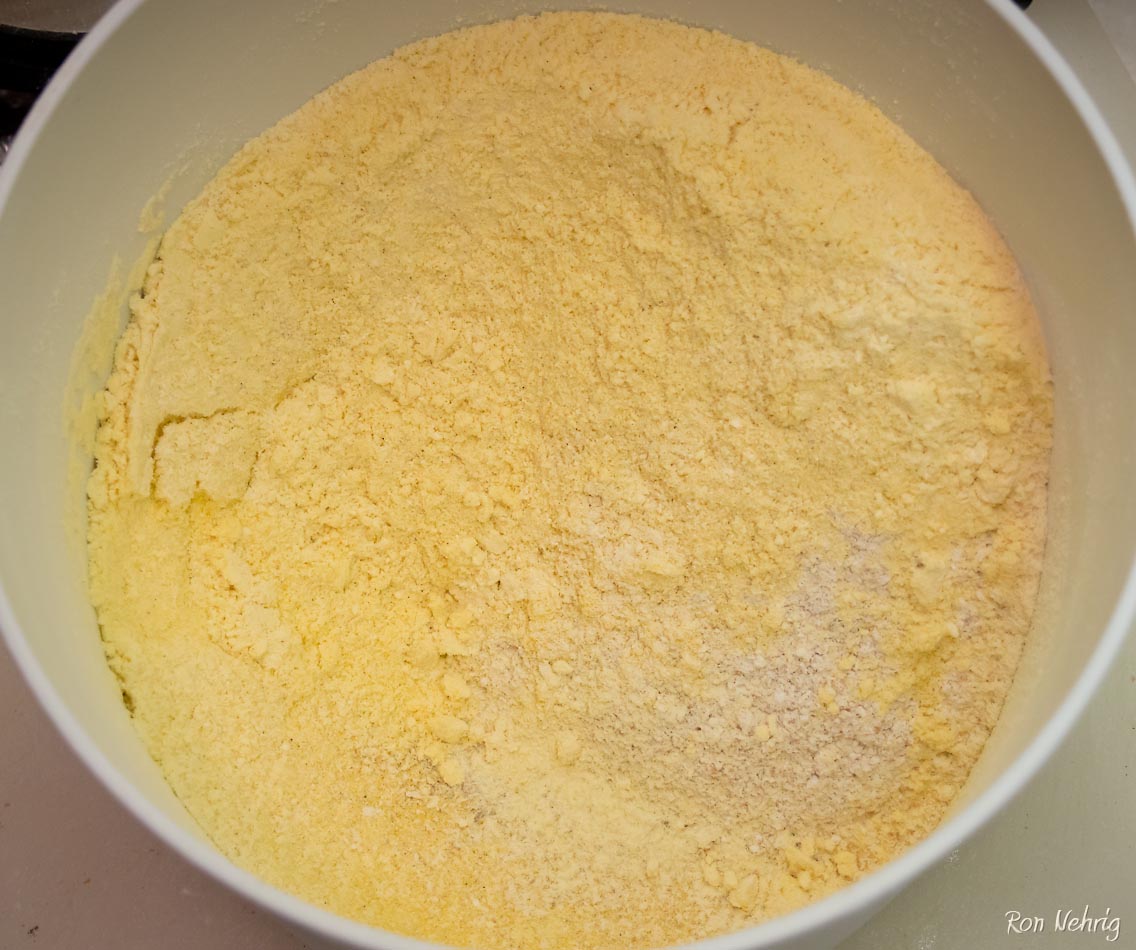
White, Red, Corn, and Oats
| Poolish | ||
| 0.33 C | 80 g | Starter |
| 1.7 C | 200 g | Hard White Wheat |
| 1 C | 236 g | water |
| 0.25 tsp | yeast | |
| Dough | ||
| 2.3 C | 271 g | Hard White Wheat |
| 1.5 C | 178 g | Hard Red Wheat |
| 0.5 C | 40 g | Oats |
| 0.5 C | 60 g | Corn |
| 3 tsp | 8.5 g | Vital Wheat Gluten |
| 3 tsp | yeast | |
| 6 Tb | 90 g | Half & Half or milk |
| 0.75 C | 177 g | water |
| 3 Tb | 38 g | Sugar |
| 2.5 tsp | 16 g | Salt |
| 3 Tb | 41 g | Butter and/or Oil |
Mix the Poolish ingredients and let stand, covered, for 2-4 hours in a warm place (see Proofing Bins). Longer will create a stronger sourdough taste. I use a 4 Cup Glass measuring cup with a lid for the Poolish and, for me, it’s ready when it reaches the top of the container, about two hours.
When the Poolish is ready, assemble the remaining ingredients. I would have the grains all milled by now and everything measured and ready to go.
My method is the following:
- Warm the remaining water to 100-110°F, add a bit of the sugar and mix, then add the yeast and stir a bit to wet the yeast, let sit for 5 minutes or so until a foamy surface develops.
- Keep out some White Wheat Flour and add all the other flour to the mixing bowl, with the salt and the remaining sugar, and mix together.
- Warm the 1/2 & 1/2 and oil together (I microwave it for 15 seconds or so)
- Add the poolish to the mixer bowl.
- Add the oil and warmed Half & Half
- Stir with a spatula or spoon to combine the ingredients enough that a dough hook will be effective
- Mix on low with the dough hook (or by hand), adding some, but not all, of the remaining flour, then stop mixing while the dough is still soft and sticky. Cover the bowl and let it rest for 15 or 20 minutes to allow the flour to hydrate well, which is also another opportunity to develop flavor and gluten.
- Then continue mixing at low speed, adding flour and occasionally scraping the sides of the bowl with a plastic dough scraper (or whatever you have) until the dough is almost cleaning the sides of the bowl, but will still be a bit sticky. If, when mixing, the dough climbs the hook a bit too much, turn it to speed two to throw it off the hook, then back to low speed. I feel that whole grain dough prefers less mixing rather than more, so I only mix for a few minutes after I’m satisfied that it has enough flour. Of course, I hand knead it a bit after mixing, and I get a better feel for the structure then, and we’ll do a stretch and fold later, all of which will gently develop the dough structure.
- Move the dough to your lightly floured work surface and gently knead to get a feel for the dough and develop a smooth, non-sticky surface. The dough is fairly stiff after the mixer, so you could let it rest for five minutes or so to let it relax. I then knead it gently by pressing slowly with my palm to flatten it, not letting the surface tear, then fold over and press again, rotating 90 degrees each time, until it is pleasantly springy to a shallow finger poke. Chafe it into a ball, place in an oiled bowl, and let rise, covered, in a warm place until it is doubled, or about 30-40 minutes in my proofing bin.
- Turn the dough out onto your work surface, gently press it flat all over to remove the large bubbles, pick up one edge and stretch outwards gently, not allowing the dough to tear, then fold that towards the center and repeat with the opposite edge. Rotate the dough 90 degrees and repeat the process. Chafe it back into a ball and return to the oiled bowl to rise until doubled (about 30 minutes).
- Preheat the oven to 400°F; the steam rocks and/or pizza stone, if you have them, will take a while to heat up.
- Prepare the bread pans.
- After the second rise turn the dough out onto the work surface, gently press flat into a rough square, divide into the number of loaves you will make. I often cut it in half and use that for a batard or bread pan, then divide the other half for two baguettes. Press each piece flat, letter fold one edge towards the center, fold the opposite edge over that, gently press it all together, turn it 90 degrees and repeat, which will even the dough out from end to end; form a groove lengthwise with the edge of your hand and fold the two halves together, helping to stretch the outer surface, press these gently together and repeat, then pinch the edges together so they stick, press on the ends to stick them together and form into a loaf by rolling it along the work surface with your palms.
- Lift the loaves into your pans, banneton or couche and place in a warm place until doubled or you feel it is ready; it will be quite soft and fluffy when pressed gently on the end. If you leave it too long the top may flatten during baking. Lightly cover it with plastic wrap to keep the surface moist. I don’t slash bread that I want to keep for several days because it leaves openings in the crust and encourages drying; I know, slashing is “in,” but not for my everyday bread.
- If you wish, mist the surface of the dough with water until it is moist and sprinkle on the Poppy seeds or Sesame seeds.
- Move to the hot oven, spray your oven rocks with 1/2 to 1 Cup of water or heavily mist the oven to create steam to keep the dough surface from drying at the beginning of the bake. A little spray mister is not enough steam, though better than nothing, but it helps to develop a better system. I use sauna rocks in a pan and squirt about a cup of water in with a water drinking bottle with a small pop top.
- Rotate the loaf after 15 minutes or so, then bake an additional 15-20 minutes, or until the crust has darkened to your liking and tapping the bottom creates a hollow sound; the small loaves will be done sooner, so take them out first. Since mine are usually in pans, after 25 minutes I slide them out of the pans onto the pizza stone or large cookie sheet that is already in the oven to allow the bottoms to darken more.
- Cool on a rack.
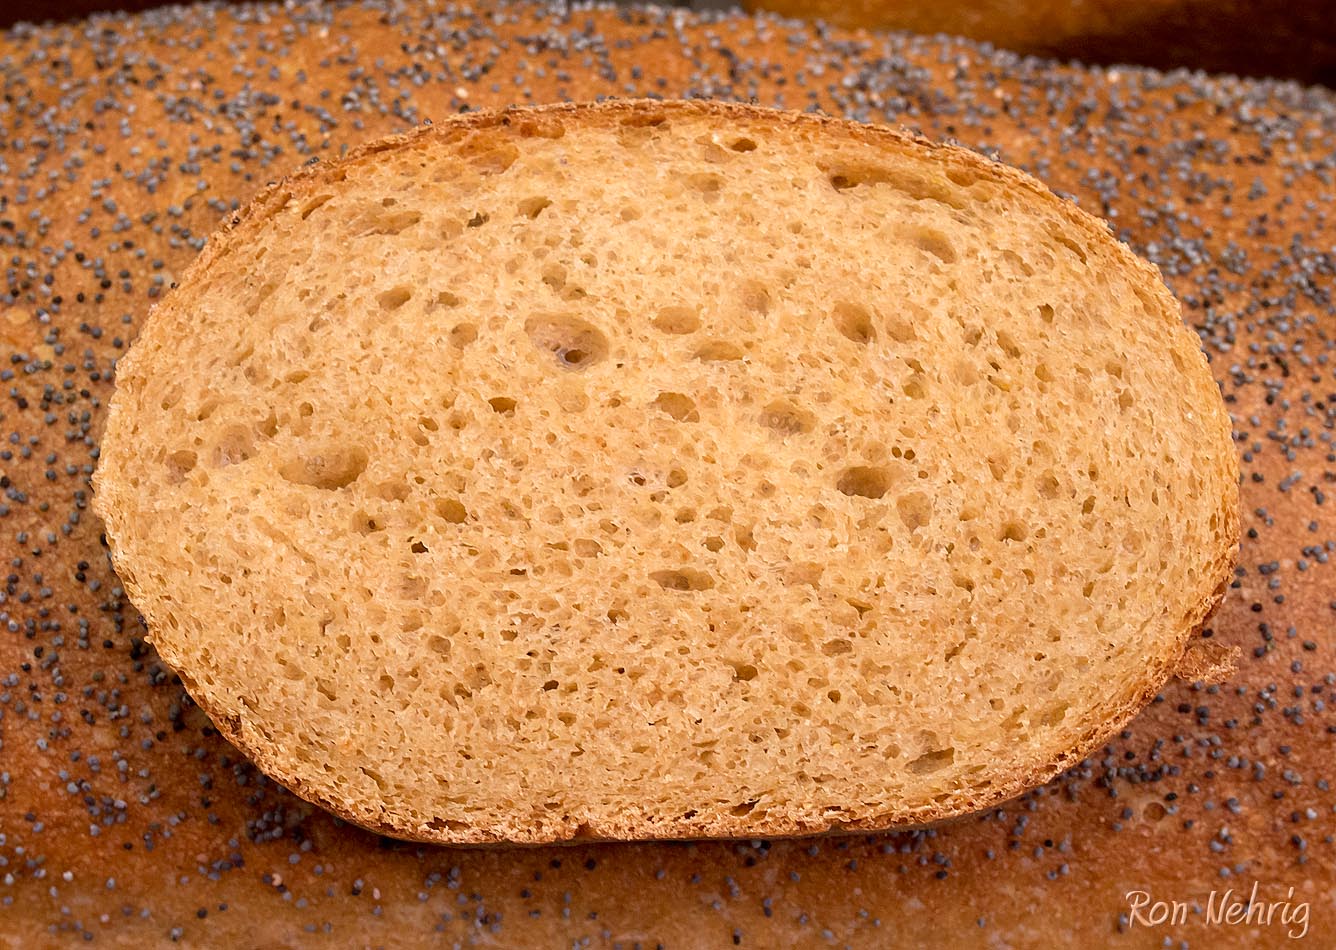
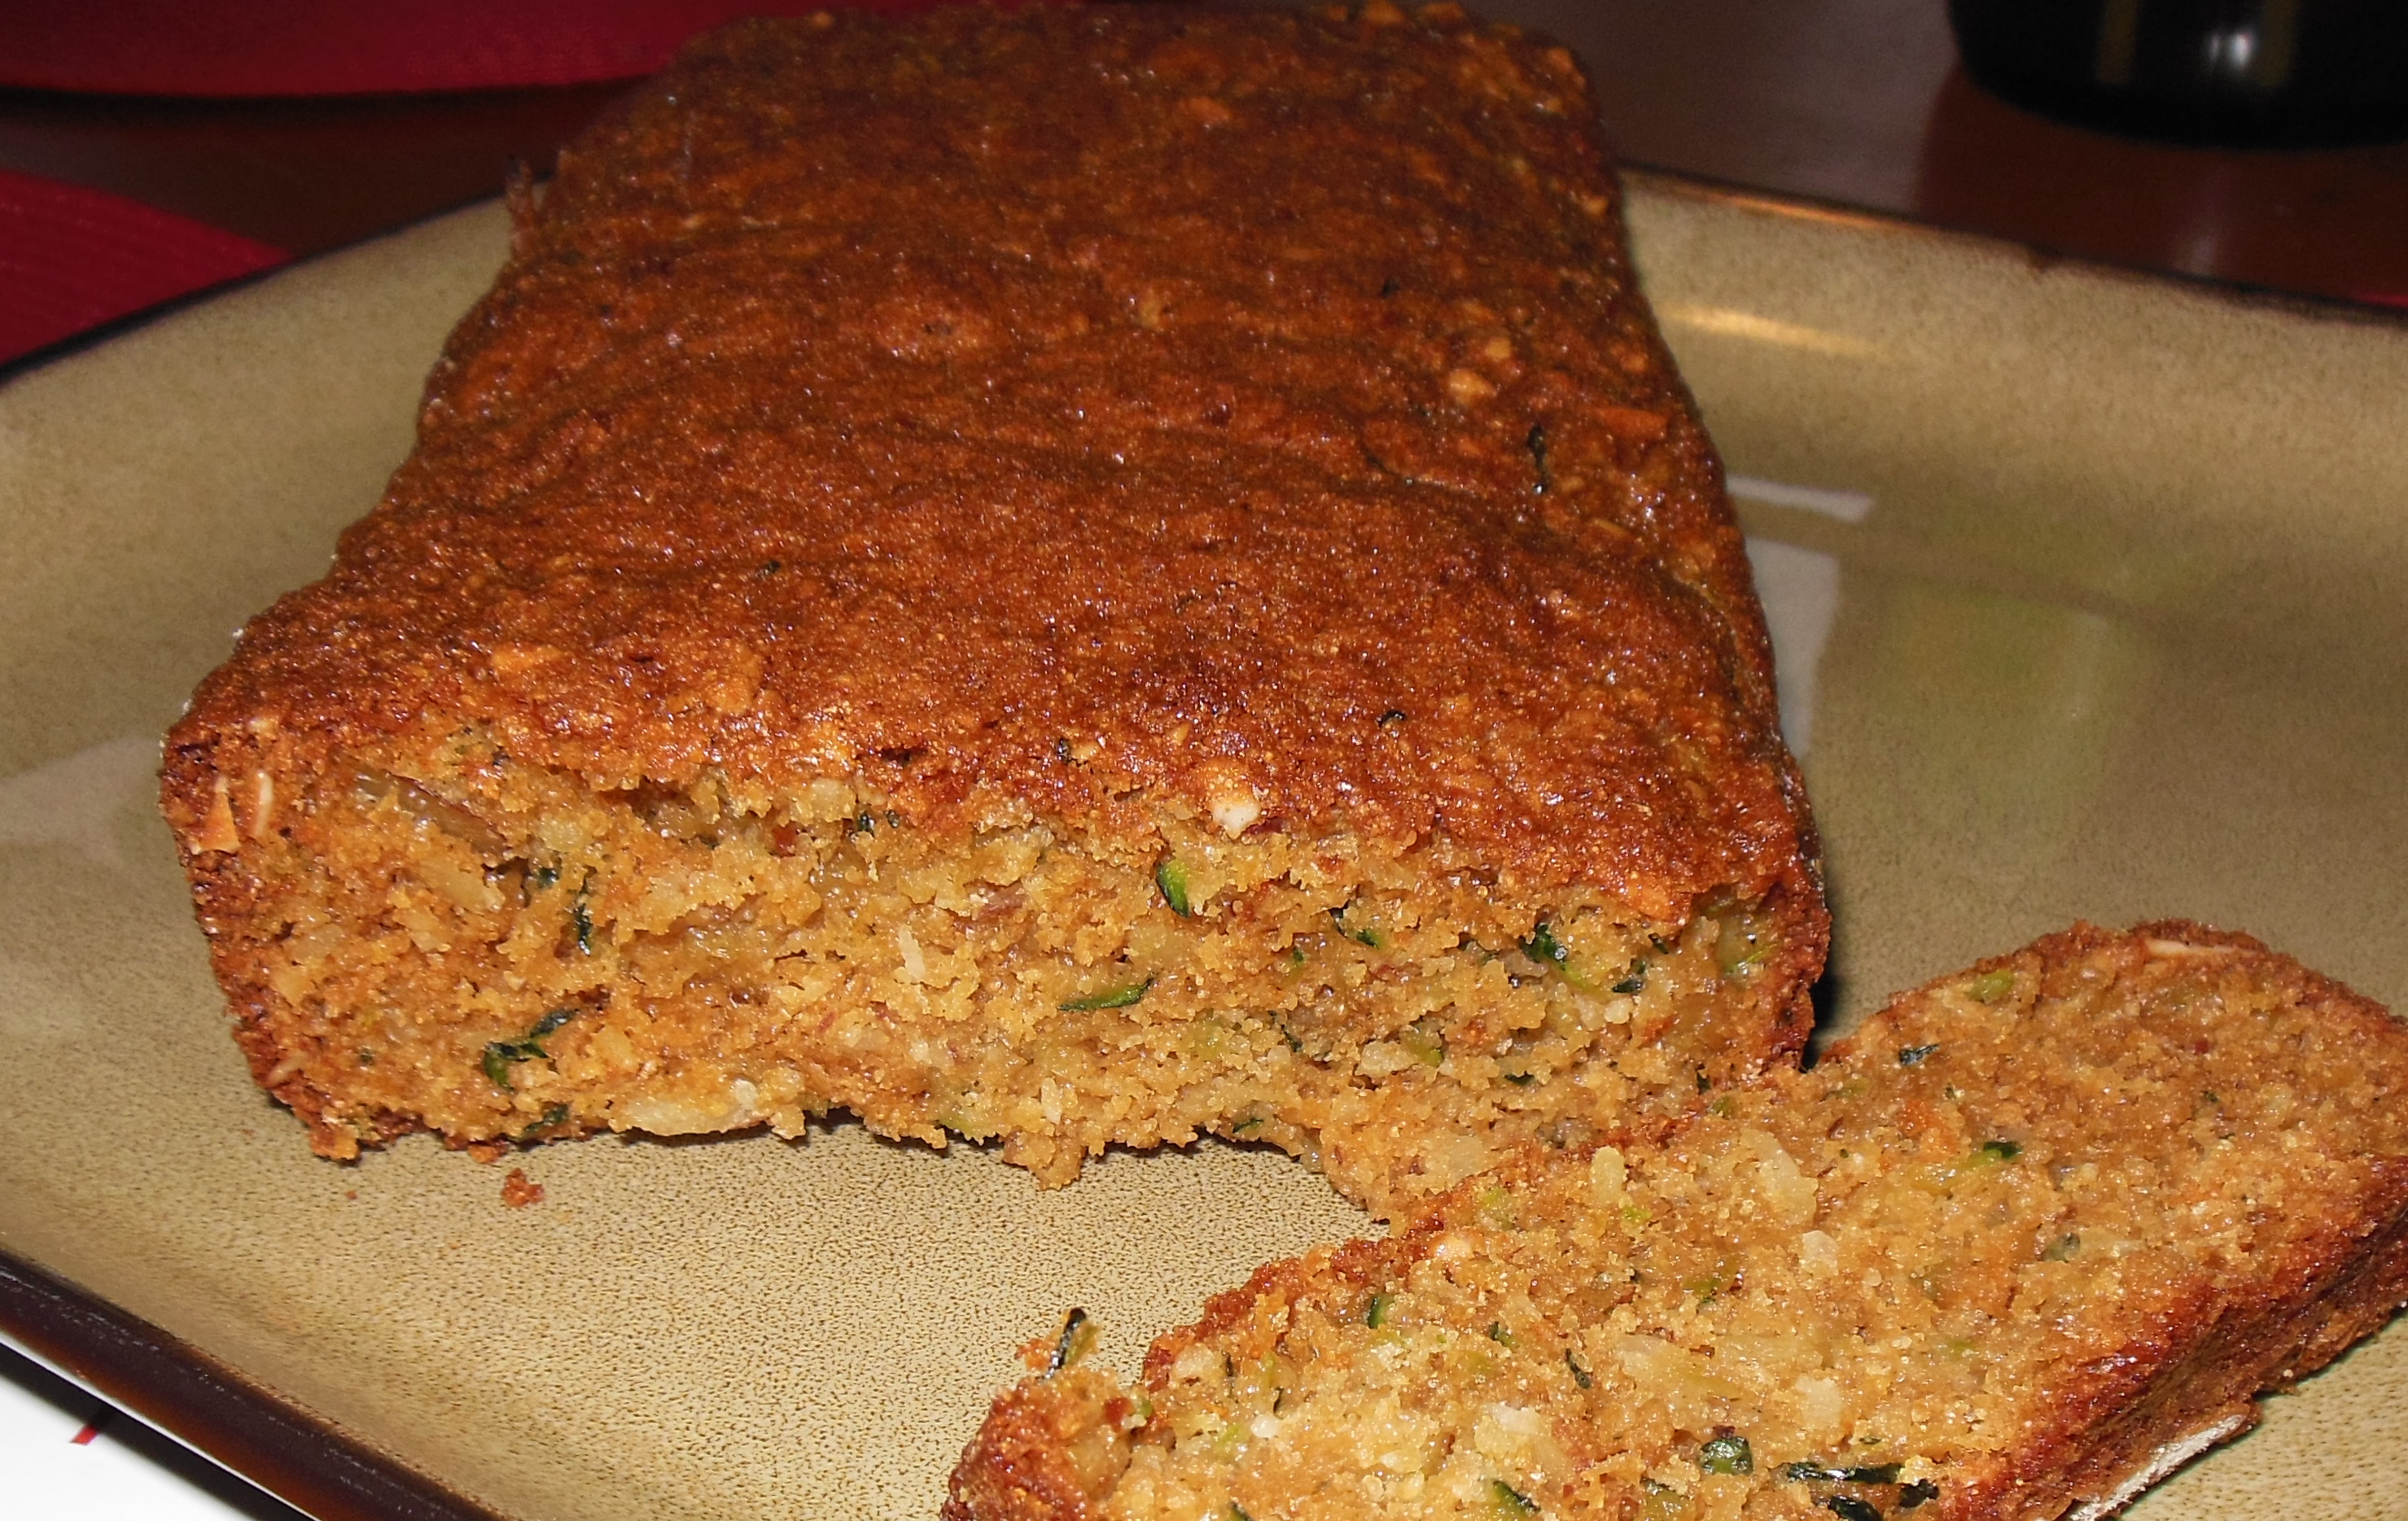
A lovely light crumb that slices thin and toasts beautifully.
This bread has a delicate crumb, a complex and satisfying flavor, and is as nutritious as I can make it, because it has only the best and freshest ingredients that have lost no nutrients to modern refining or aging.
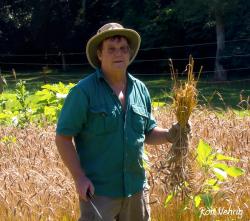
But milling my own grains goes beyond taste and nutrition–I never get tired of the beauty of grains as I weigh them out, or the fresh, delicate aromas when it is milled, or lifting handfuls of recently harvested grain out of a large bin and letting it run through my fingers like a pirate with a chest of gold doubloons. Making bread from freshly milled grain has created a connection to many thousands of years of human history, people who depended on bread as a vital food source, and I finally understand and appreciate the importance of grain.