To date, the most popular post by far on my blog has been the soaked whole wheat bread recipe, which you can find here.
That being said, ahem, I have a different soaked whole wheat bread recipe to share with you, my fellow grain lovers.
I know, I know. I’m sorry. I don’t mean to keep complicating your life. But here’s what I like about this recipe:
1. It uses less ingredients, which just makes it easier
2. It uses less ‘expensive’ ingredients, like less butter and no vital wheat gluten or honey
3. It tastes much more like a traditional whole wheat bread
Now don’t get me wrong, I still love our old soaked bread recipe. But I’ve found this new bread to be less crumbly and tangy, which really lends itself well to sandwich making and cinnamon toast.
And since today is officially Stuart’s first day as a teacher, and since I will soon be packing sandwiches in his lunches, I thought to myself ‘Self, when’s a better time to share the new soaked whole wheat bread recipe than today.’
I couldn’t think of a better day, except maybe National Sandwich Day, so here we are.
If you’ve followed my blog for any amount of time, you know that we take the time to soak all of our grains – especially our wheat, which helps to break down phytates and aids in mineral absorption. Overall, it makes it much more digestible for our bodies and especially those with gluten sensitivities.
And really, it’s not much harder. Here. I’ll show you.
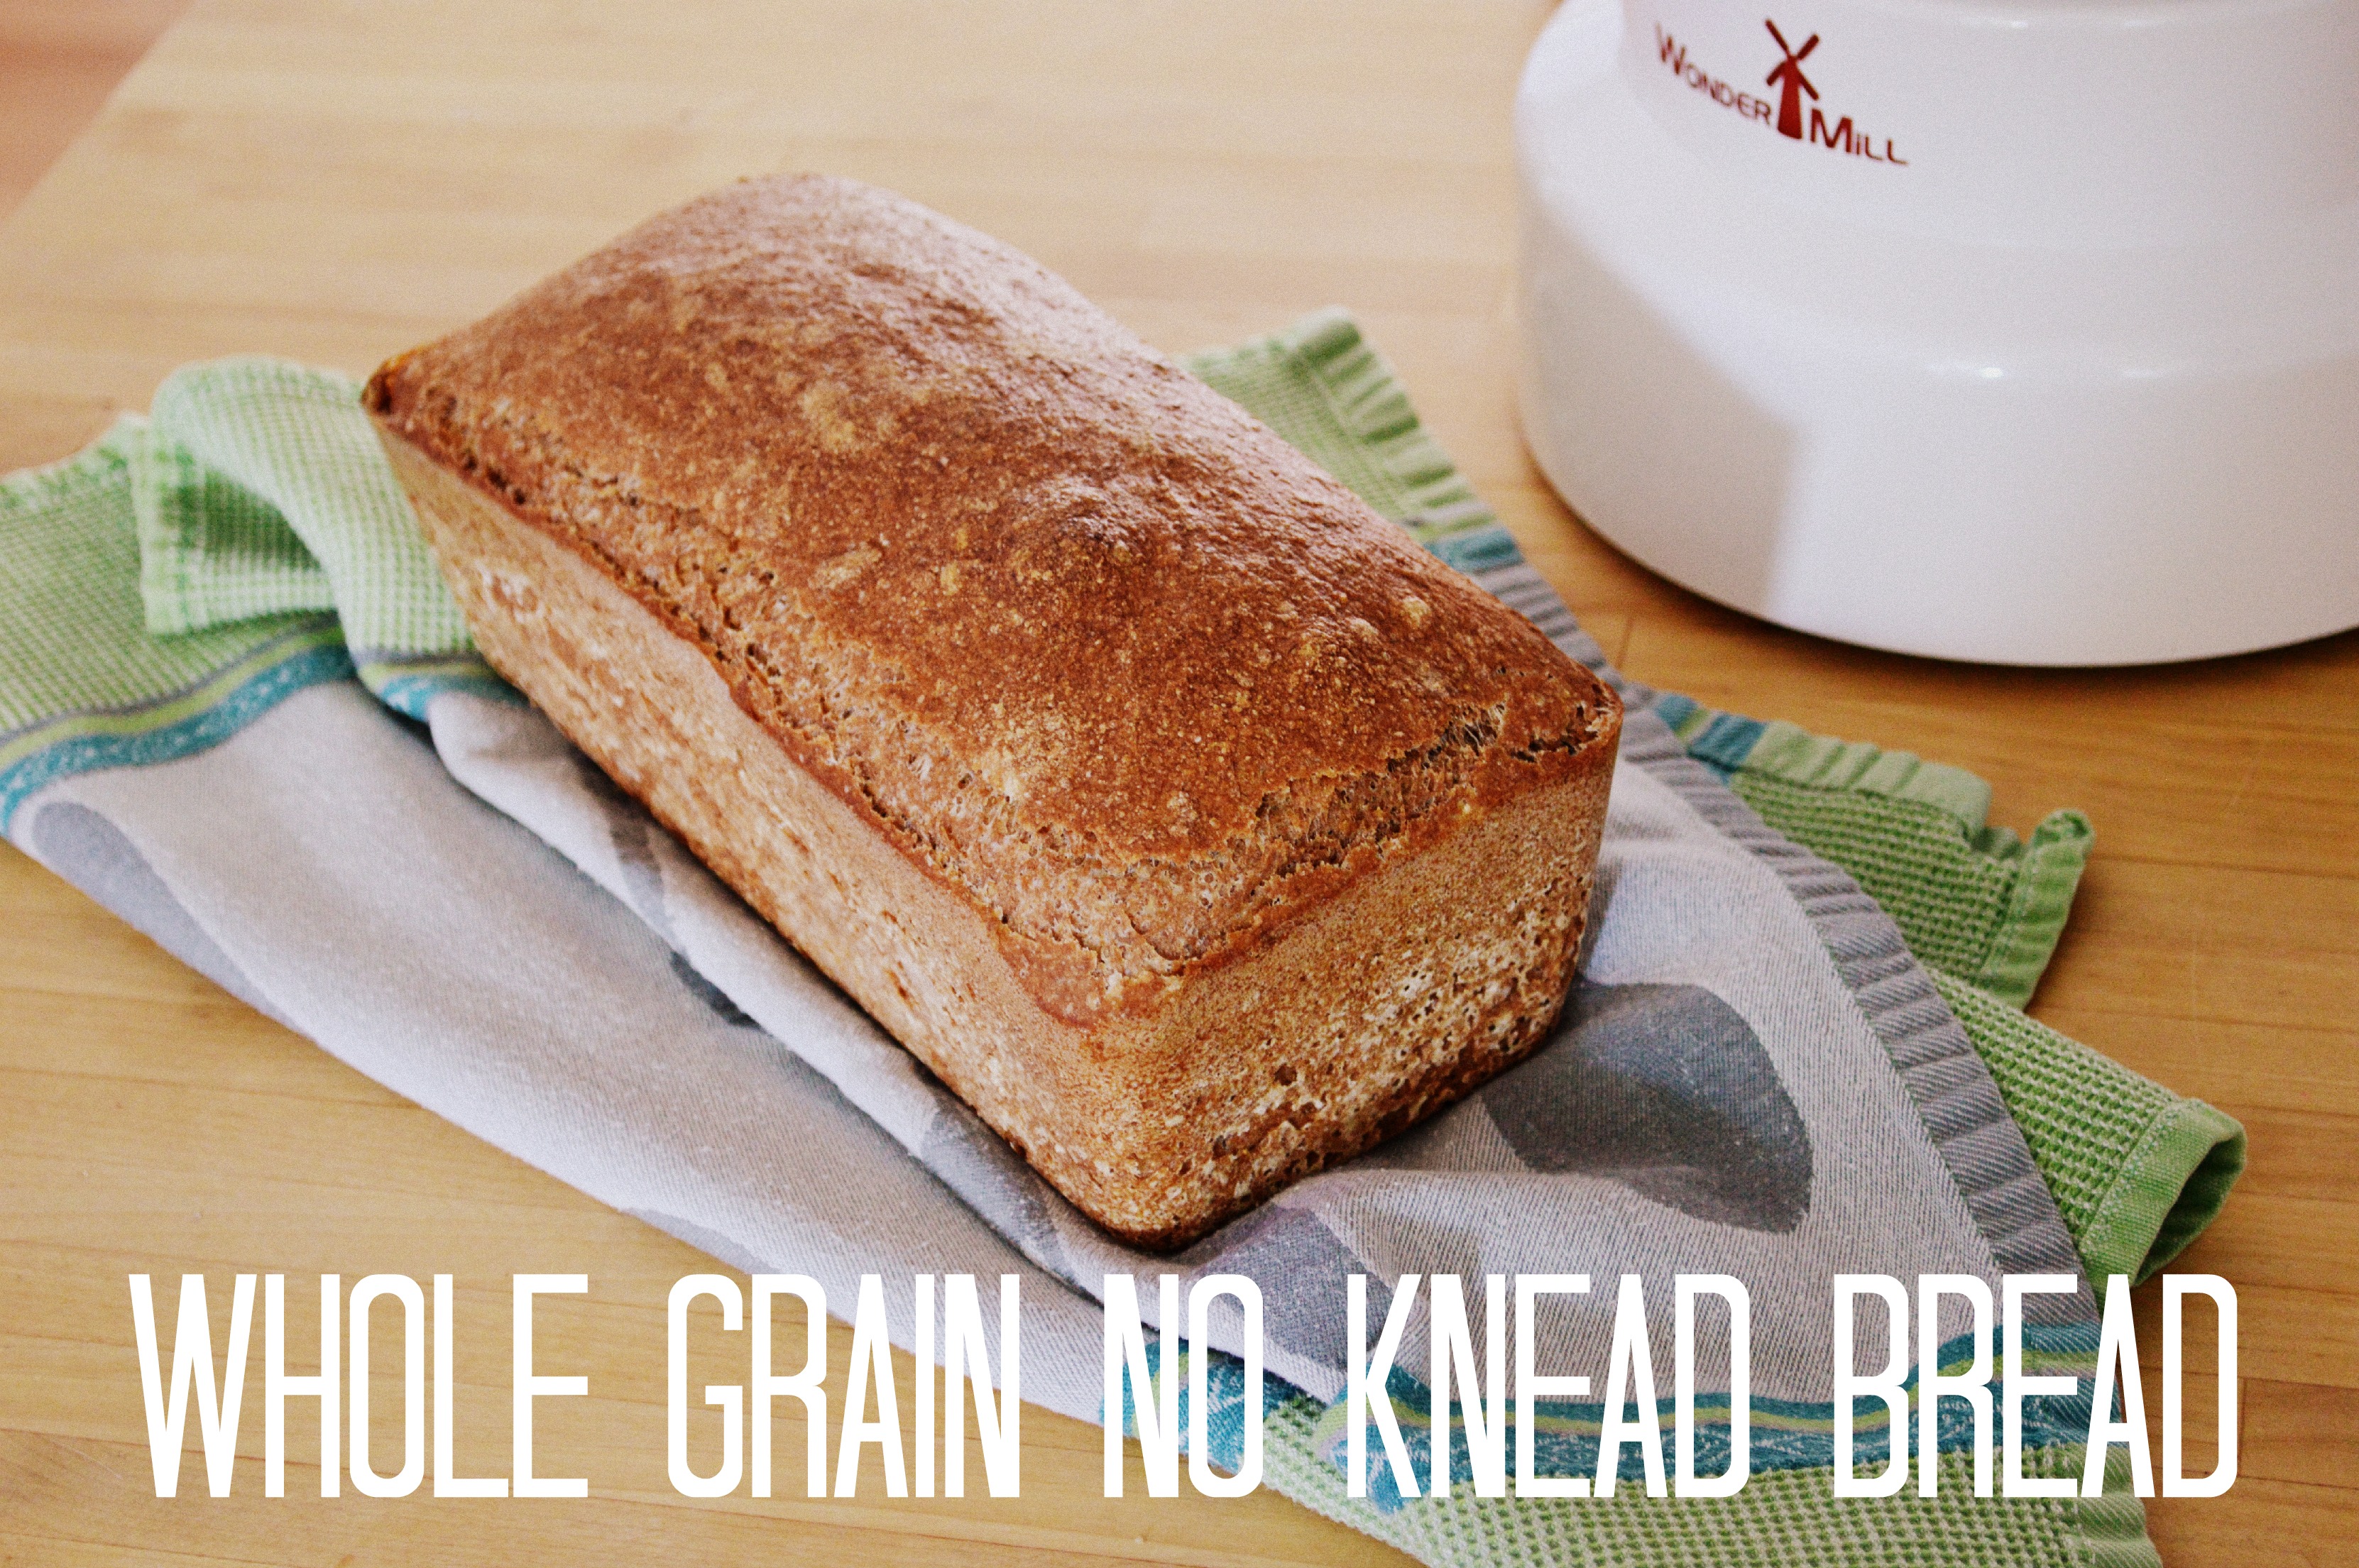
Traditional Soaked Whole Wheat Bread
The soaker and sponge will both be prepared the day/night before you wish to make the bread. And remember, freshly ground wheat is always best.
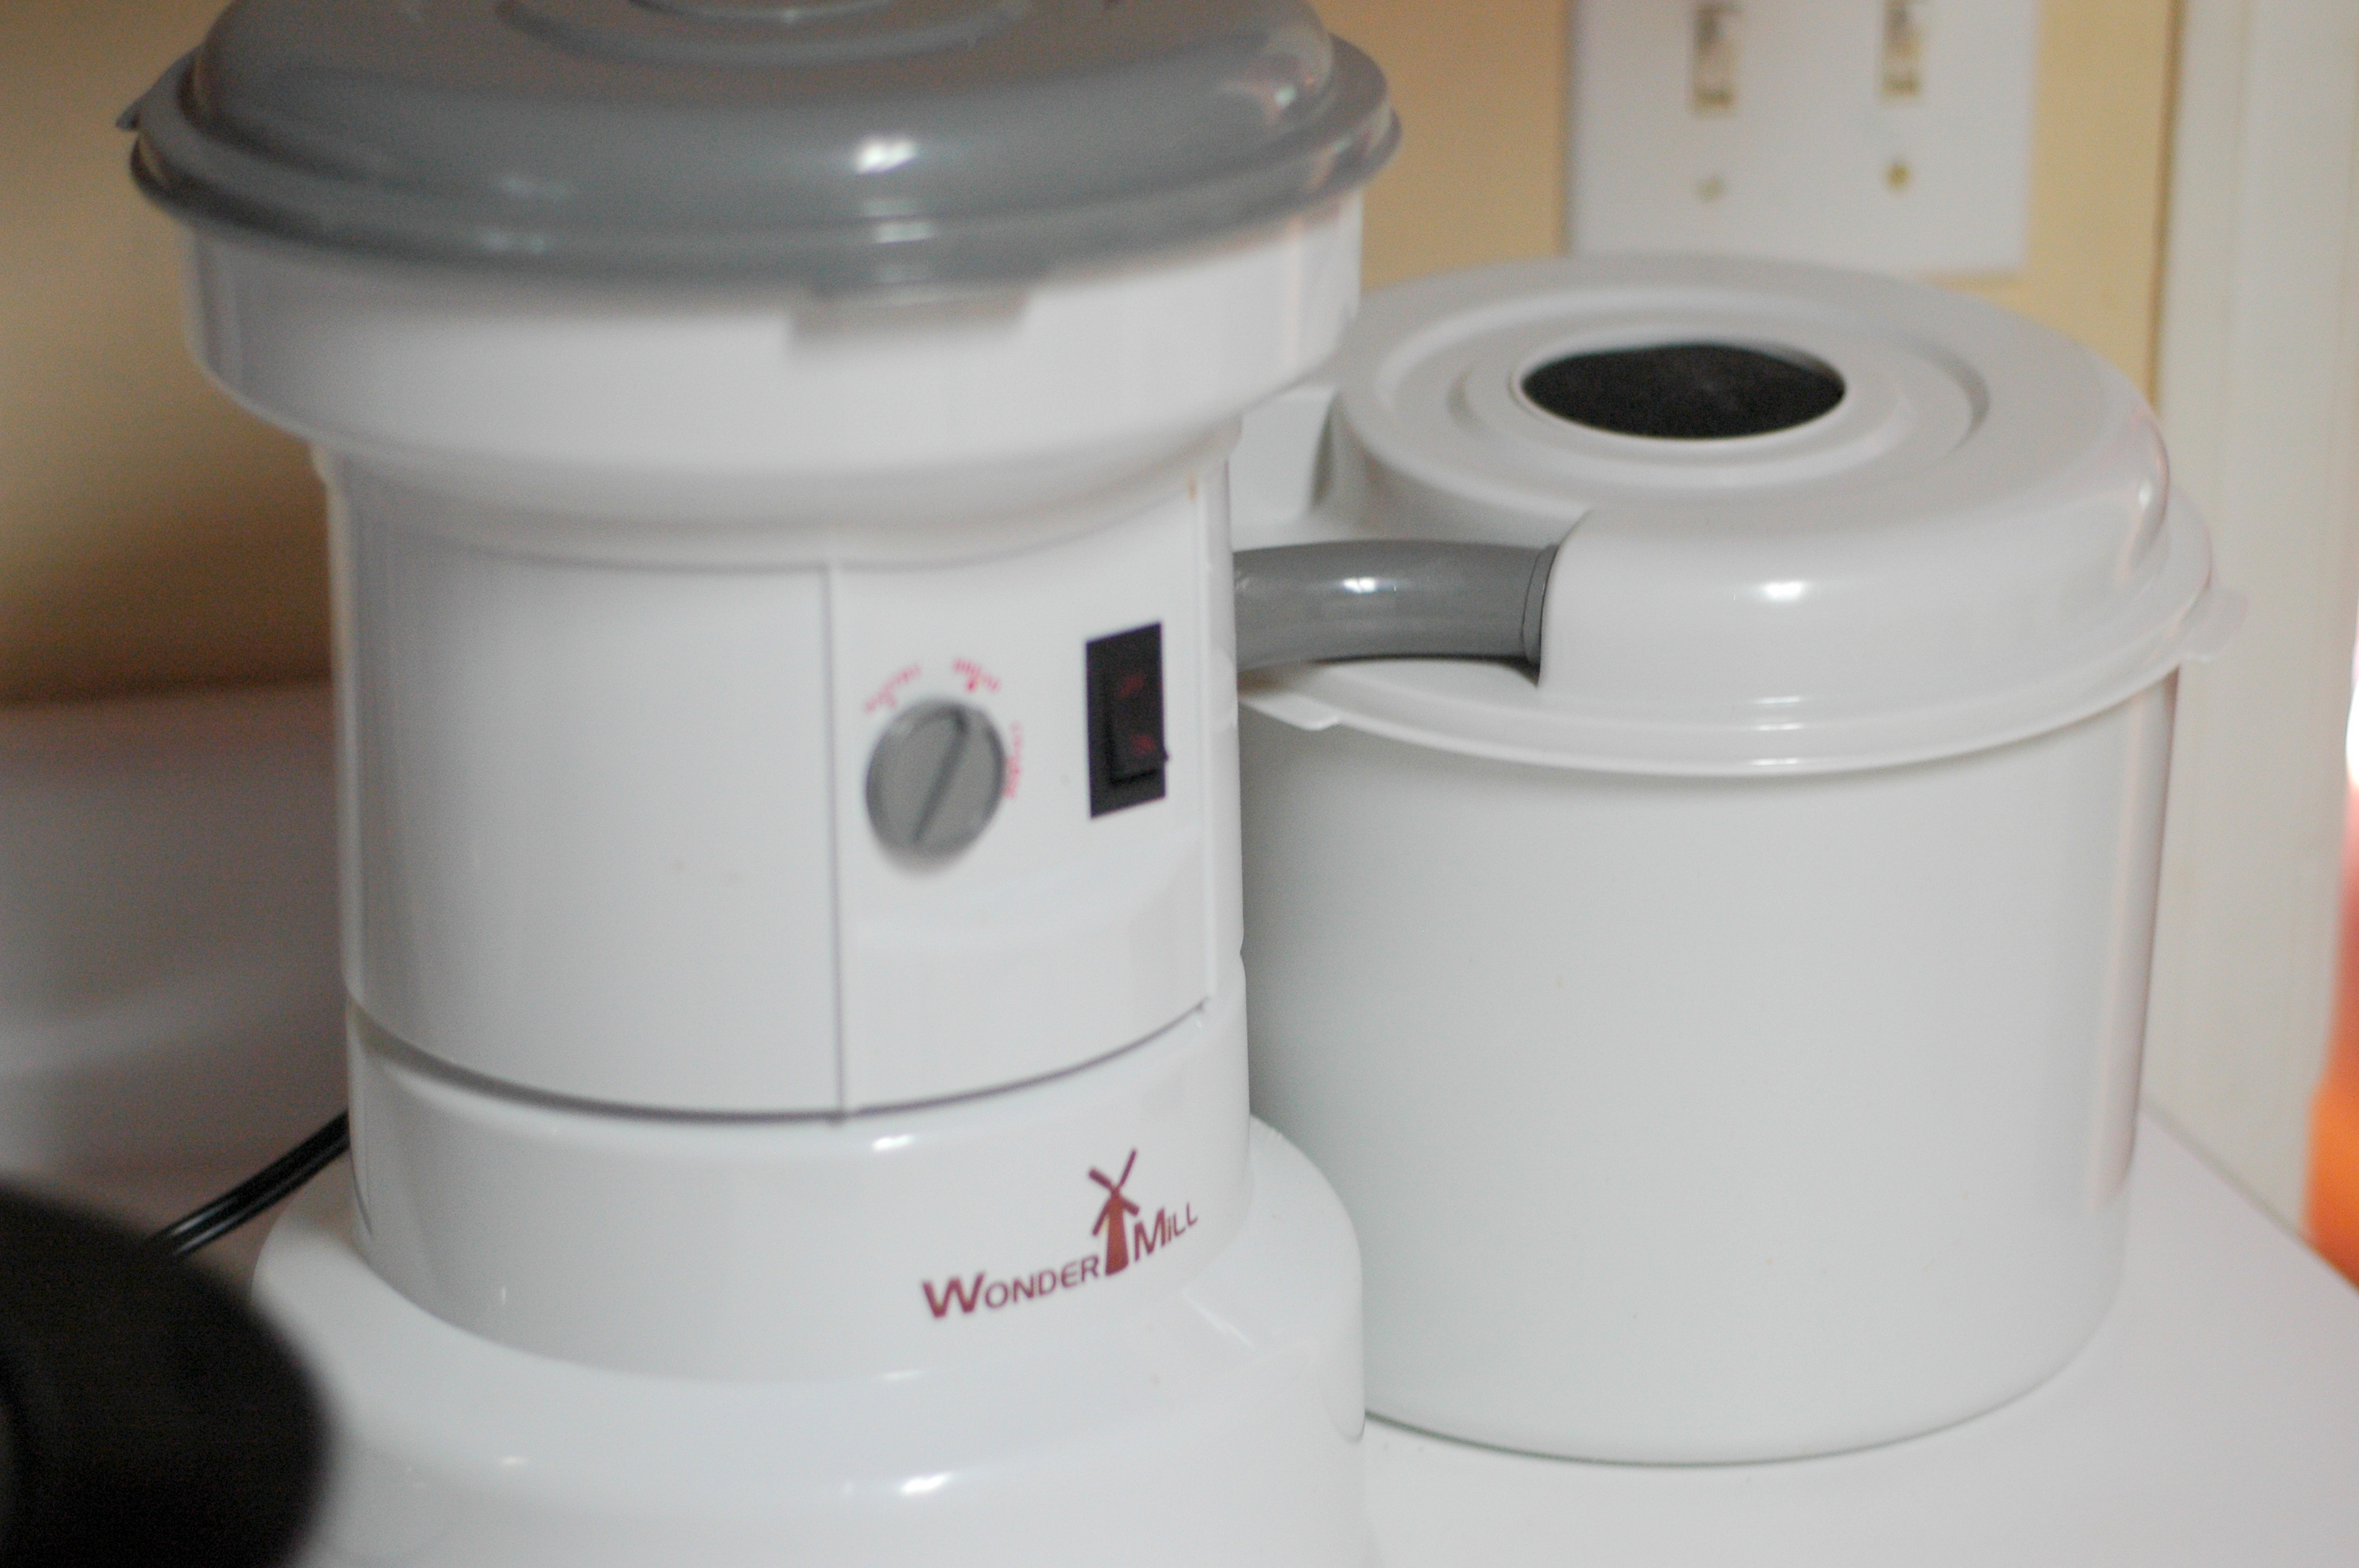
I grind all my grain fresh in my Wonder Mill Grain Grinder that sits happily on my kitchen counter at all times.
Soaker:
In a small bowl, combine 3 1/2 cups whole wheat flour, 1 teaspoon sea salt, and 1 1/2 cups of milk plus 2 tablespoons of vinegar (I use raw apple cider).
Sponge:
In your stand mixer, combine another 3 1/2 cups whole wheat flour, 1/4 teaspoon yeast, and 1 1/2 cups of filtered water plus 2 tablespoons of vinegar. Mix for five minutes. Let rest for five minutes, allowing the wheat to hydrate. Mix for 1 more minute.
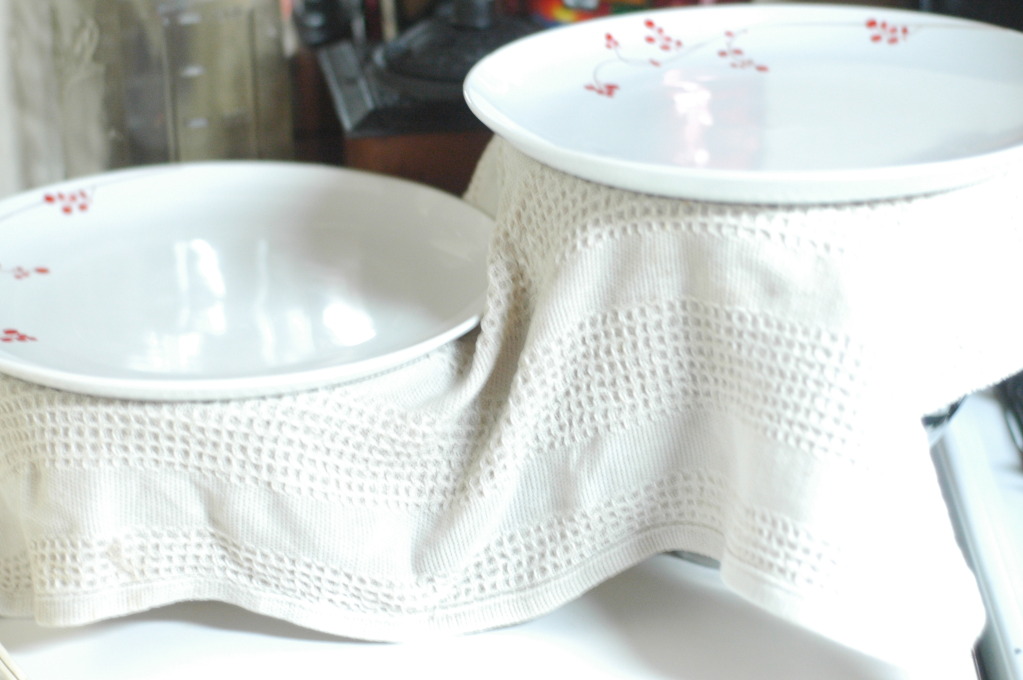
Cover bowl of the bowls with a plate or plastic wrap and set aside until the next day.
Final Mix:
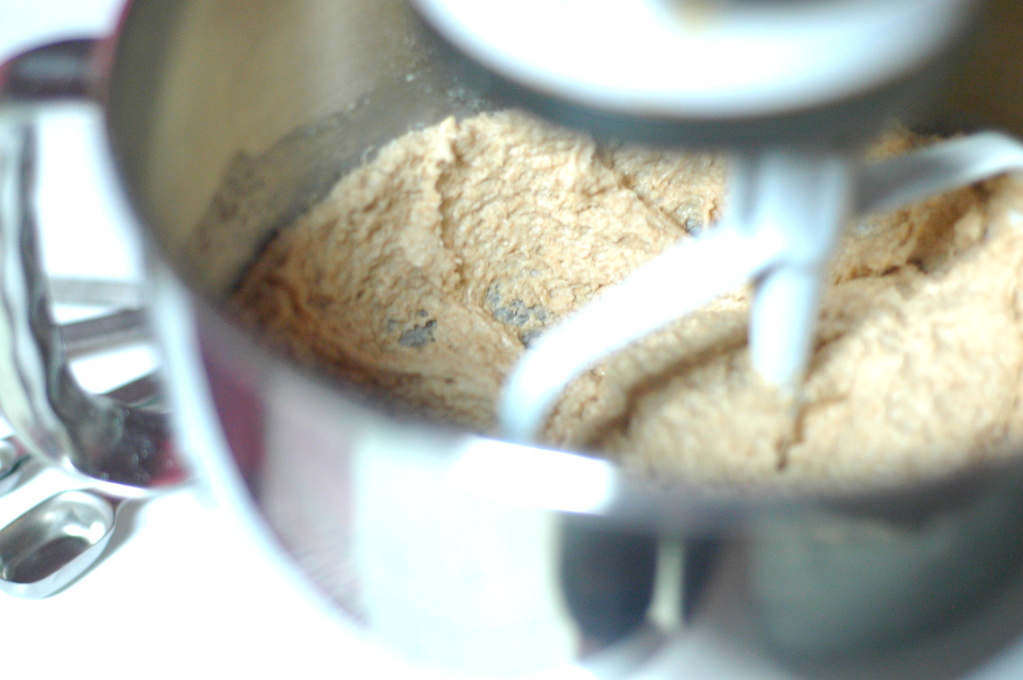
Combine all of the soaker and all of the sponge in your stand mixer. Add in 1 teaspoon sea salt, 2 tablespoons of softened butter, 5 tablespoons of Rapadura (or sweetener of choice…though I’ve read honey will make it denser), and 2 1/4 teaspoons of yeast. Knead for 6-8 minutes in your mixer, or 10-15 minutes by hand.
At this point, you may need to add a bit more flour to get the bread to the right consistency. I added about 1/2 cup of extra flour. You want the dough to be pulling cleanly off the sides of the mixer but still be sticking to the bottom of the bowl. It can take practice to learn where the ‘magic spot’ is with your dough, but just keep trying. You’ll find it. It’s really important to not add too much extra flour during this step – you want the dough to be still sticky, but at least manageable.
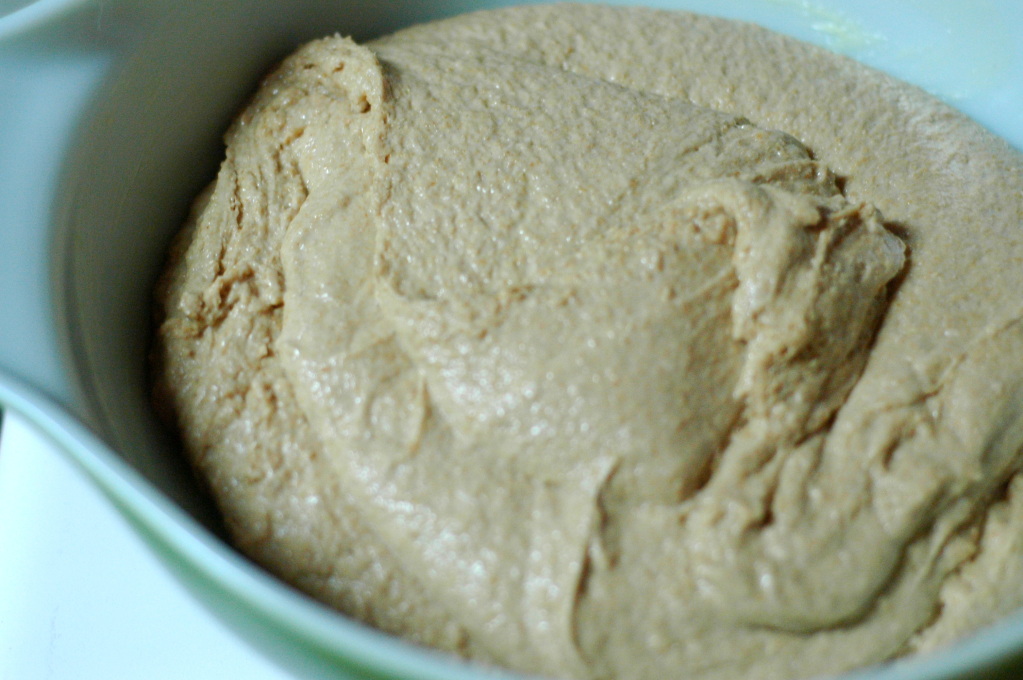 When the dough is kneaded and to the right consistency, transfer it to a buttered bowl, cover, and let rise for about 1 1/2 hours, or until you poke it with your finger and the hole doesn’t fill it.
Divide the dough into two equal pieces. On a floured surface, gently shape the dough into a loaf, tucking the sides and ends under.
Place each loaf in a buttered bread pan and allow to rise for another 45 minutes-1 hour, depending on the warmth of your home.
Again, knowing when the bread is ready takes time. You don’t want to let it over rise, or you’ll end up with bubbles and possible a collapsed loaf or two. But don’t let it rise enough, and you’ll end up with a flat, dense loaf. The more you make it, the easier it will be for you to know exactly what to look for in your specific pans.
I probably could have left mine out to rise for a bit longer, but I was in a rush. Wonderfully, the bread was not in the least bit dense.
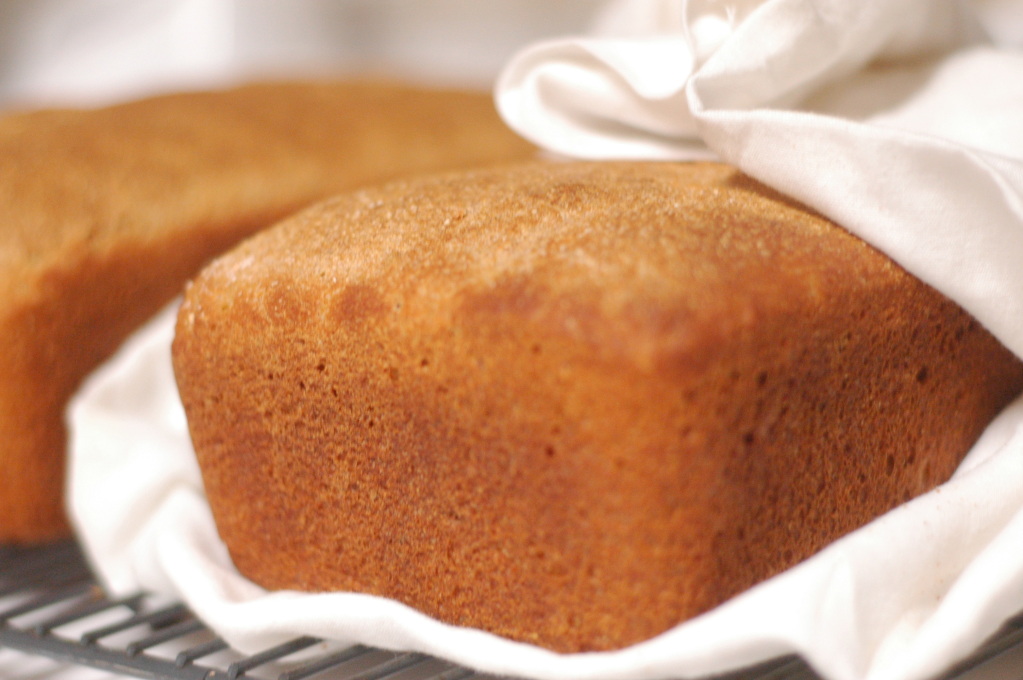
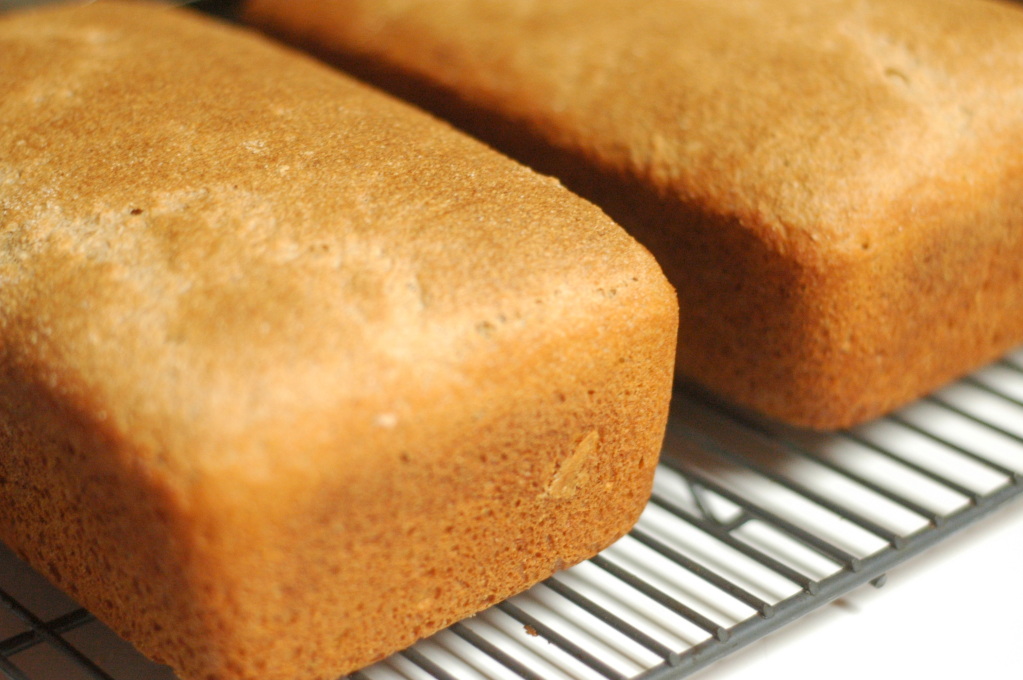
When the loaves have risen to your liking, place in a preheated 350 degree oven for 35-45 minutes, or until they are a dark golden and sound very hollow when tapped with your finger. I tend to error on the side of over-done, as there’s nothing worse than cutting into a freshly baked loaf that’s still doughy in the middle. Ain’t no comin’ back from that.
When the bread is finished, remove it from the oven and transfer to a wire rack until cool.
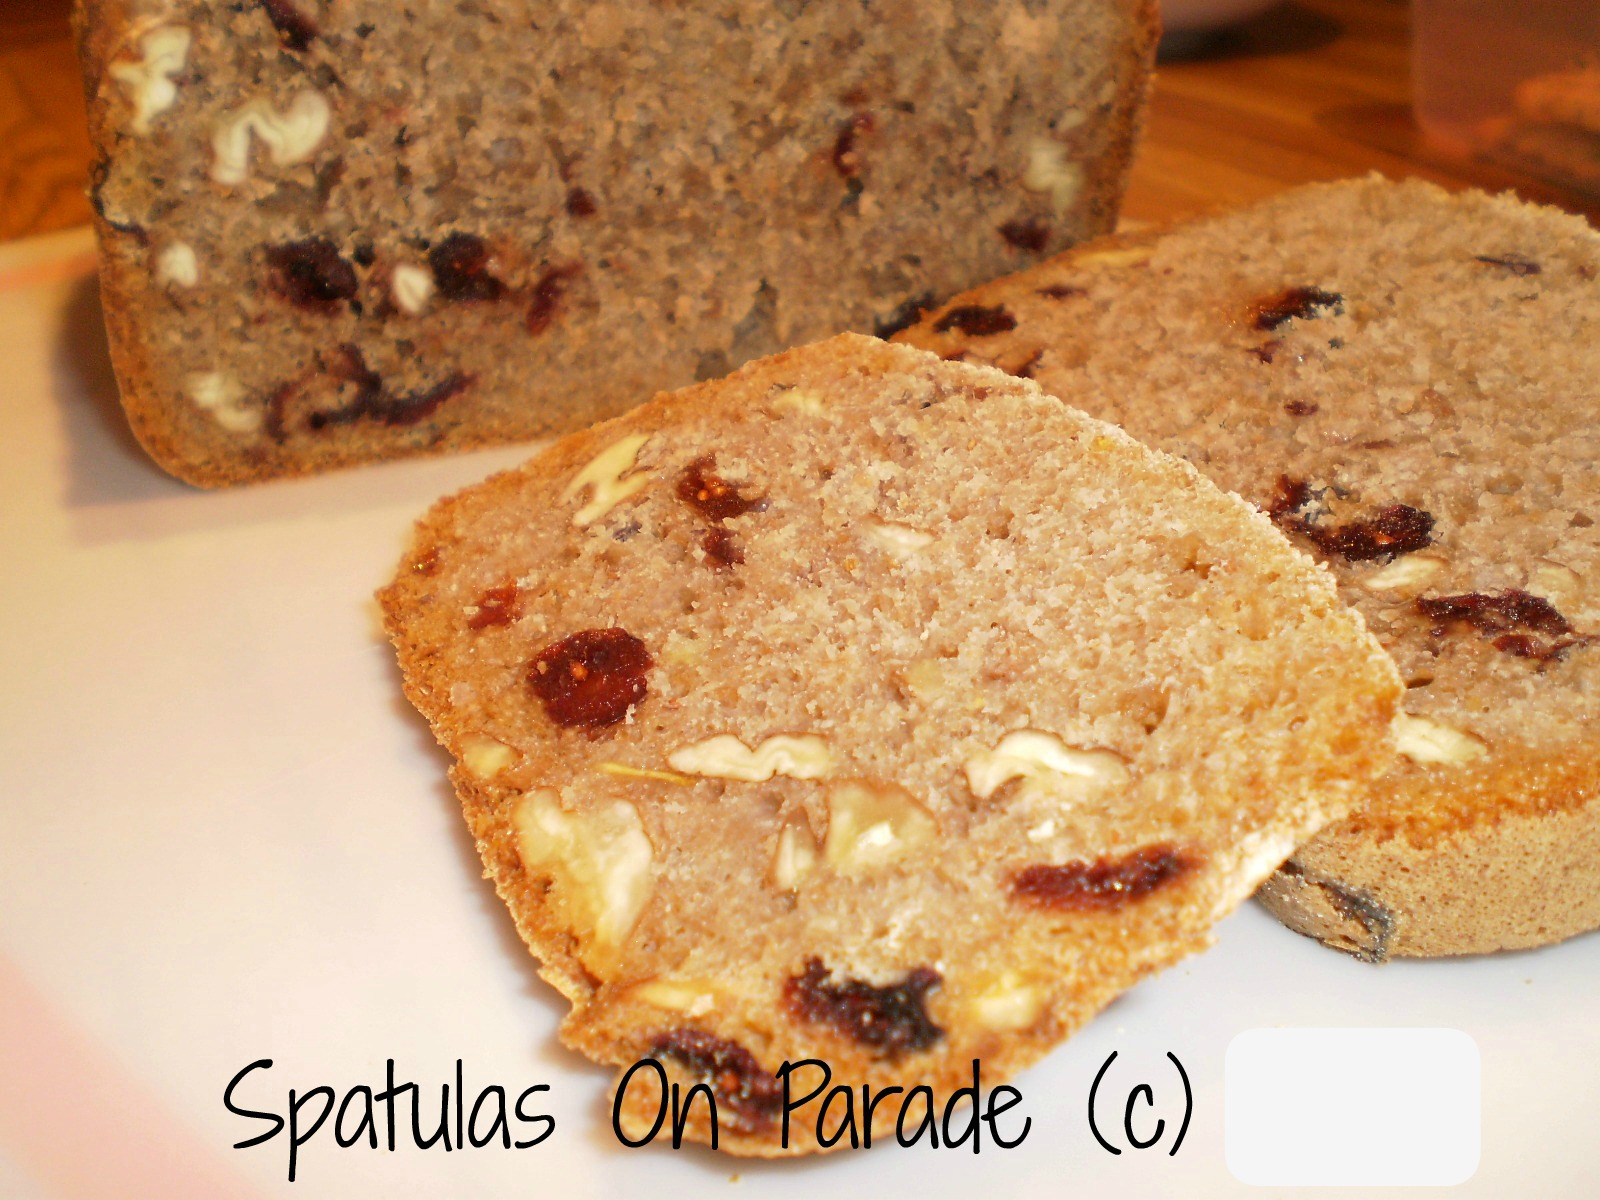
Ah, who are we kidding. I never wait until it’s cool before I shove my face in there. Today, I enjoyed my fresh bread with some dijon, cheddar cheese, and salami. It was fantastic.
If you didn’t ‘know’ this was soaked bread, you would have no idea. There is no tell-tale tang from using yogurt, which is nice when you want a neutral bread. It just has the pure, delicious, wheat-y goodness.
And it’s easy.
Once you find the magic spot for the dough rising, that is.
 Enjoy!