

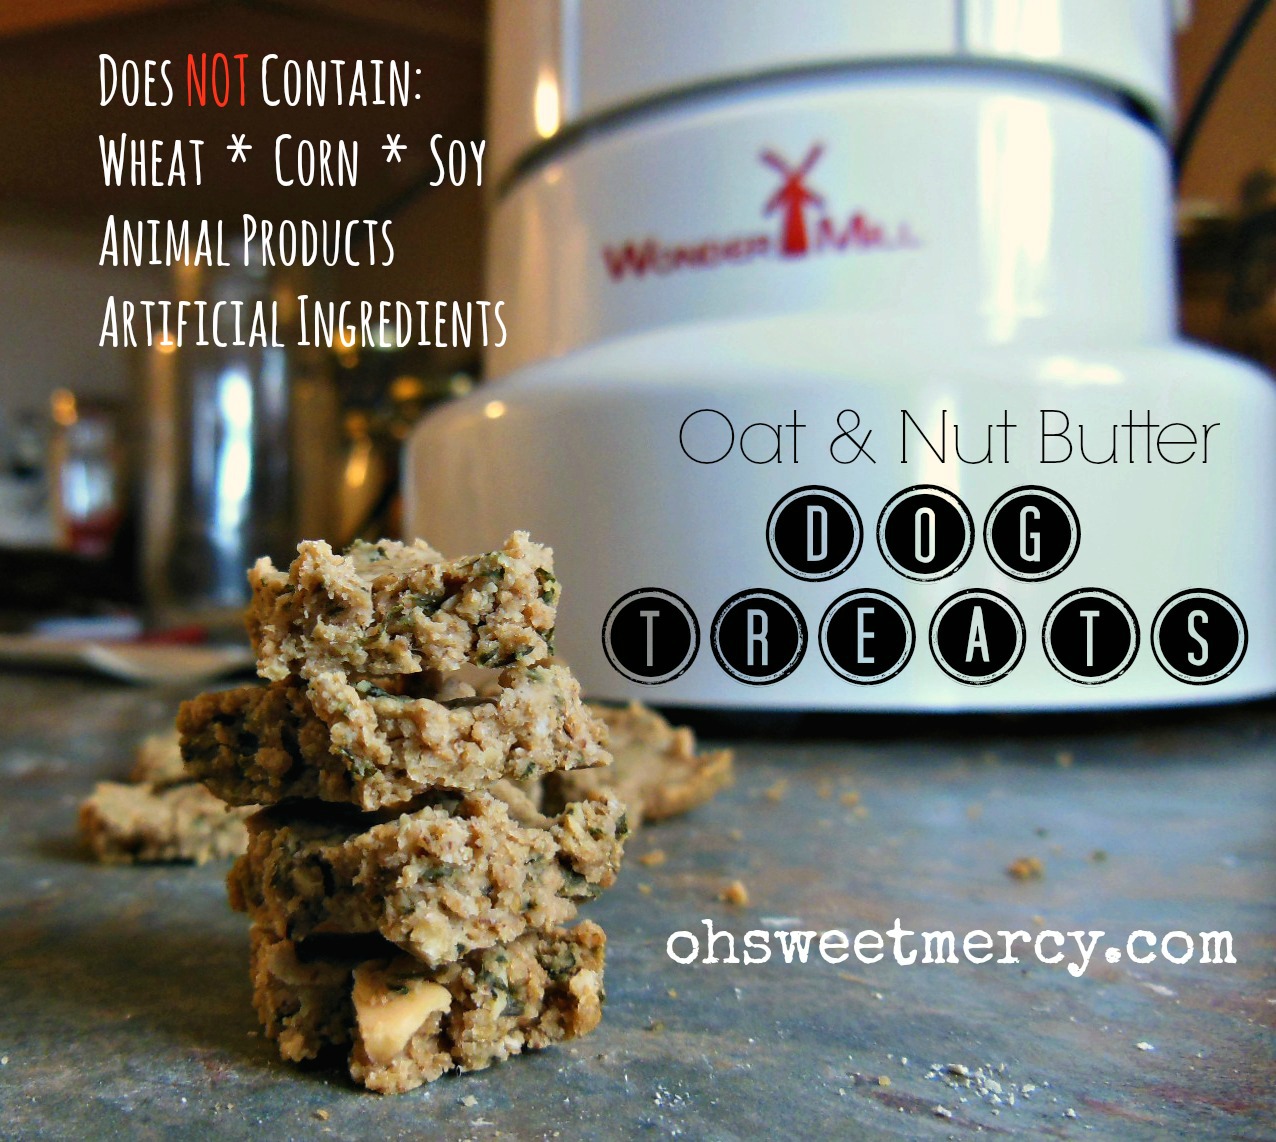
We try to eat real, whole foods here as much as we can and that also includes feeding our little fluffball healthy treats. It’s much more economical to make treats yourself and definitely more healthy since YOU control the ingredients.
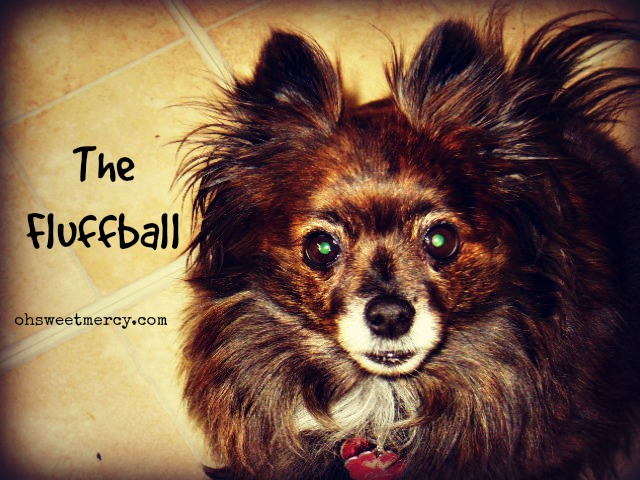
This is our sweet little “Yoranian” (or “Porkie”) – half Pomeranian, half Yorkshire Terrier. She LOVES our homemade treats!
This recipe is super easy and can make a lot of treats, depending on how you cut them. Our dog has a tendency to get “fluffy” so we make small, approximately 1/4″ square, treats. One time I got over 100 small treats! They would be a great size for training treats. You can easily roll this dough out and use cookie cutters to make fun shapes, but your yield will be less.
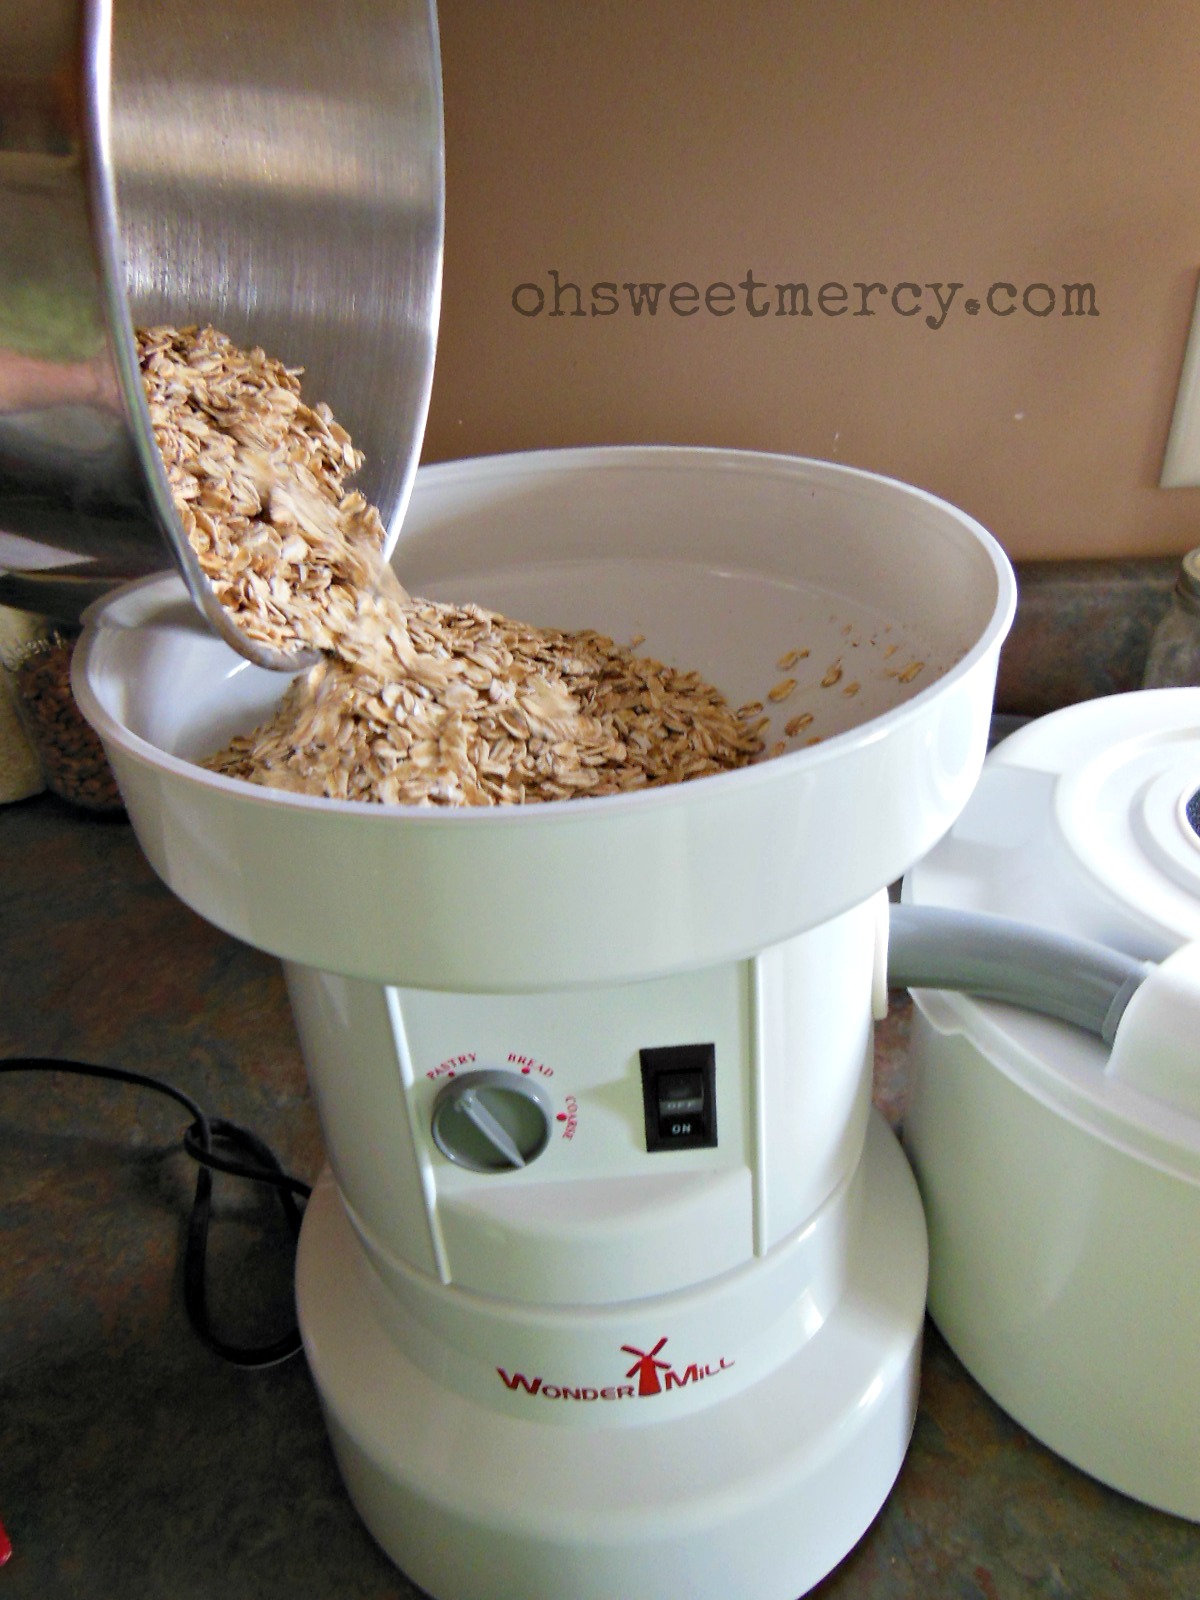
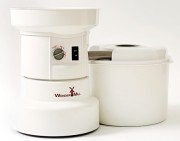
You can use any flour for this recipe, we used a mix of finely ground oat flour and some blender ground oat flour – what a difference the WonderMill made! I planned on using the oat flour later for a recipe that really needed the flour to be fine, so I used the pastry setting on the WonderMill. It is definitely more fine and smooth than the flour I had “ground” in my blender before I had this wonderful grain mill.
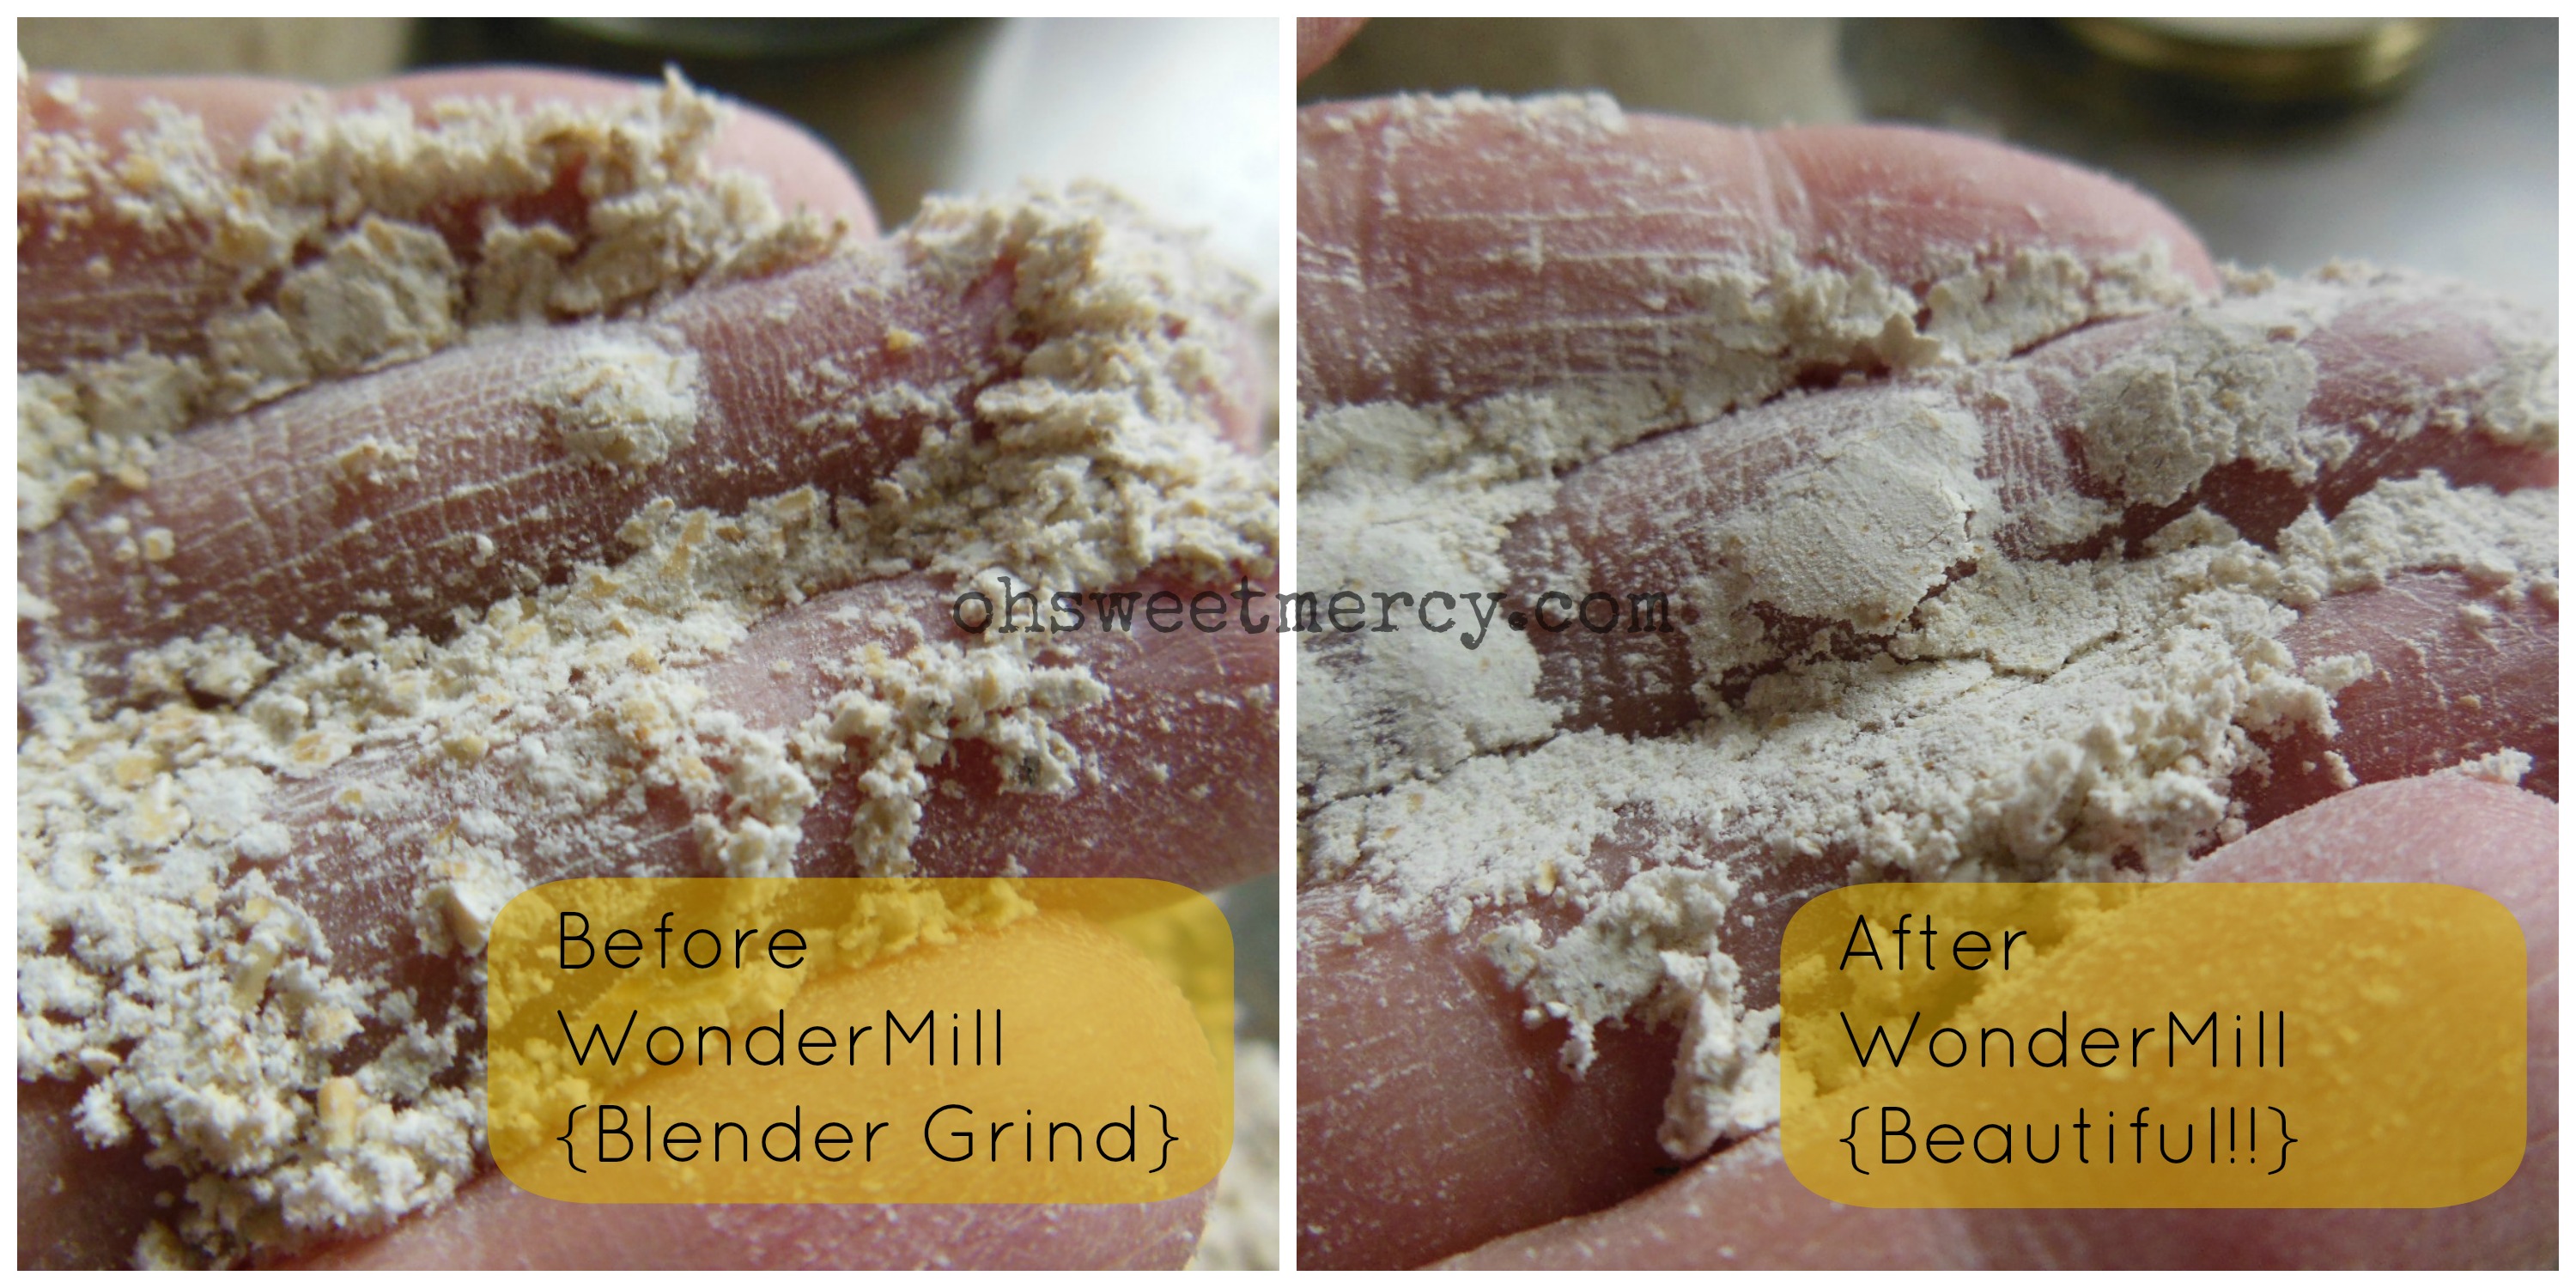
The flour on the left was “ground” in my blender, before I got my WonderMill. As you can see, it is very coarse. That’s fine for some things, but for many other recipes you need something a bit more fine. My WonderMill is making my gluten free baking much more easy and affordable. The photo on the right shows oat flour ground on the pastry setting. Much more fine!
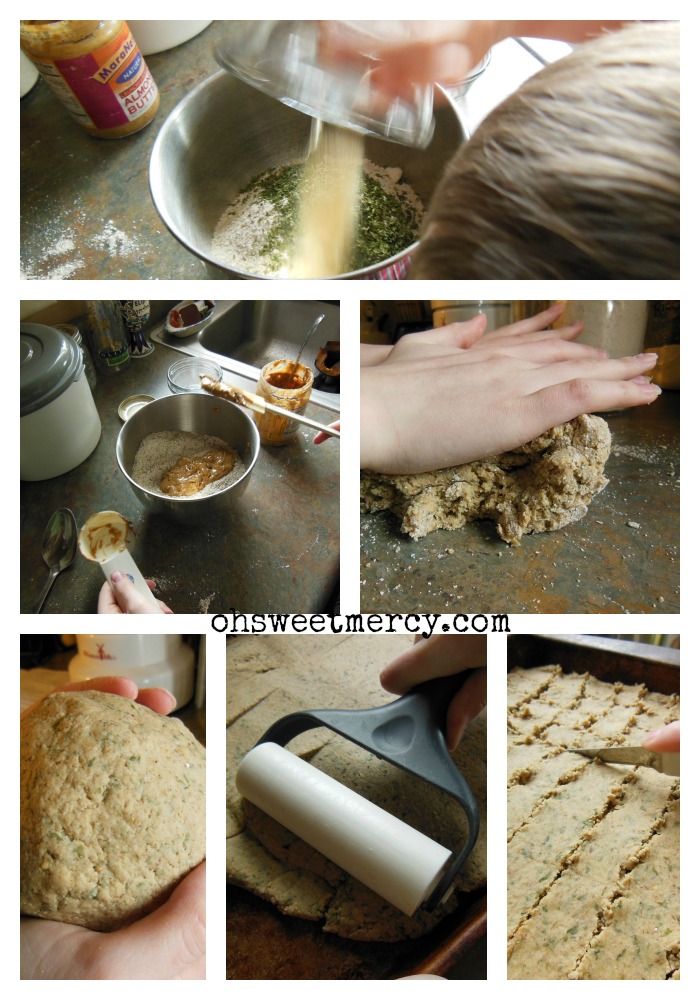
To make these super easy and healthy treats for your furry friend, simply combine the dry ingredients first, then add the wet. Since freshly ground flours absorb differently, you may need to add more flour or water depending on the type of flour you choose. You want a dough that is not super sticky and can be kneaded.
Sprinkle a little flour on the counter and knead the dough for a few minutes until it forms a nice, smooth ball.
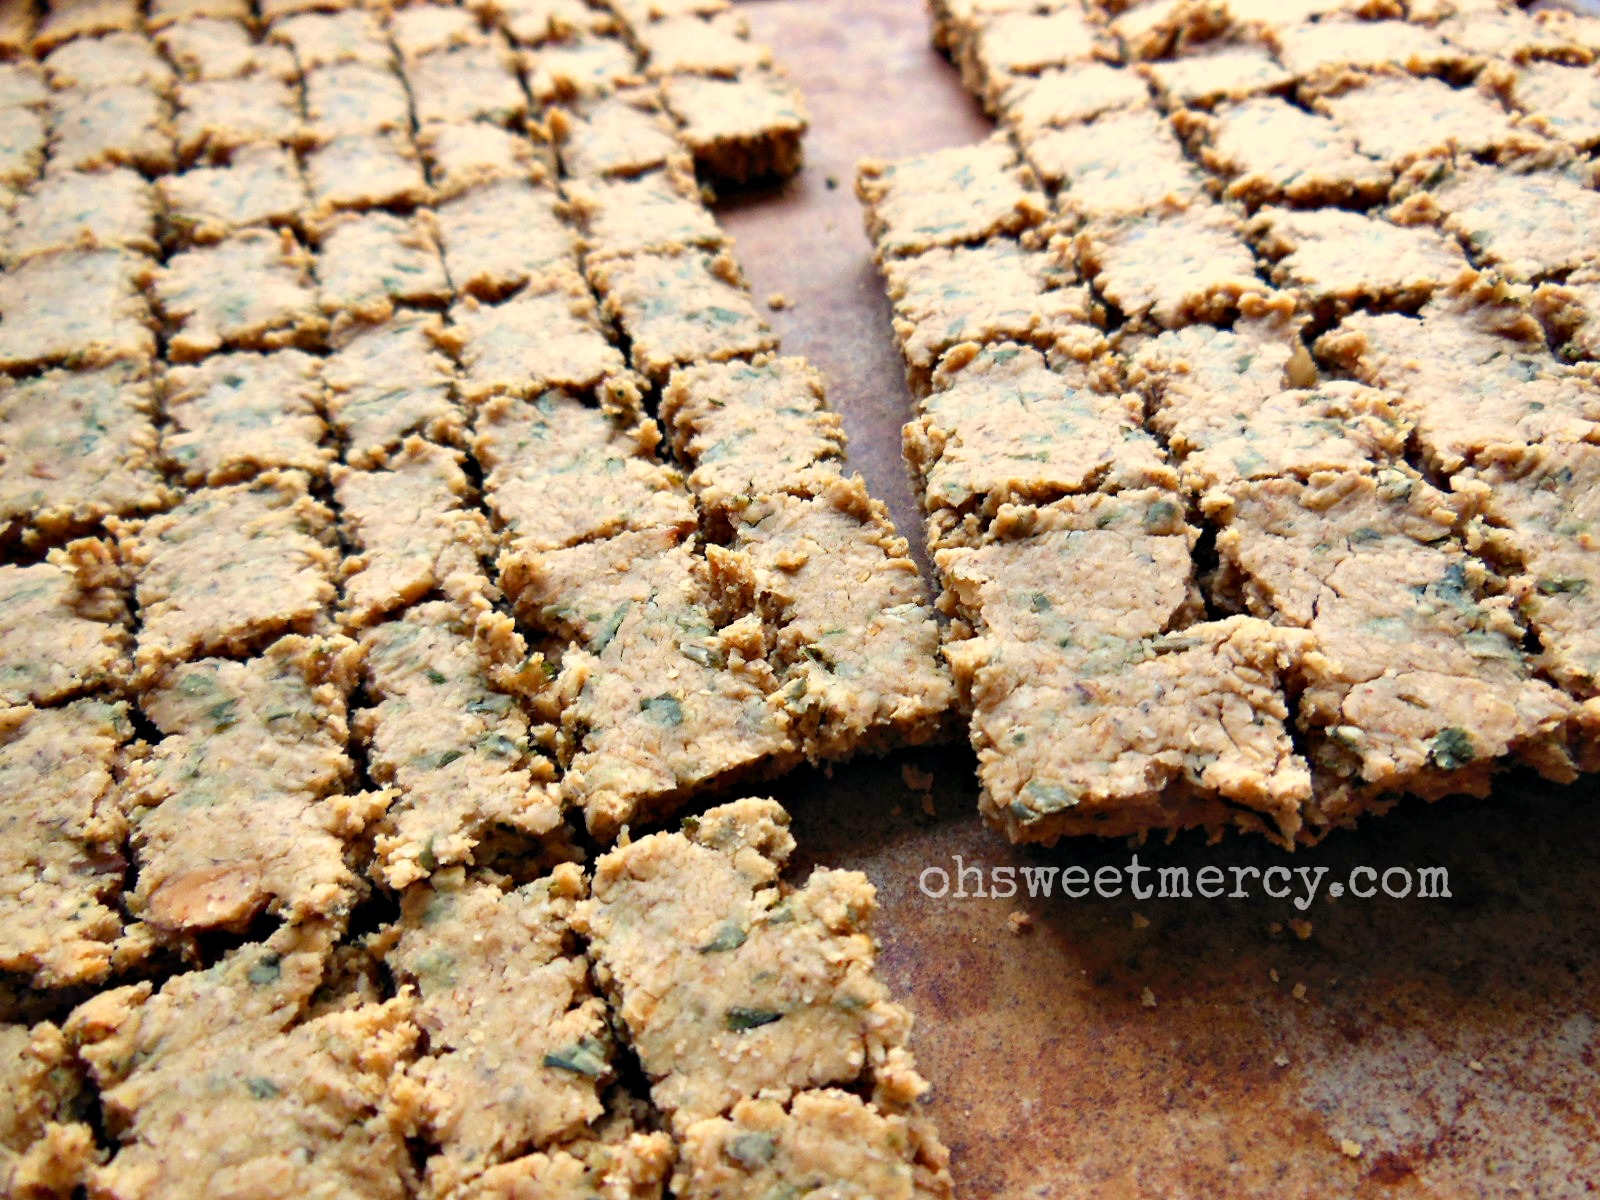
For small, square treats roll the dough into a rectangle baking sheet. Stoneware baking sheets are terrific for this recipe. Be sure to roll the dough out as evenly as you can. Cut the dough into as many small squares as you’d like. One time, I got over 100 treats. I just eyeball it when I’m making them, so I’d say I get anywhere from 80-100 treats on average. Our dog is small, and we don’t want to give her too many each day so we make them small enough to reward her often without worrying about her “waistline.”
For shaped treats, roll the dough out to the thickness you want and use cookie cutters. The size, shape and thickness can affect baking time.
Bake for approximately 40 minutes in a preheated oven. You can leave them in overnight to make sure they harden, but I’ve found that these small, square treats harden very nicely right away. The dog can hardly wait when we make them, so that’s a good thing. Bigger or thicker shaped treats may need to dry out overnight.
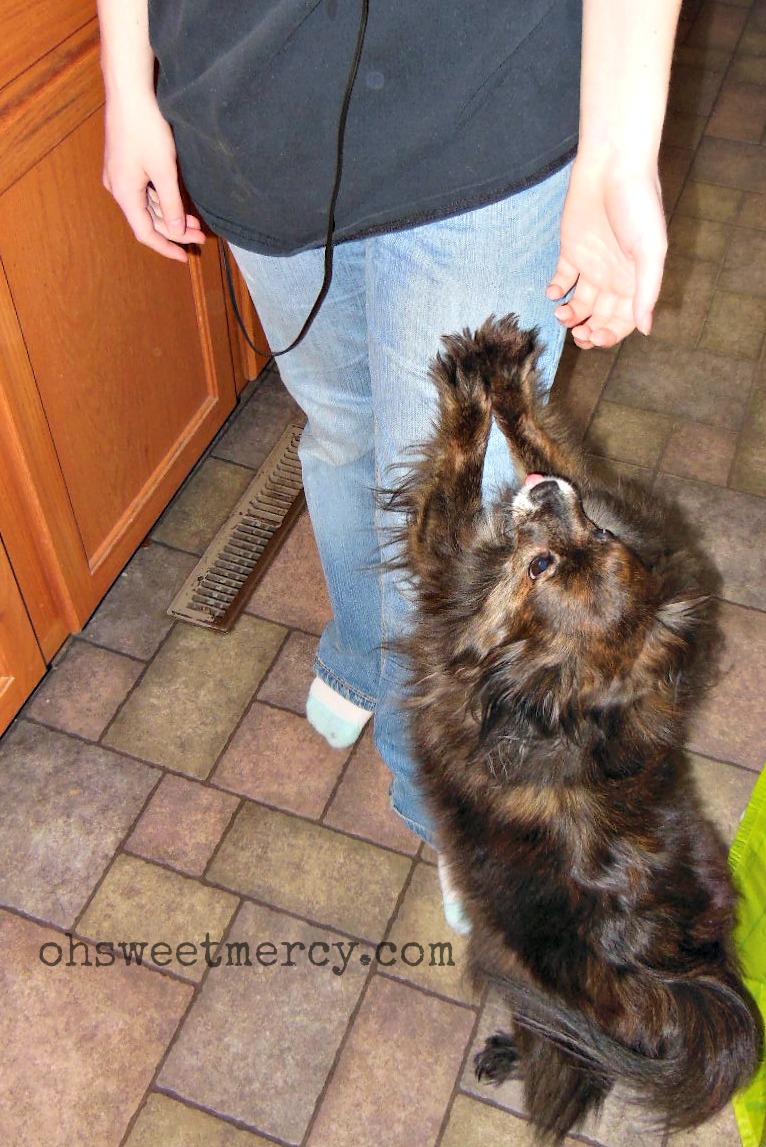
Chloe can hardly stand to wait for her treats to cool off when we make them. She hangs out in the kitchen the whole time.
The treats will break apart easily once they’re cool. Be sure to let them cool completely, and make sure they are completely dry, before storing them in a sealed container. Since they do not have eggs or dairy in them, they don’t need to be refrigerated.

- 3 cups oat flour, plus more for kneading and if the dough is sticky
- ⅓ c nut butter, such as peanut or almond
- 1¼ c hot water
- 1 tsp garlic powder (optional)
- ¼ c dried parsley (optional)
- Preheat oven to 350
- Mix dry ingredients
- Add nut butter and hot water and mix well
- Add more flour as needed if the dough is sticky
- Sprinkle flour on kneading surface and knead the dough a few minutes until it is smooth and not sticky.
- Roll dough to ¼" thickness and use cookie cutters to cut out treats OR
- Roll dough into a rectangle cookie sheet and cut into ¼" squares
- Bake for 40 minutes, then leave in oven overnight to harden. You can also crack the oven door a bit to let moisture escape.
- Yield depends on size and shape of treats


One Response to Oat and Nut Butter Dog Treats