It finally stopped raining and now it’s hot! Too hot to be in the kitchen baking. So what’s a baker to do? Head out to the grill, that’s what.
Making pizza on the grill is fun and delicious! If you haven’t tried it yet, now’s your chance.
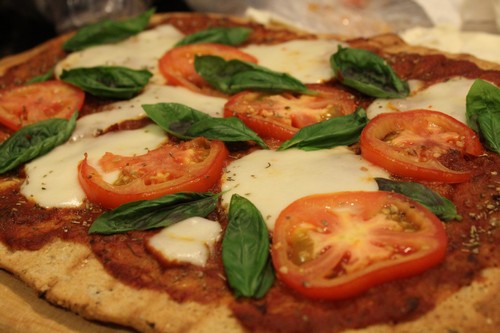
This past weekend, I visited a friend who had never tried grilled pizza. So I decided to introduce him to Queen Margherita Pizza.
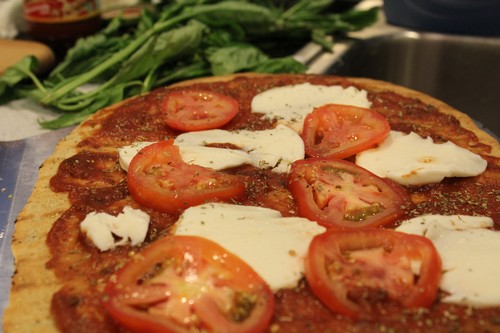
Authentic Margherita pizza uses simple and fresh ingredients. According to legend, a baker named Tony, from Naples, made this pizza in honor of Queen Margherita. The green (basil), red (tomatoes), and white (mozzarella) represent the colors of the Italian flag.
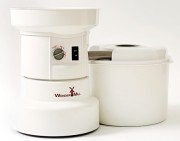
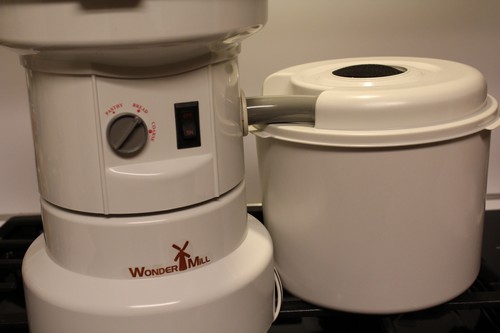 For the pizza dough, I used a mixture of all-purpose Spelt flour and whole grain spelt flour that I milled in my WonderMill Grain Mill. I also added some Herbes de Provence to give the dough a boost in flavor. I had tried this with the Pepperoni Braid I made a few months ago and it really made a difference.
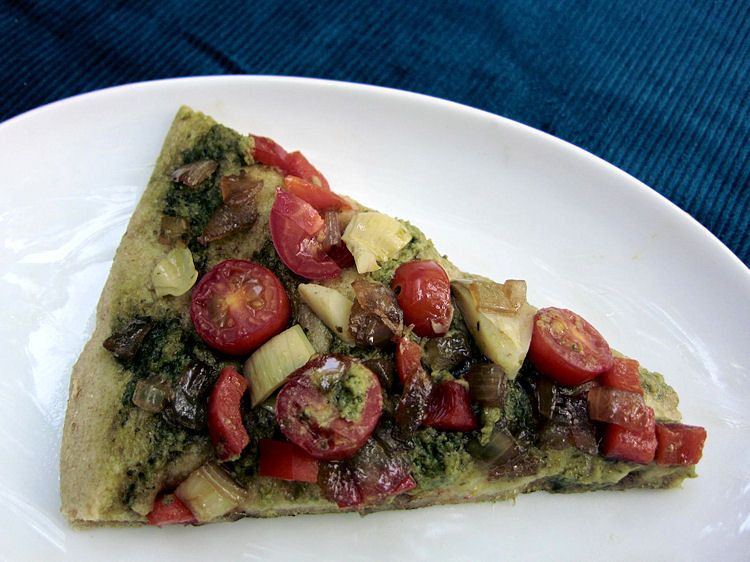
For the toppings, I used fresh tomatoes and basil from my garden, and fresh mozzarella. I also added some pizza sauce and Italian herbs so the grilled dough flavor didn’t overtake the other flavors. Since my version has a couple of personal touches, it’s not really authentic, but it sure was good.
Makes: Two 10-ounce Pizzas
- 10 oz all-purpose Spelt flour, plus additional for dusting
- 3 oz whole wheat Spelt flour
- ¾ teaspoon instant yeast
- 1 tablespoon olive oil, plus more for brushing
- ¾ tablespoon honey
- 1 cup water, room temperature
- 2 teaspoons Herbes de Provence, optional
- Prepared pizza sauce (or use this crushed tomato sauce)
- Fresh tomatoes, sliced
- Fresh basil leaves
- Fresh mozzarella, sliced
- Italian Herbs (or herbs of your choice, sprinkled to taste)
- Combine all the ingredients in the bowl and mix for one minute, using a Danish dough whisk, wooden spoon, or an electric mixer with the paddle (not the dough hook) to form a coarse, sticky dough ball.
- Let the dough rest for five minutes, then mix again for one minute to make a smooth, very tacky ball of dough.
- Transfer the dough to a lightly oiled work surface, rub a little oil on your hands, and fold the dough into a smooth ball. Place it in a lightly oiled bowl, cover with plastic wrap, and immediately place in the refrigerator. The dough can be used anywhere from 6 hours to three days after it goes in the fridge.
- Take the dough out of the refrigerator two hours prior to when you plan to bake the pizzas. Divide the dough into two 10-ounce pieces.
- Form each piece into a tight dough ball and place on a lightly oiled pan. Mist the dough balls with spray oil and cover loosely with plastic wrap, or place the pan inside a large plastic bag. Give the dough balls at least 90 minutes to wake up at room temperature (less on a hot day, longer on a cold day) before making the pizza.
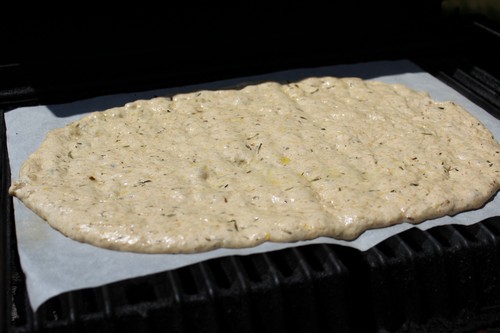
- Since I was doing this at someone else’s house and the kitchen was not very close to the grill, I spread the dough out onto greased parchment paper. You could also use foil if you don’t have or don’t want to use parchment paper.
- Drizzle the top of the dough with olive oil to create a crispy crust. Transfer the pizza (on the parchment paper) to the preheated grates using a pizza peel or the back of a baking sheet.
- Close the lid and grill the first side for 3 minutes. Don’t peek! Check the crust and if necessary, let it continue grilling a few more minutes until the bottom is well marked and nicely browned.
- Remove the parchment paper after 3 minutes in order to get the nice grill marks and keep the bottom from getting soggy.
- If you have a work surface close to your grill, then you won’t need the parchment paper. Just grill the pizza directly on the grates. Begin by dusting your work surface with corn meal or polenta and place the ball of dough in the middle. Roll it out using a rolling pin, stretch it with your hands, or press it out from the center.
- Drizzle both sides of the dough with olive oil (about 2 tablespoons). This will create a crispy crust.
- Pick up the dough by the two corners closest to you and in one motion, lay it down flat on the cooking grate from back to front like you would put a tablecloth down on a table.
- Close the lid and grill the first side for 3 minutes. Don’t peek! Check the crust and if necessary, let it continue grilling a few more minutes until the bottom is well marked and nicely browned.
- After first side is ready, use tongs or a pizza peel to transfer the pizza to a rimless baking sheet or a wooden cutting board.
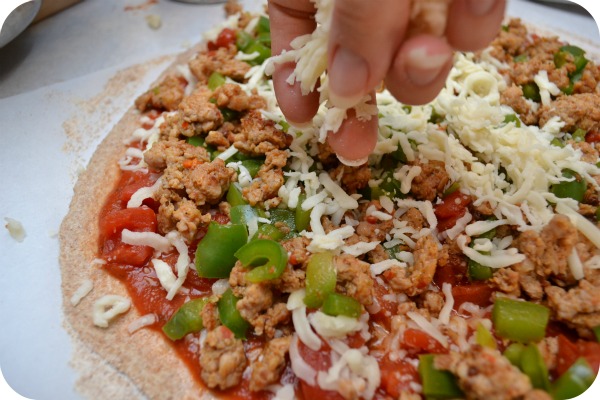
- Flip the pizza so that the grilled side is on top. Spread the entire surface with the sauce, sprinkle with the Italian herbs (if using), then top with cheese, and fresh tomatoes.
- Switch the grill to indirect heat by turning off the center burner(s) if you have a three- or four-burner grill. For a two-burner grill, turn off one burner. Carefully place the pizza on the grate over indirect heat and grill the pizza, with the lid closed, until the bottom is well browned and the cheese is melted, about 7 to 10 minutes.

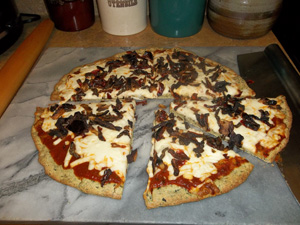
Remove the pizza from the grill and garnish it with the basil. Slice and serve immediately. We did! It was delicious!
Happy Grilling!
Cathy