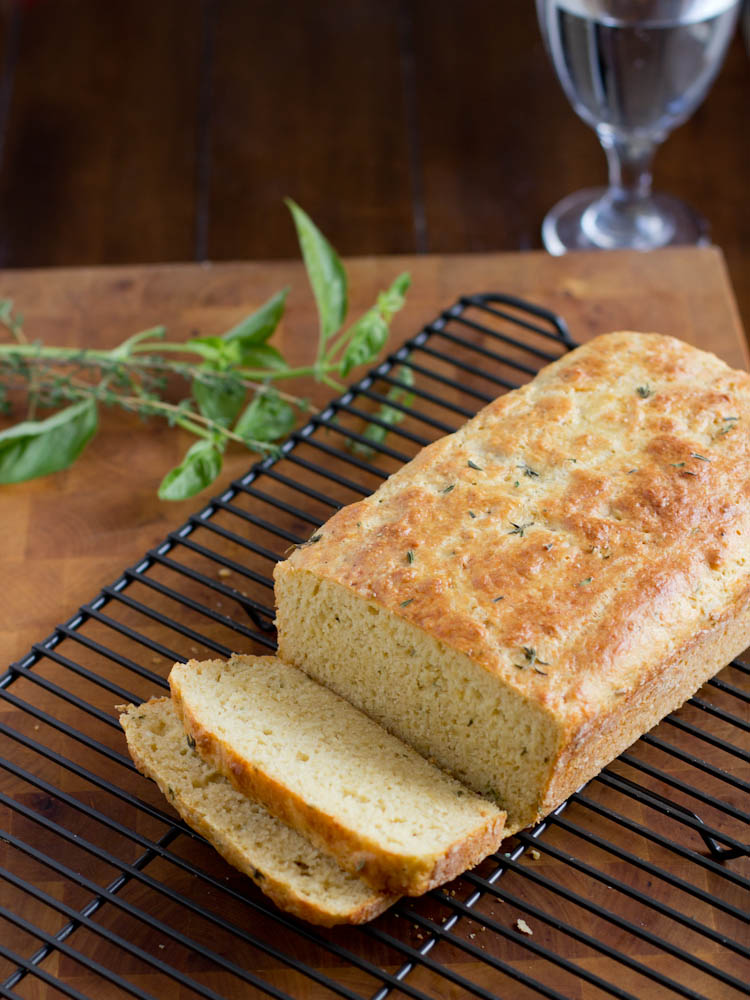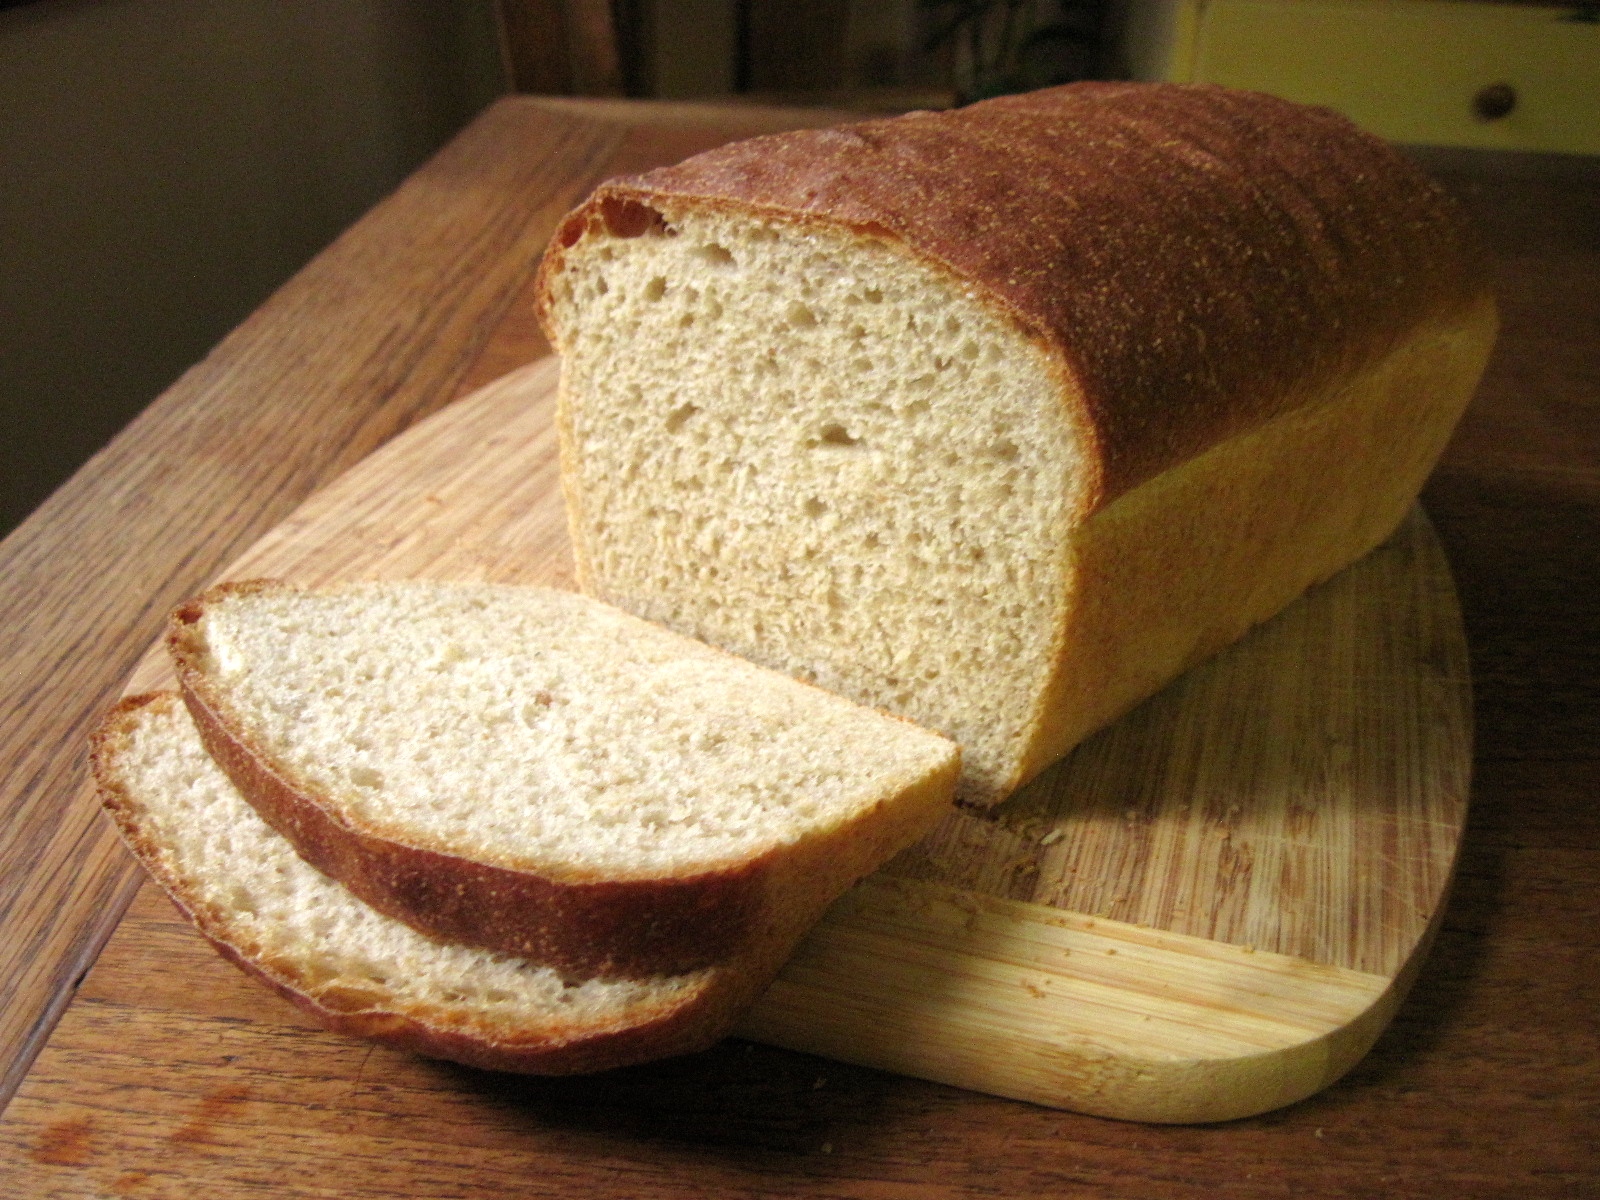
What is it about bread? Every loaf basically has the same ingredients. Flour, water, salt, yeast, and maybe some enrichment from oil, eggs, or sugar. Yet you can produce an amazing array of breads that are so different from each other.
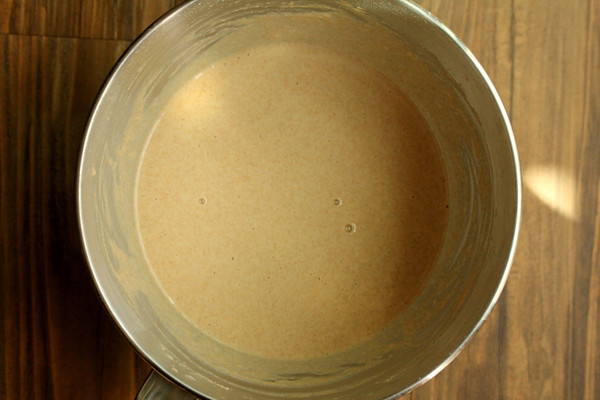
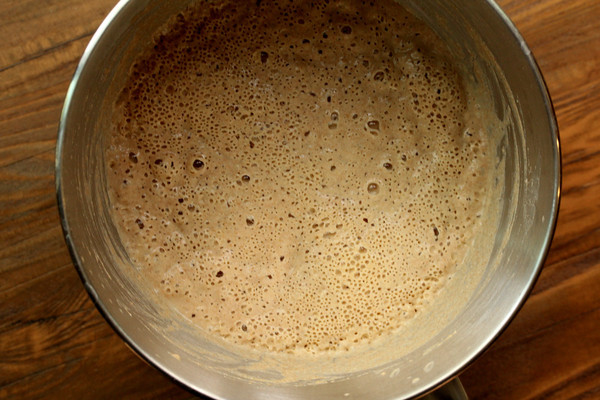
This particular bread begins with a starter of yeast, water, and freshly ground whole wheat flour. It is allowed to sit for at least 30 minutes and up to eight hours for the flavors to develop. Since the flour is warm from the milling, the preferment gets going pretty quickly. Check out these bubbles!
Once you have the starter going, add the rest of the flour, create a relatively firm dough, and allow it to double.
Because this is summer, and the air is humid, I had to add a few extra tablespoons of flour to the dough as I was kneading it in the mixer. The dough should be fairly firm and not at all sticky. The dough should be quite smooth.
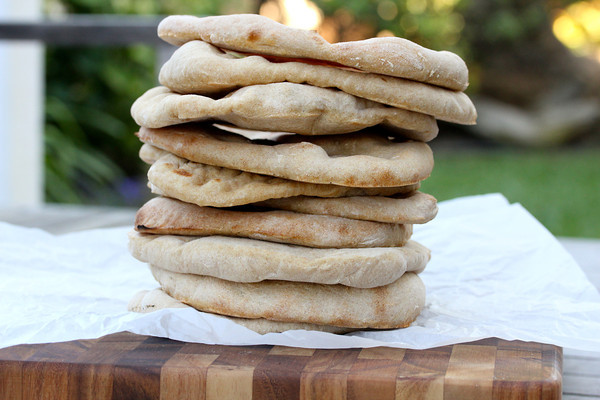
I used some of these pitas for pizzas, and baked the rest as regular pita breads. We had some ground lamb on hand so we made lamb burgers, added lettuce, tomatoes, cucumbers, and a yogurt sauce, and used the pitas in the place of hamburger buns.
We used sweet onion, ground allspice, ground coriander, cinnamon, garlic, mint, and salt and pepper for the ground lamb, and were really pleased with the flavors.
This recipe has been adapted from Baking with Julia edited by Dorie Greenspan.
- 1 tsp active dry yeast
- 2½ C tepid water (80 to 90 degrees F)
- 2½ C whole wheat flour
- 1 T salt
- 1 T olive oil
- 2½ to 3½ C unbleached all-purpose flour
- Mix the yeast and water together in the bottom of a stand mixer.
- Add the whole wheat flour and stir until fully combined.
- Cover the bowl with plastic wrap and let sit for 30 minutes to 8 hours.
- Sprinkle the salt over the top of the mixtures.
- Add the oil.
- Mix with a spoon or dough whisk.
- Add the flour, one cup at a time, and stir. When you can no longer stir with a spoon, move the bowl to the stand mixer, and using the dough hook, knead for about 8 minutes. You can also knead by hand.
- The final dough should be fairly firm and shiny.
- Let the dough rise in an oiled bowl or bucket until doubled in size, about 2 hours.
- Preheat the oven to 500 degrees F with a pizza stone on a rack placed on the lowest rung.
- Once the dough has doubled, divide it into four pieces and cover each piece.
- Working with one piece at a time, divide it into four pieces and form each piece into a ball. Press or roll each ball into a 6 to 8 inch disk.
- Bake each disk for up to 7 minutes flipping half way through. Each piece should puff up as it is baking.
- Cool each piece on a cooling rack, covered with a towel.
- Enjoy!