

Sprouted grains are very beneficial to our health. Sprouting neutralizes antinutrients like phytic acid, which bind up important minerals making it difficult for our bodies to absorb them. Sprouting also activates enzymes, enhances vitamin content, and increases key nutrients. Sprouted grains are easier to digest and are said to be potentially less allergenic to those with protein sensitivities.

This process provides “prepared” grains and eliminates the need for further soaking or souring.
Here’s how…
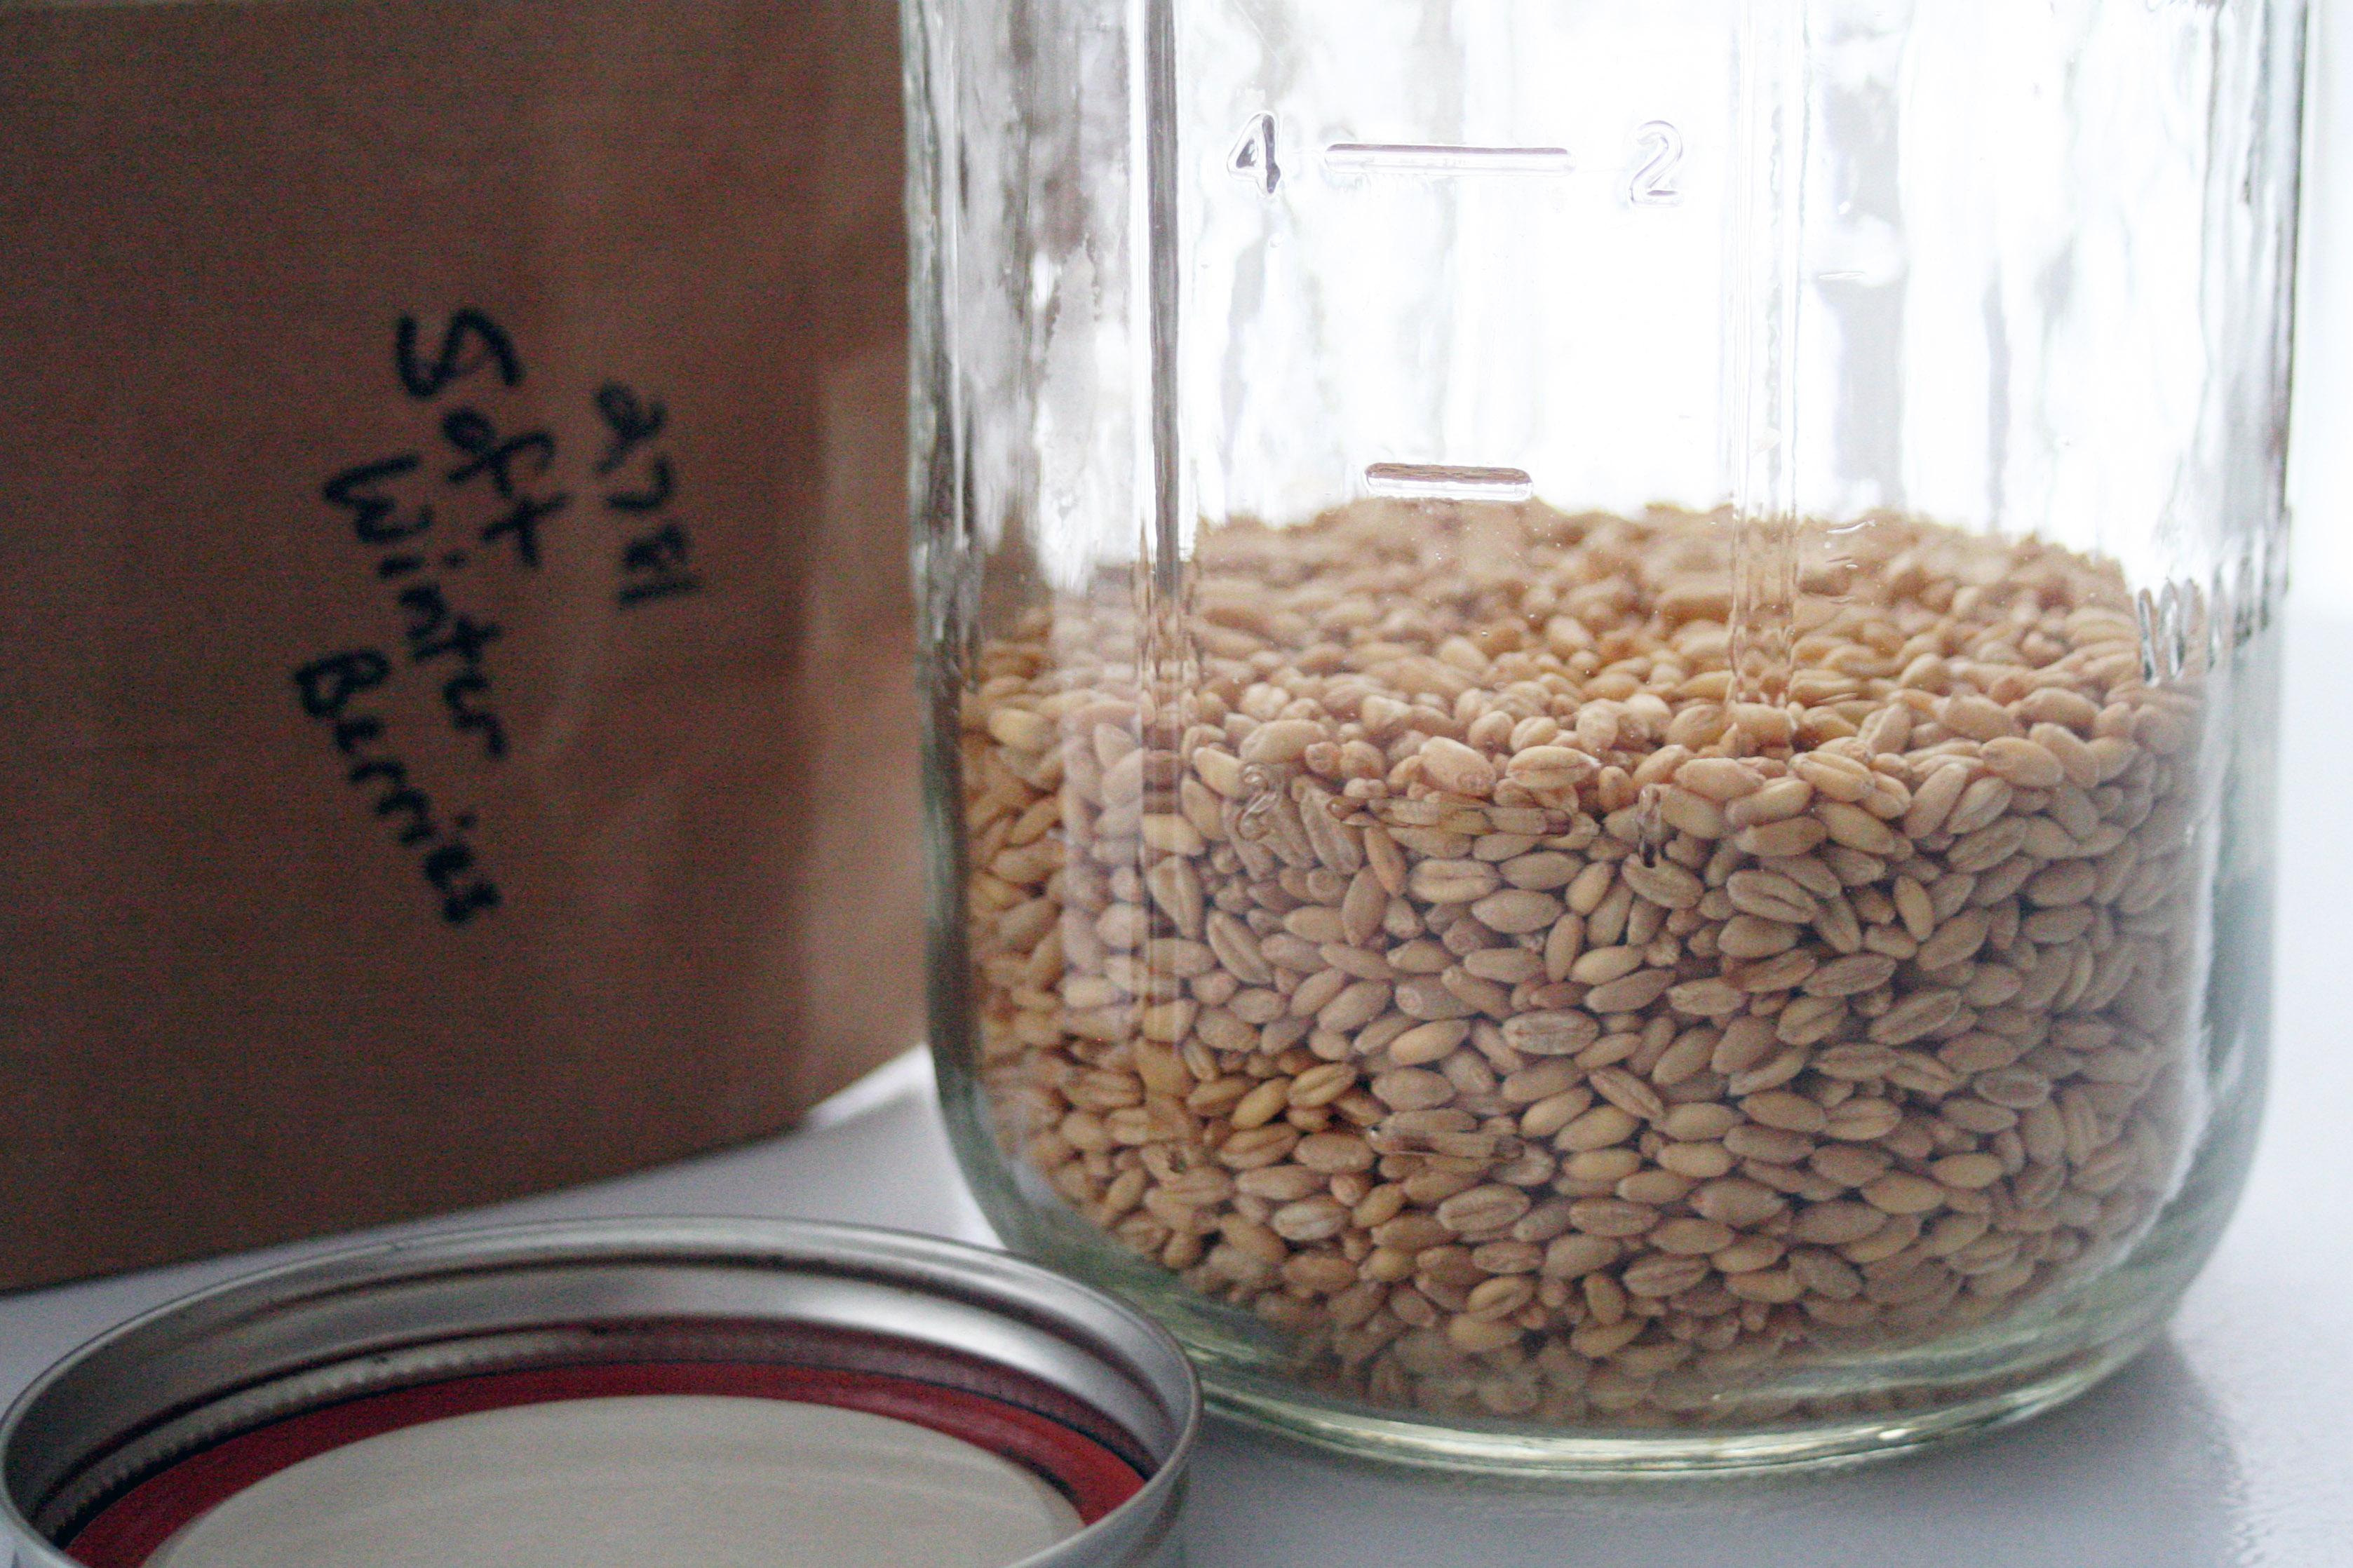
Place clean grains (pebbles picked out) into a large jar. I used two cups of soft winter berries and a half-gallon canning jar.
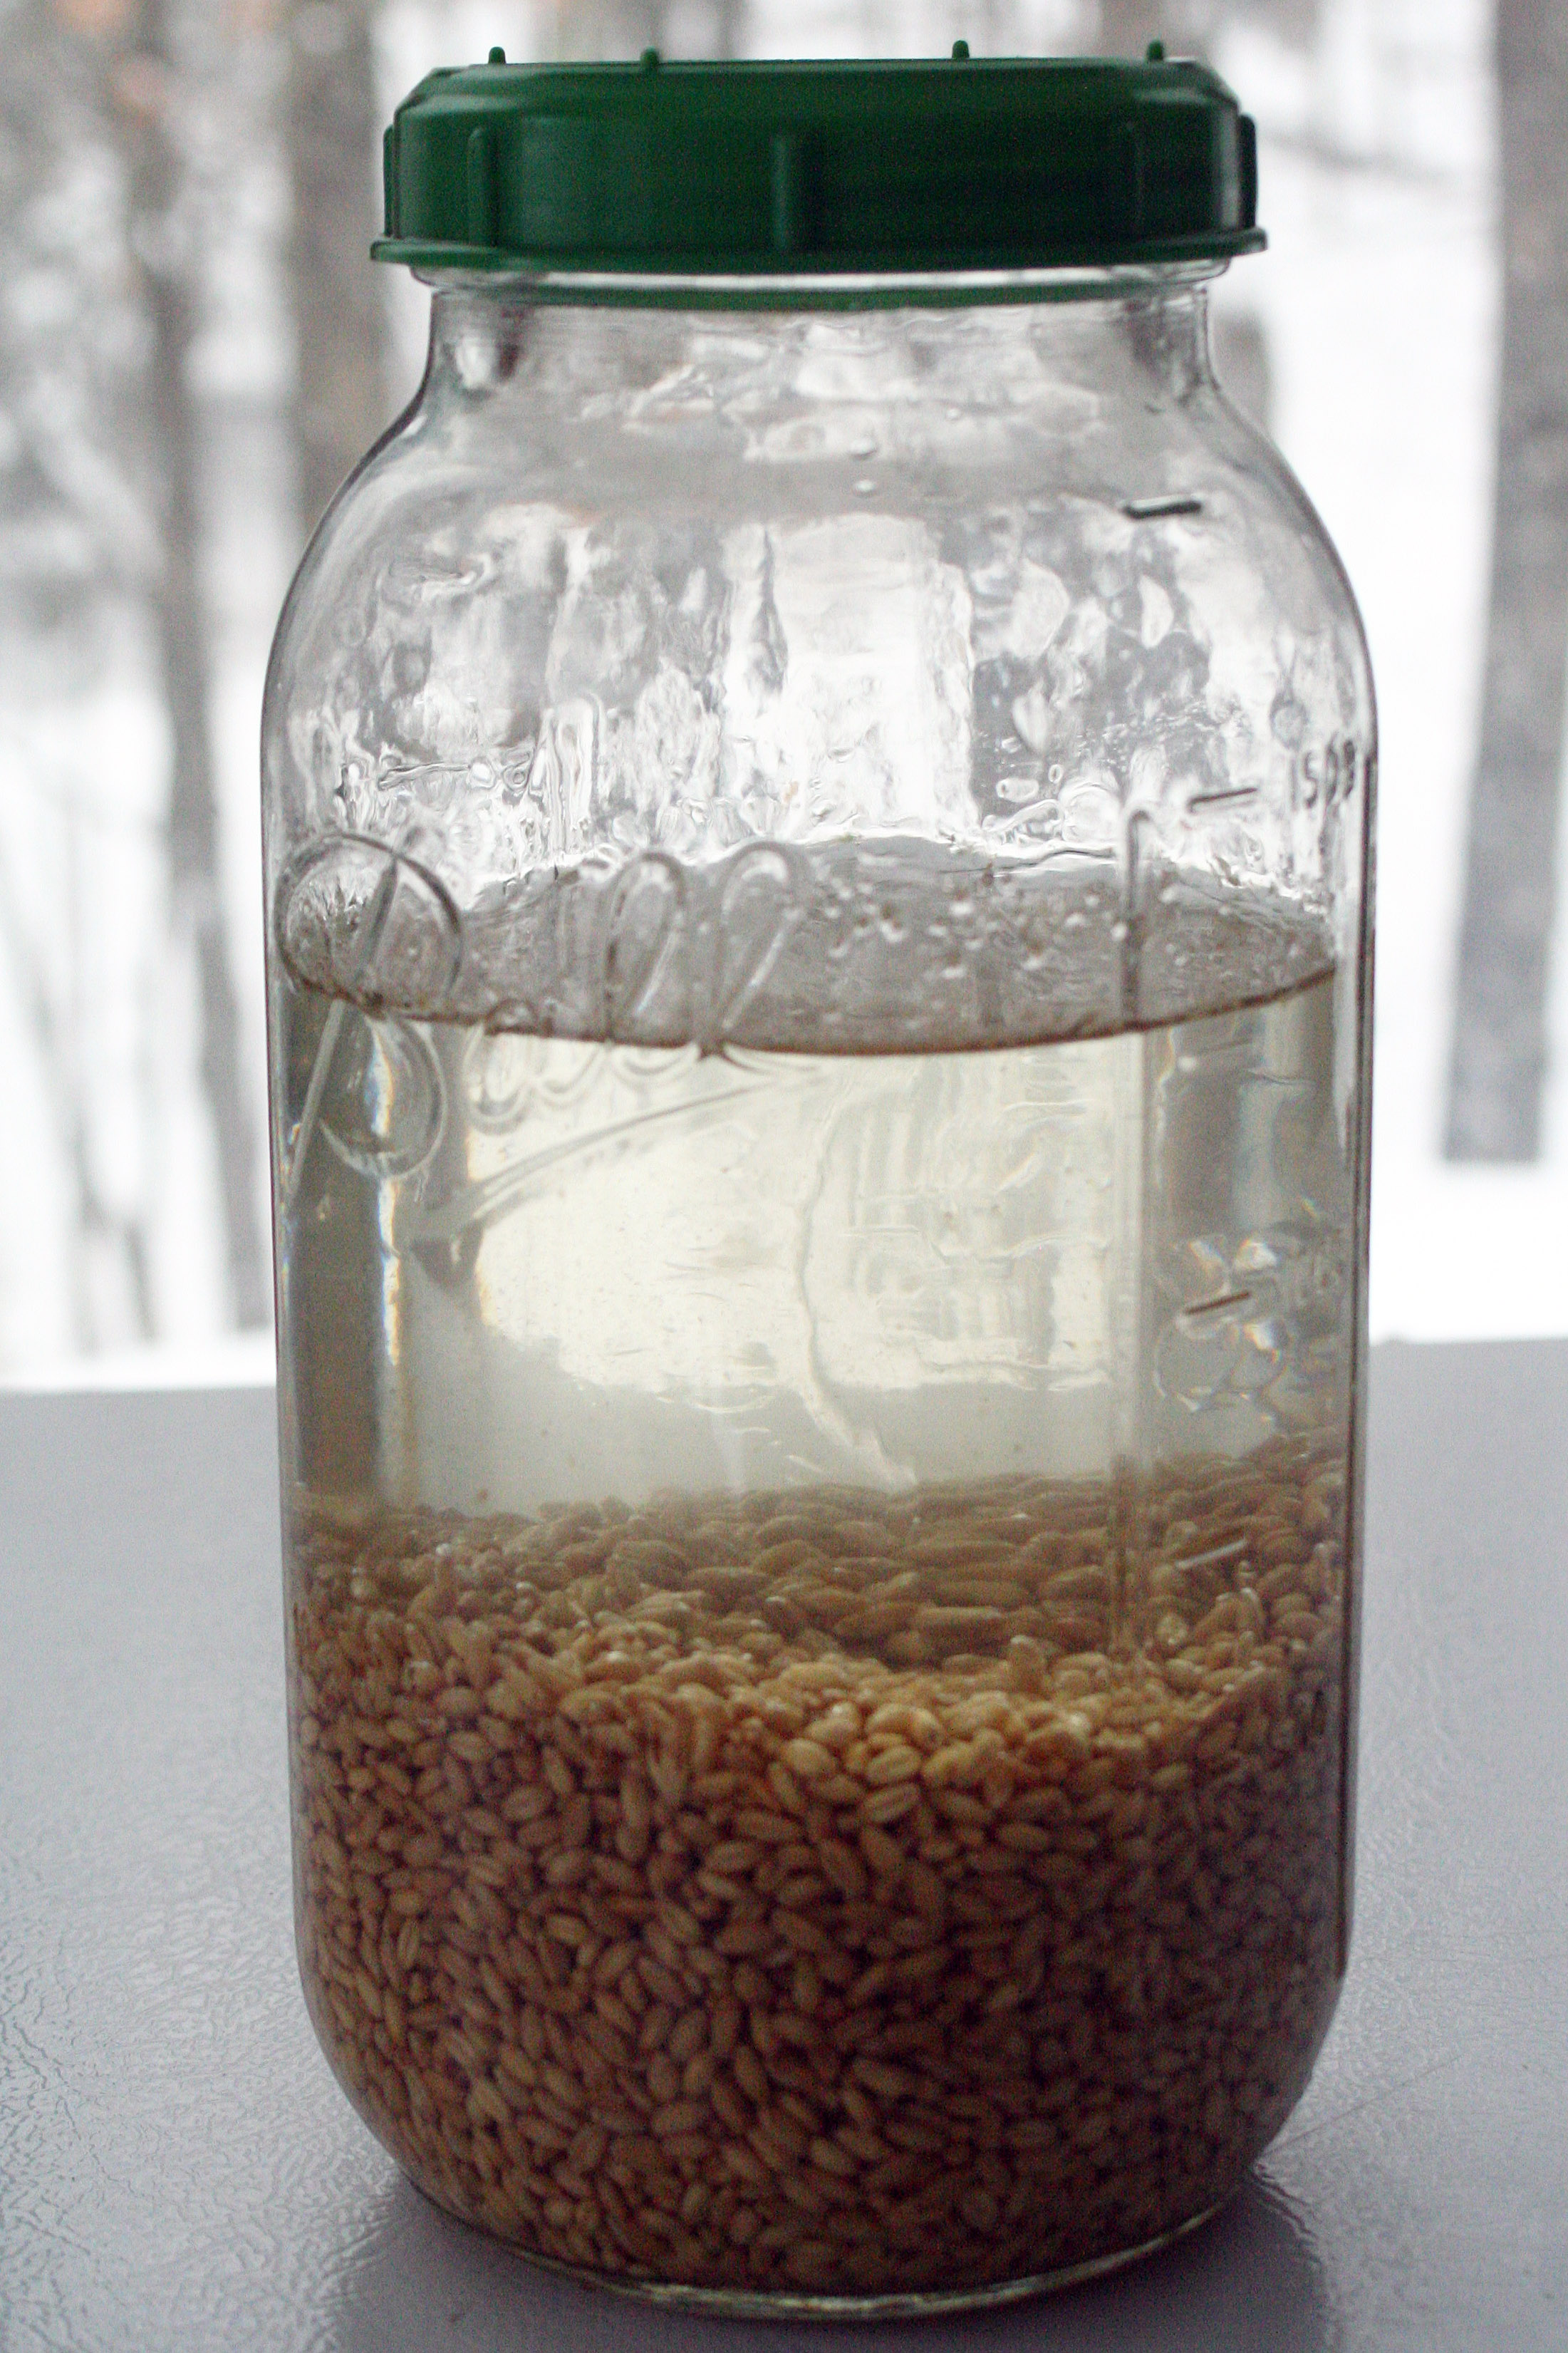
Cover with filtered water so that the grains are submerged by several inches and top with a sprouting lid (if you have one), or simply cover with a clean towel. Store in a dark location at room temperature for 24 hours. I just keep mine on the kitchen counter in a dark corner.
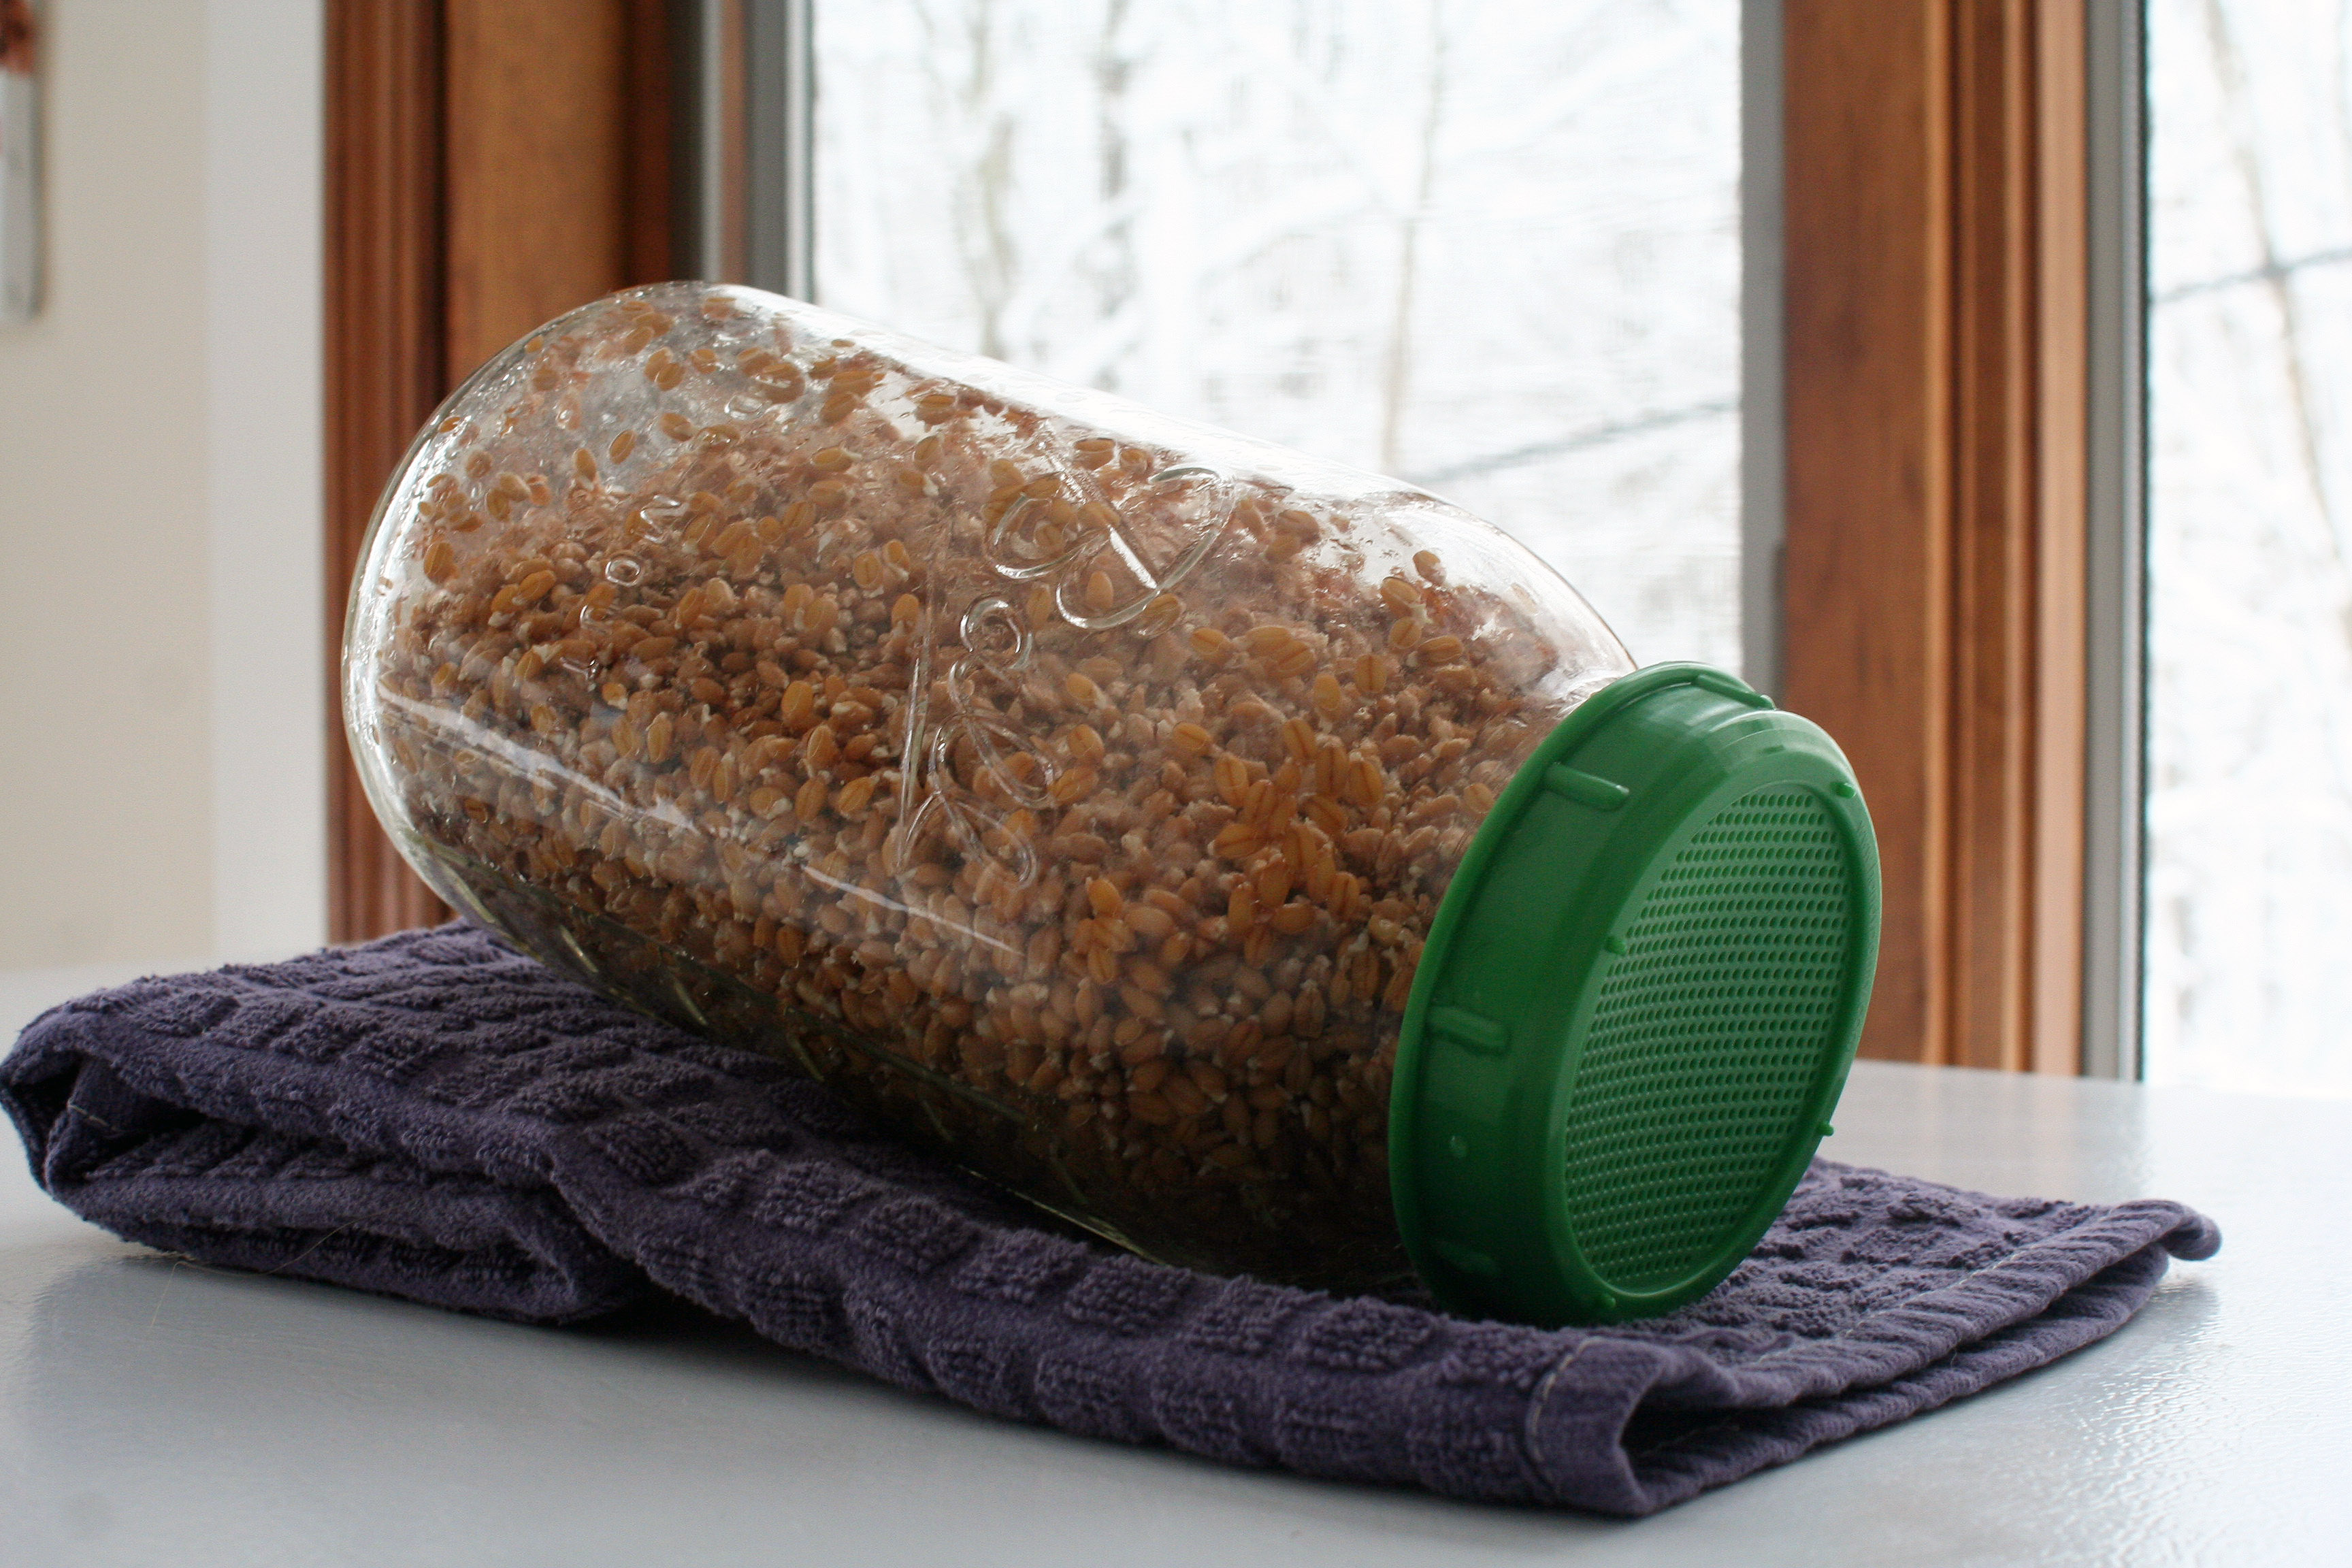
After 24 hours, rinse them well and leave them damp but draining for another 24 hours. I leave them tipped like this, rinsing from time to time. Continue to keep them in a dark place during this time… they’re just here for the photo op!
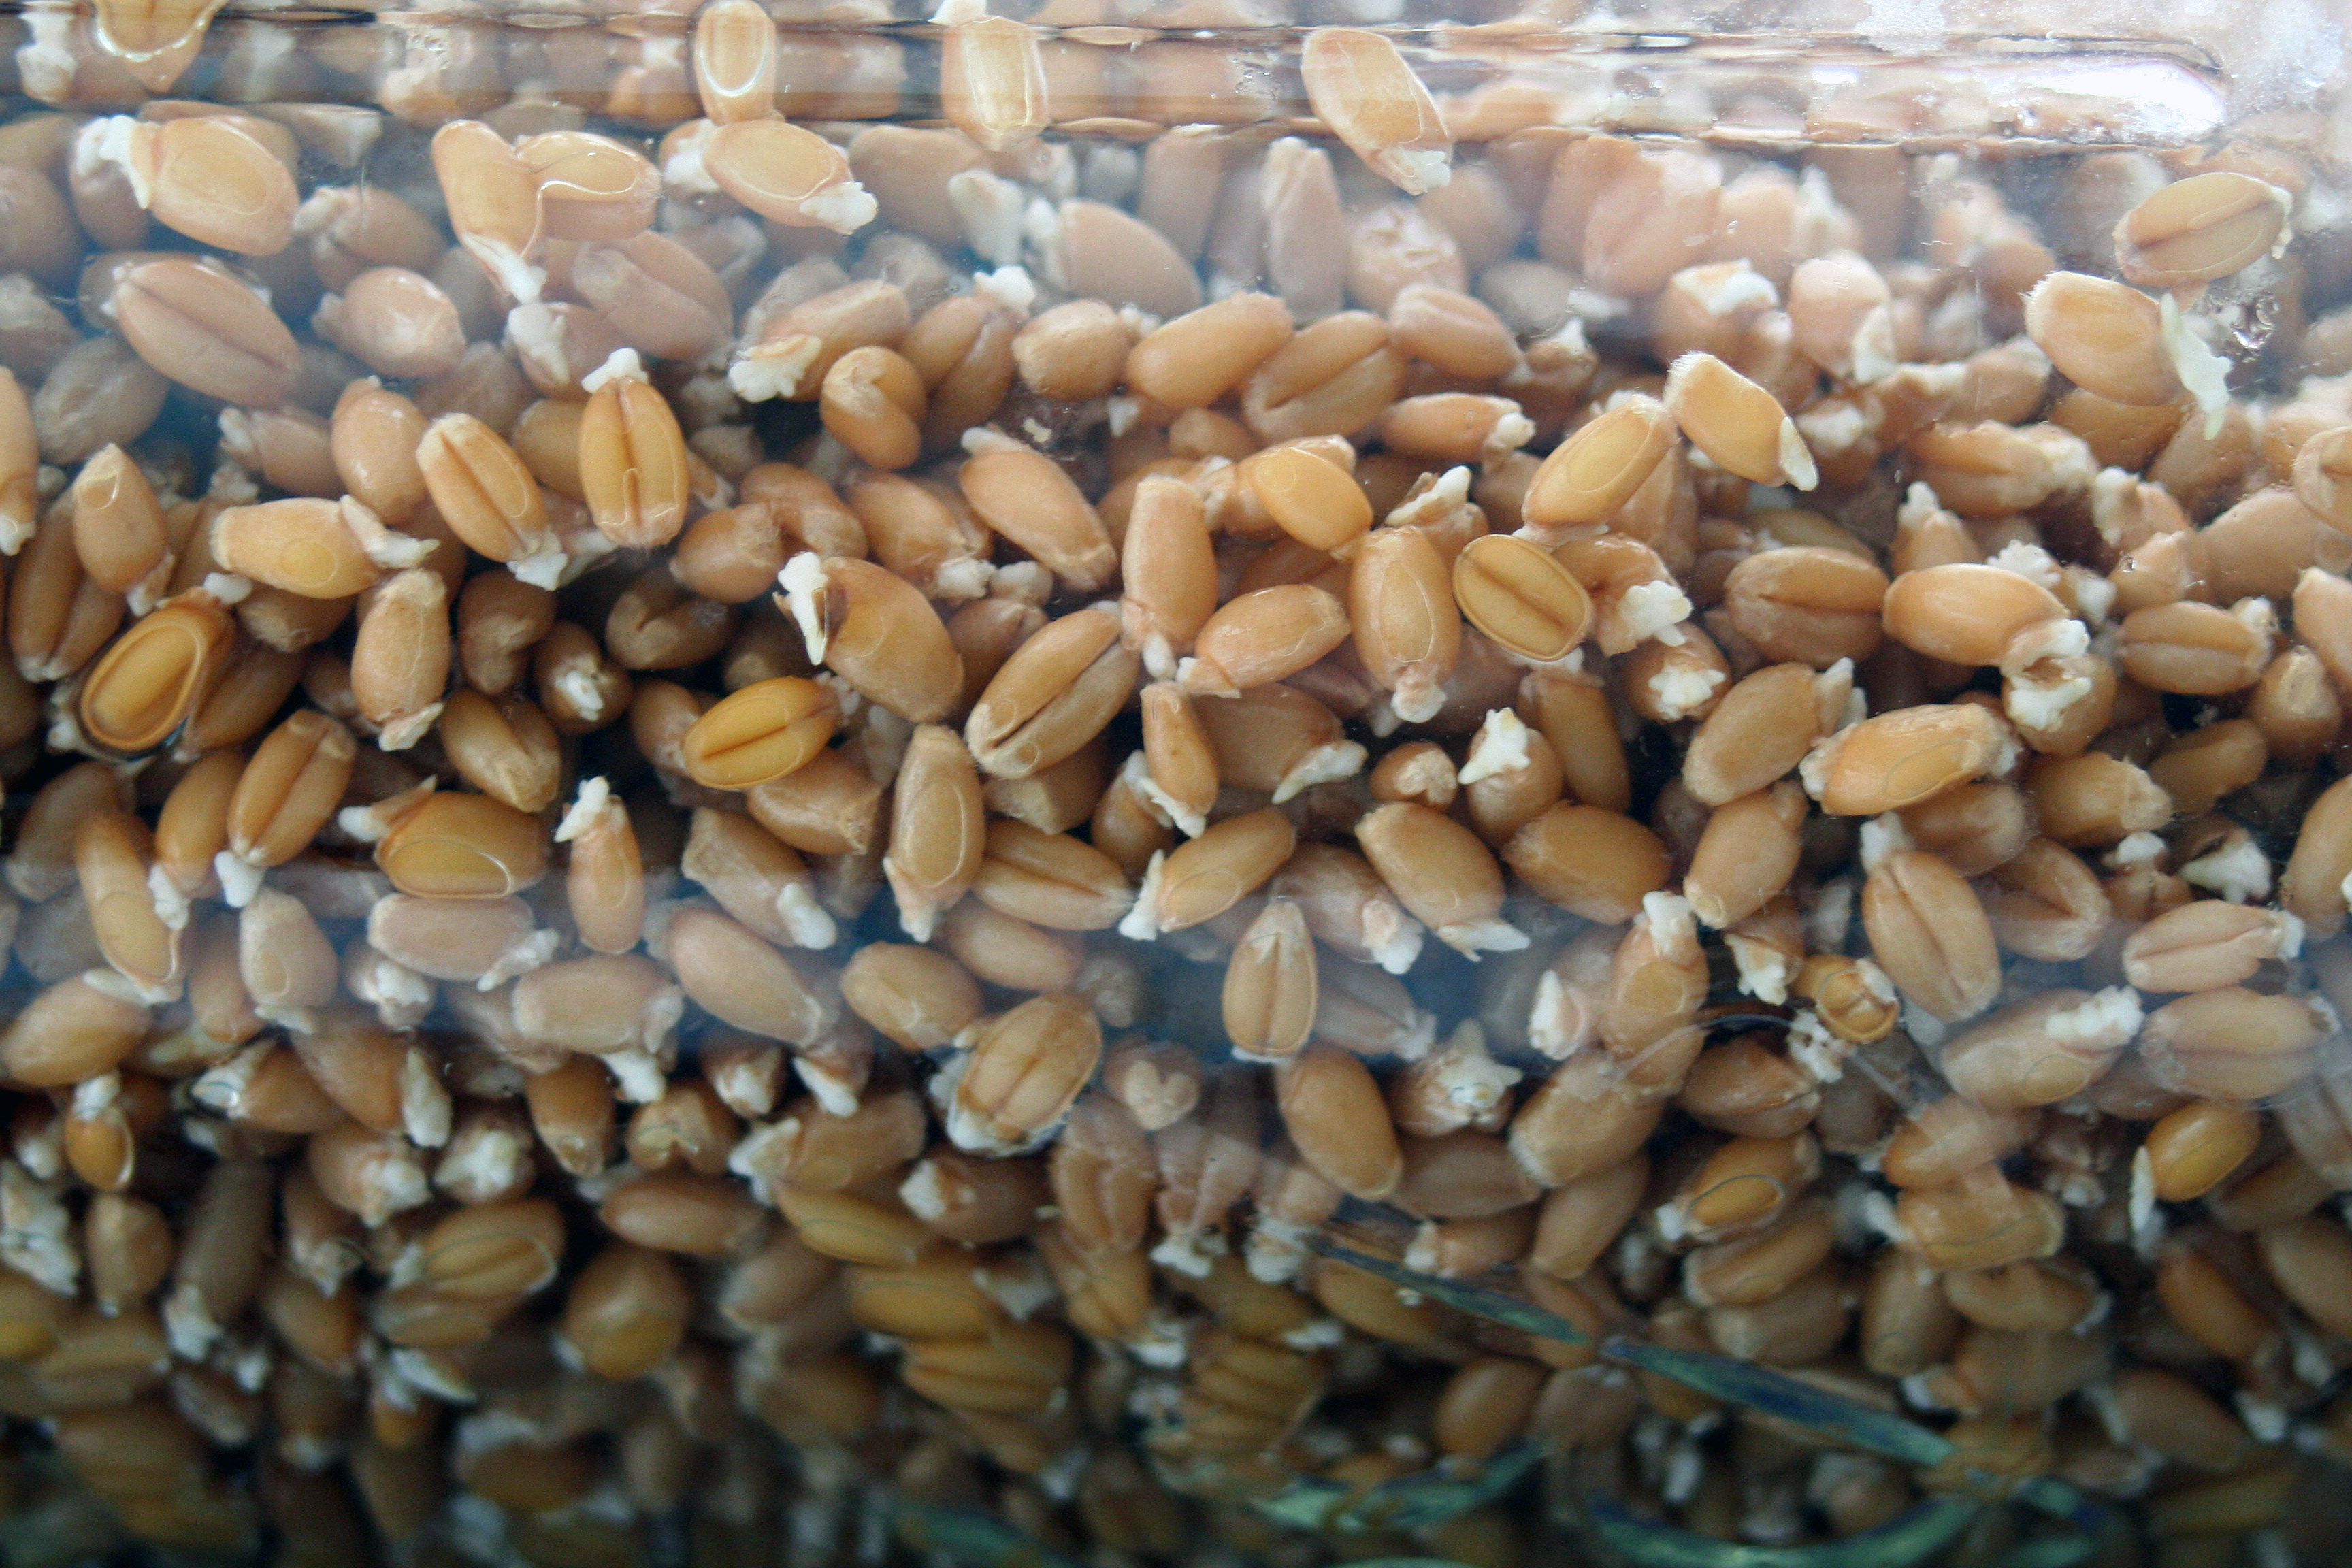
At the end of that time, mine looked like this. See all those darling little sprouts? They don’t need to go any further than this. You’re ready to dry them.
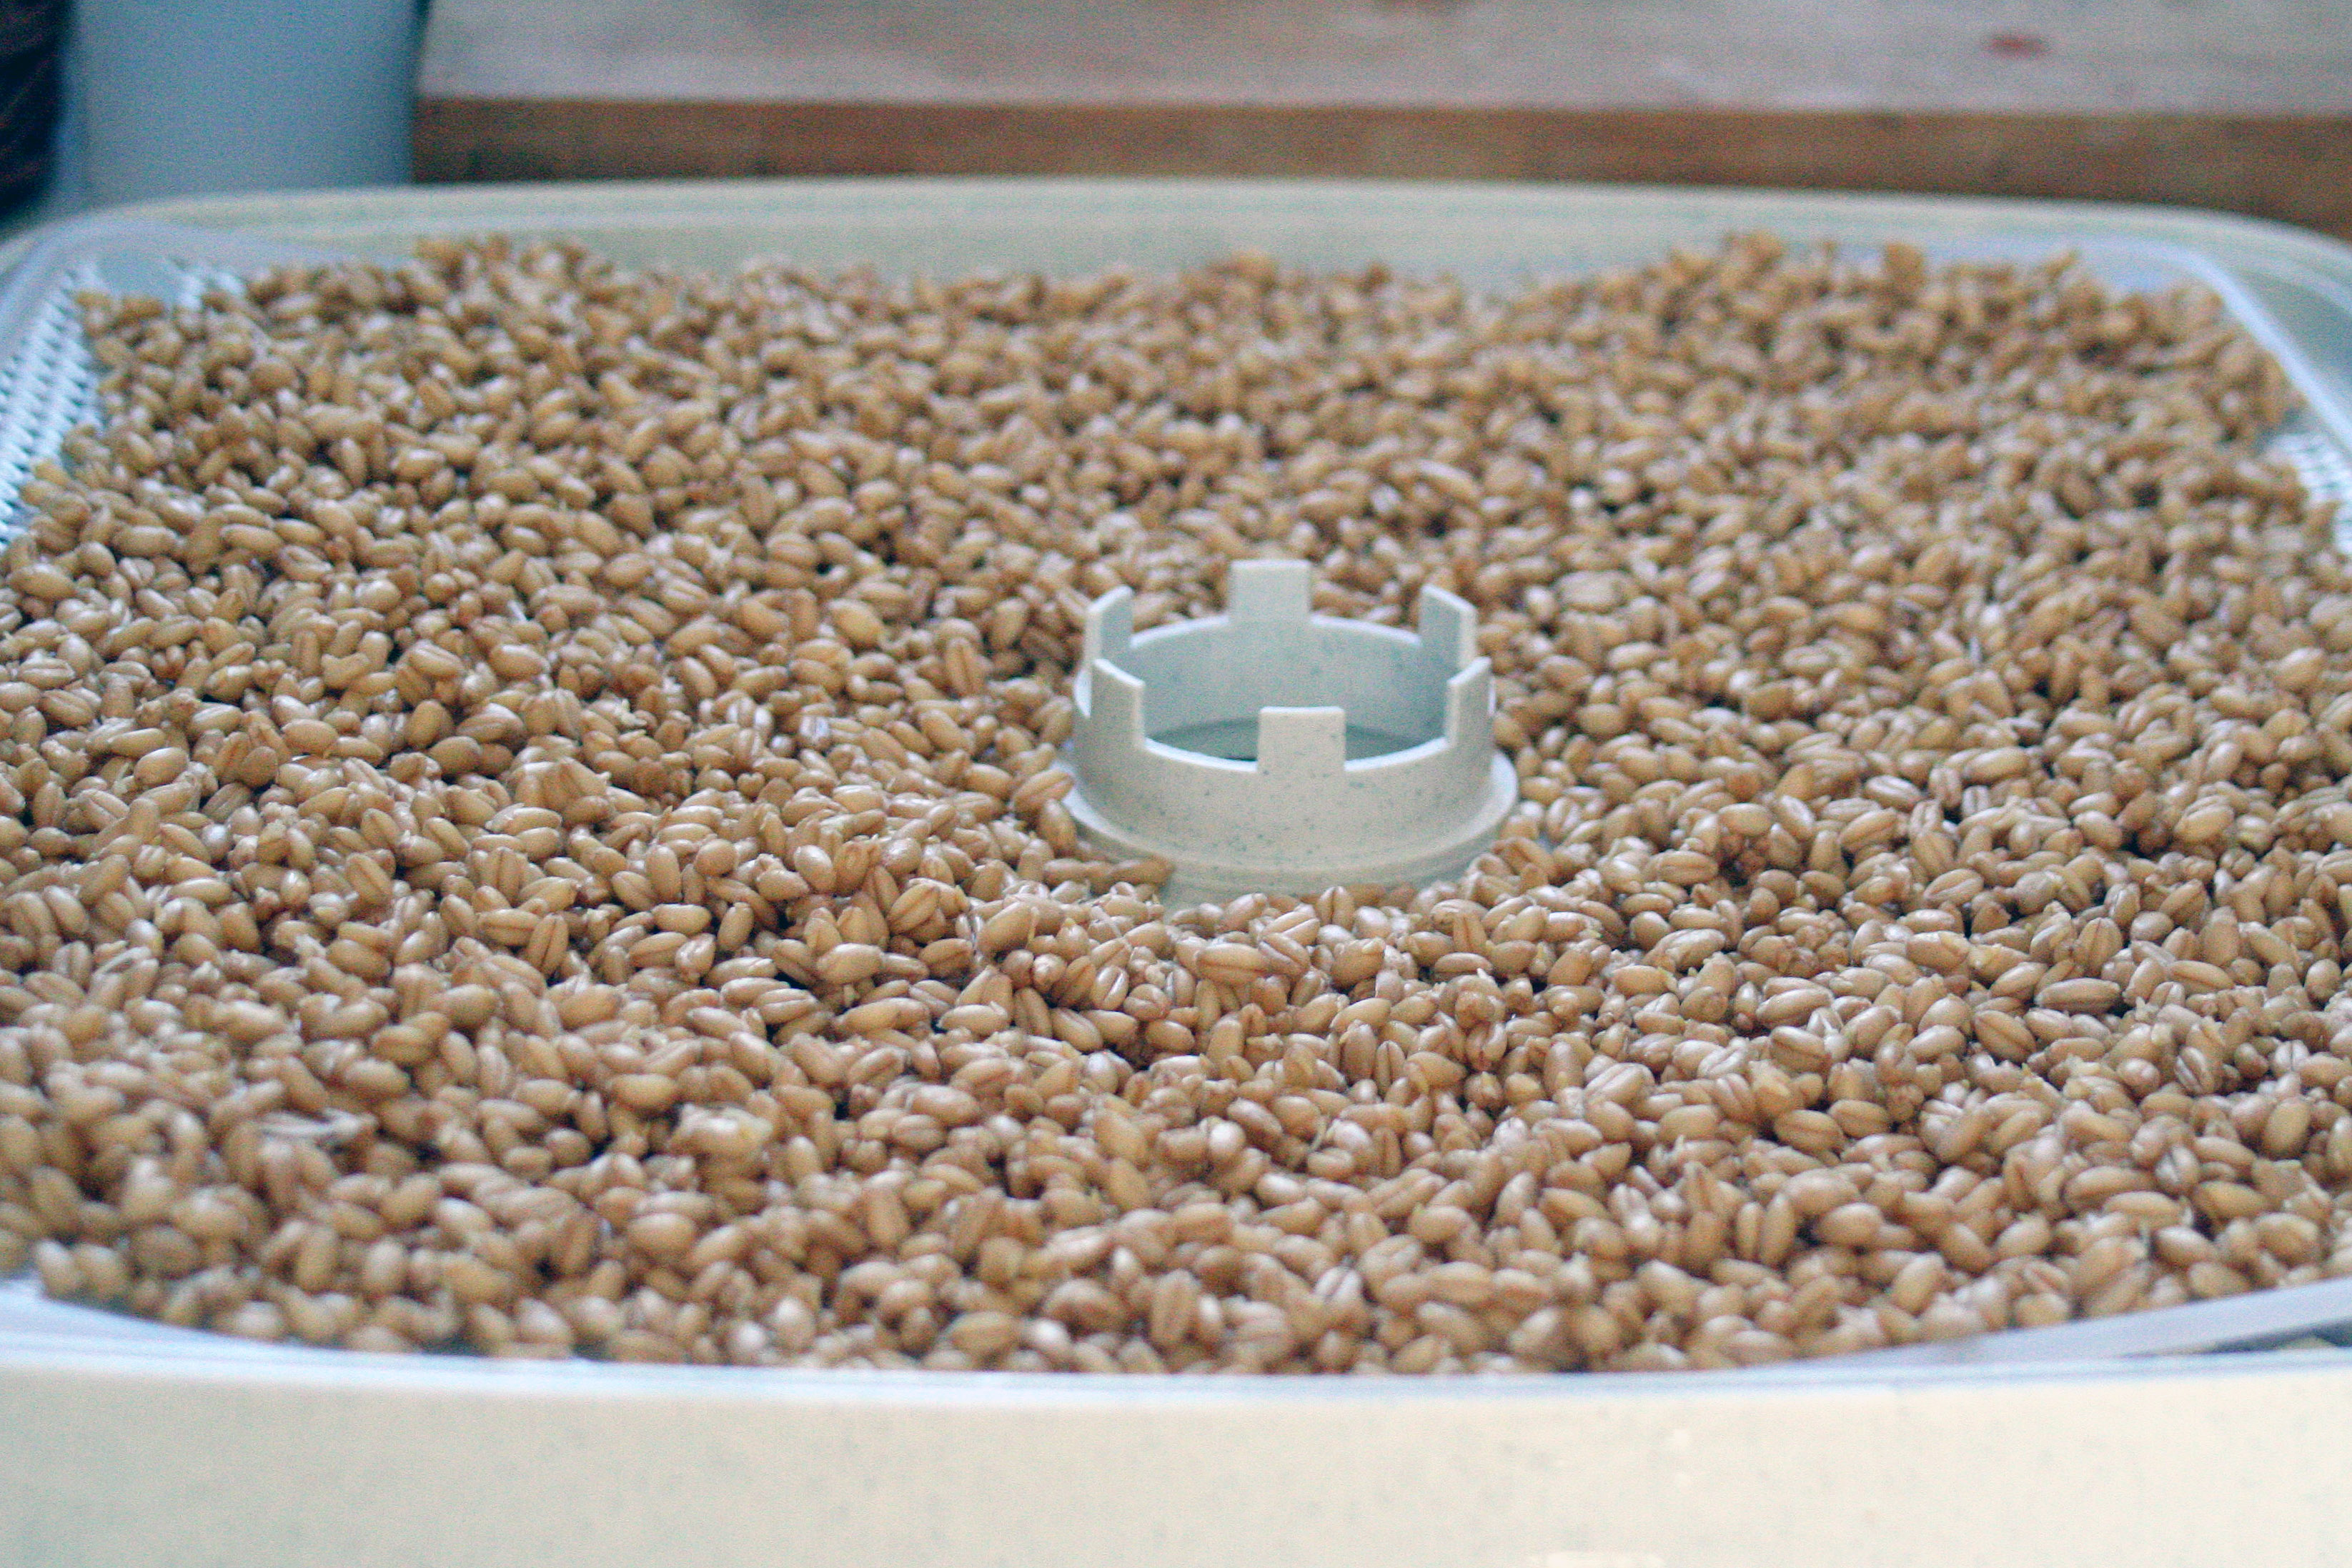
Arrange them in a thin layer on the mesh tray cover of your dehydrator and let them dehydrate for 12-24 hours at the lowest setting. Mine is 95 degrees. You want to be sure they are completely dry before you attempt to mill them – I just take one and chew on it…if it’s moist-chewy, let it keep dehydrating… if it’s crispy-crunchy, you’re ready to mill!
(If you don’t have a dehydrator, you could probably do this in your oven if you’re very careful not to let it get hot – you don’t want them roasted. Arrange the sprouted berries in a thin layer on a cookie sheet. Turn your oven on to begin preheating, but then turn it off after only a minute. Place the berries in the warm oven for a couple of hours. When the oven is cold, remove and stir the berries a bit and repeat several times till they’re dry.)
Yay… this is the best part!
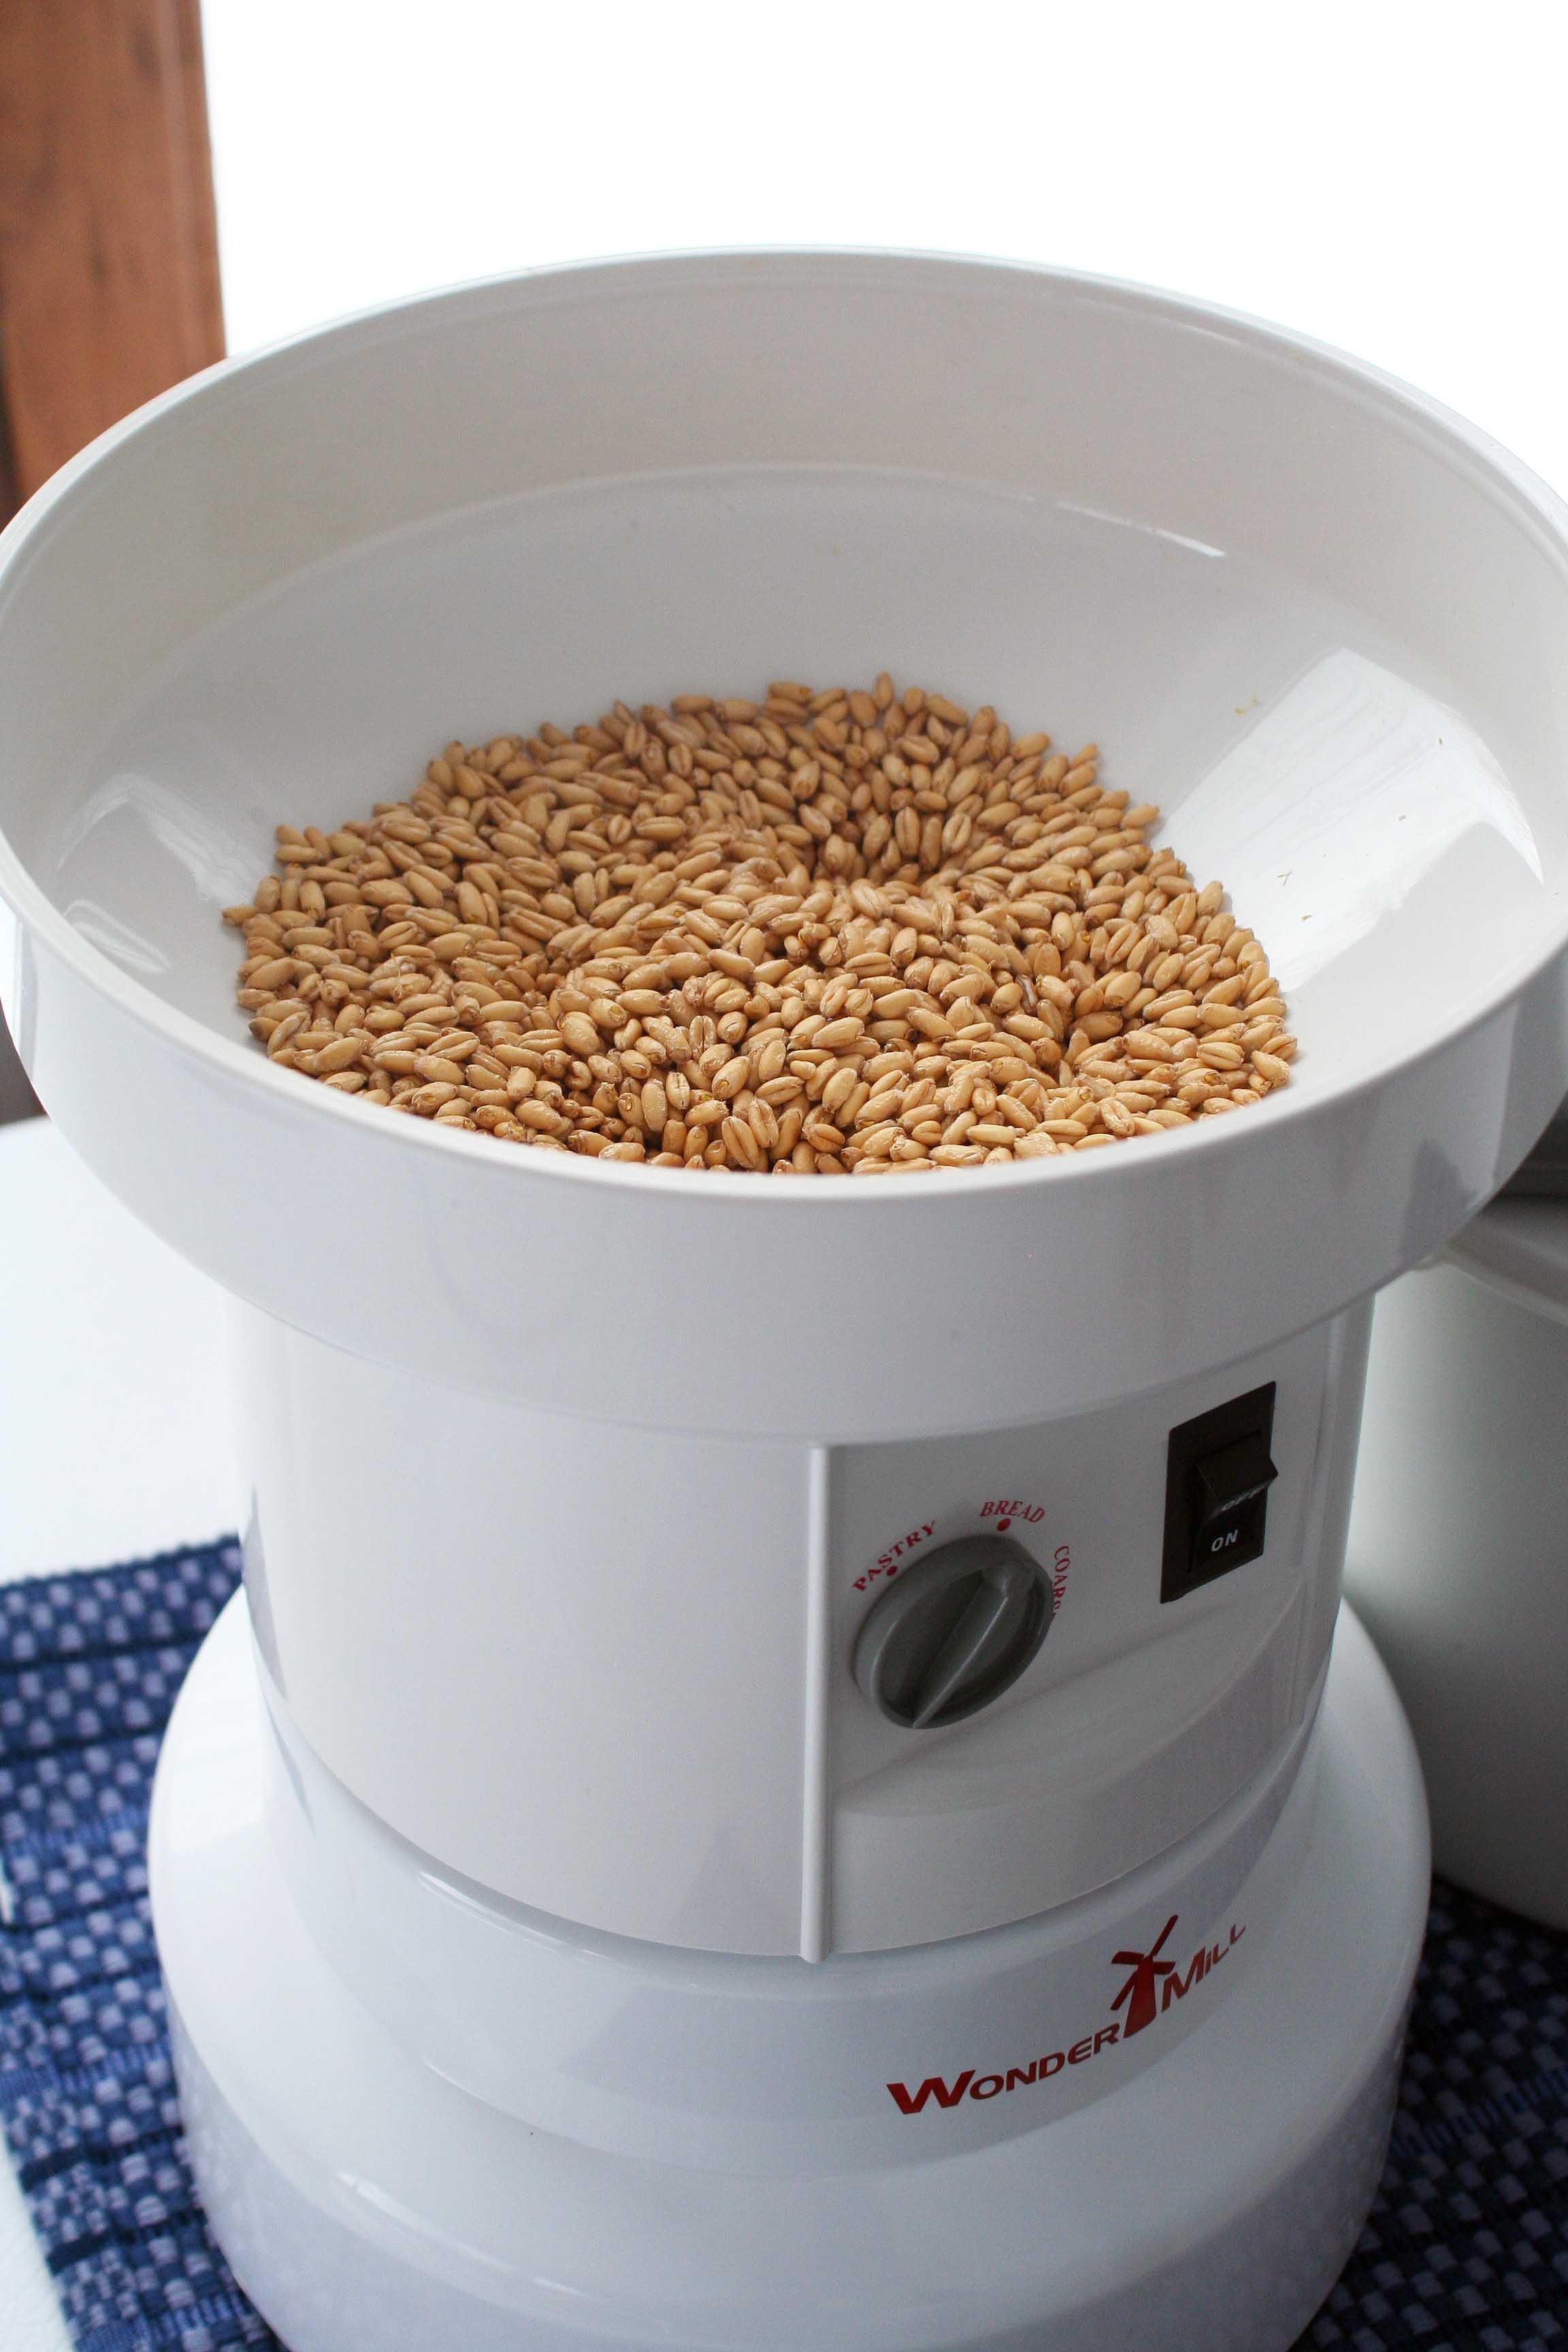
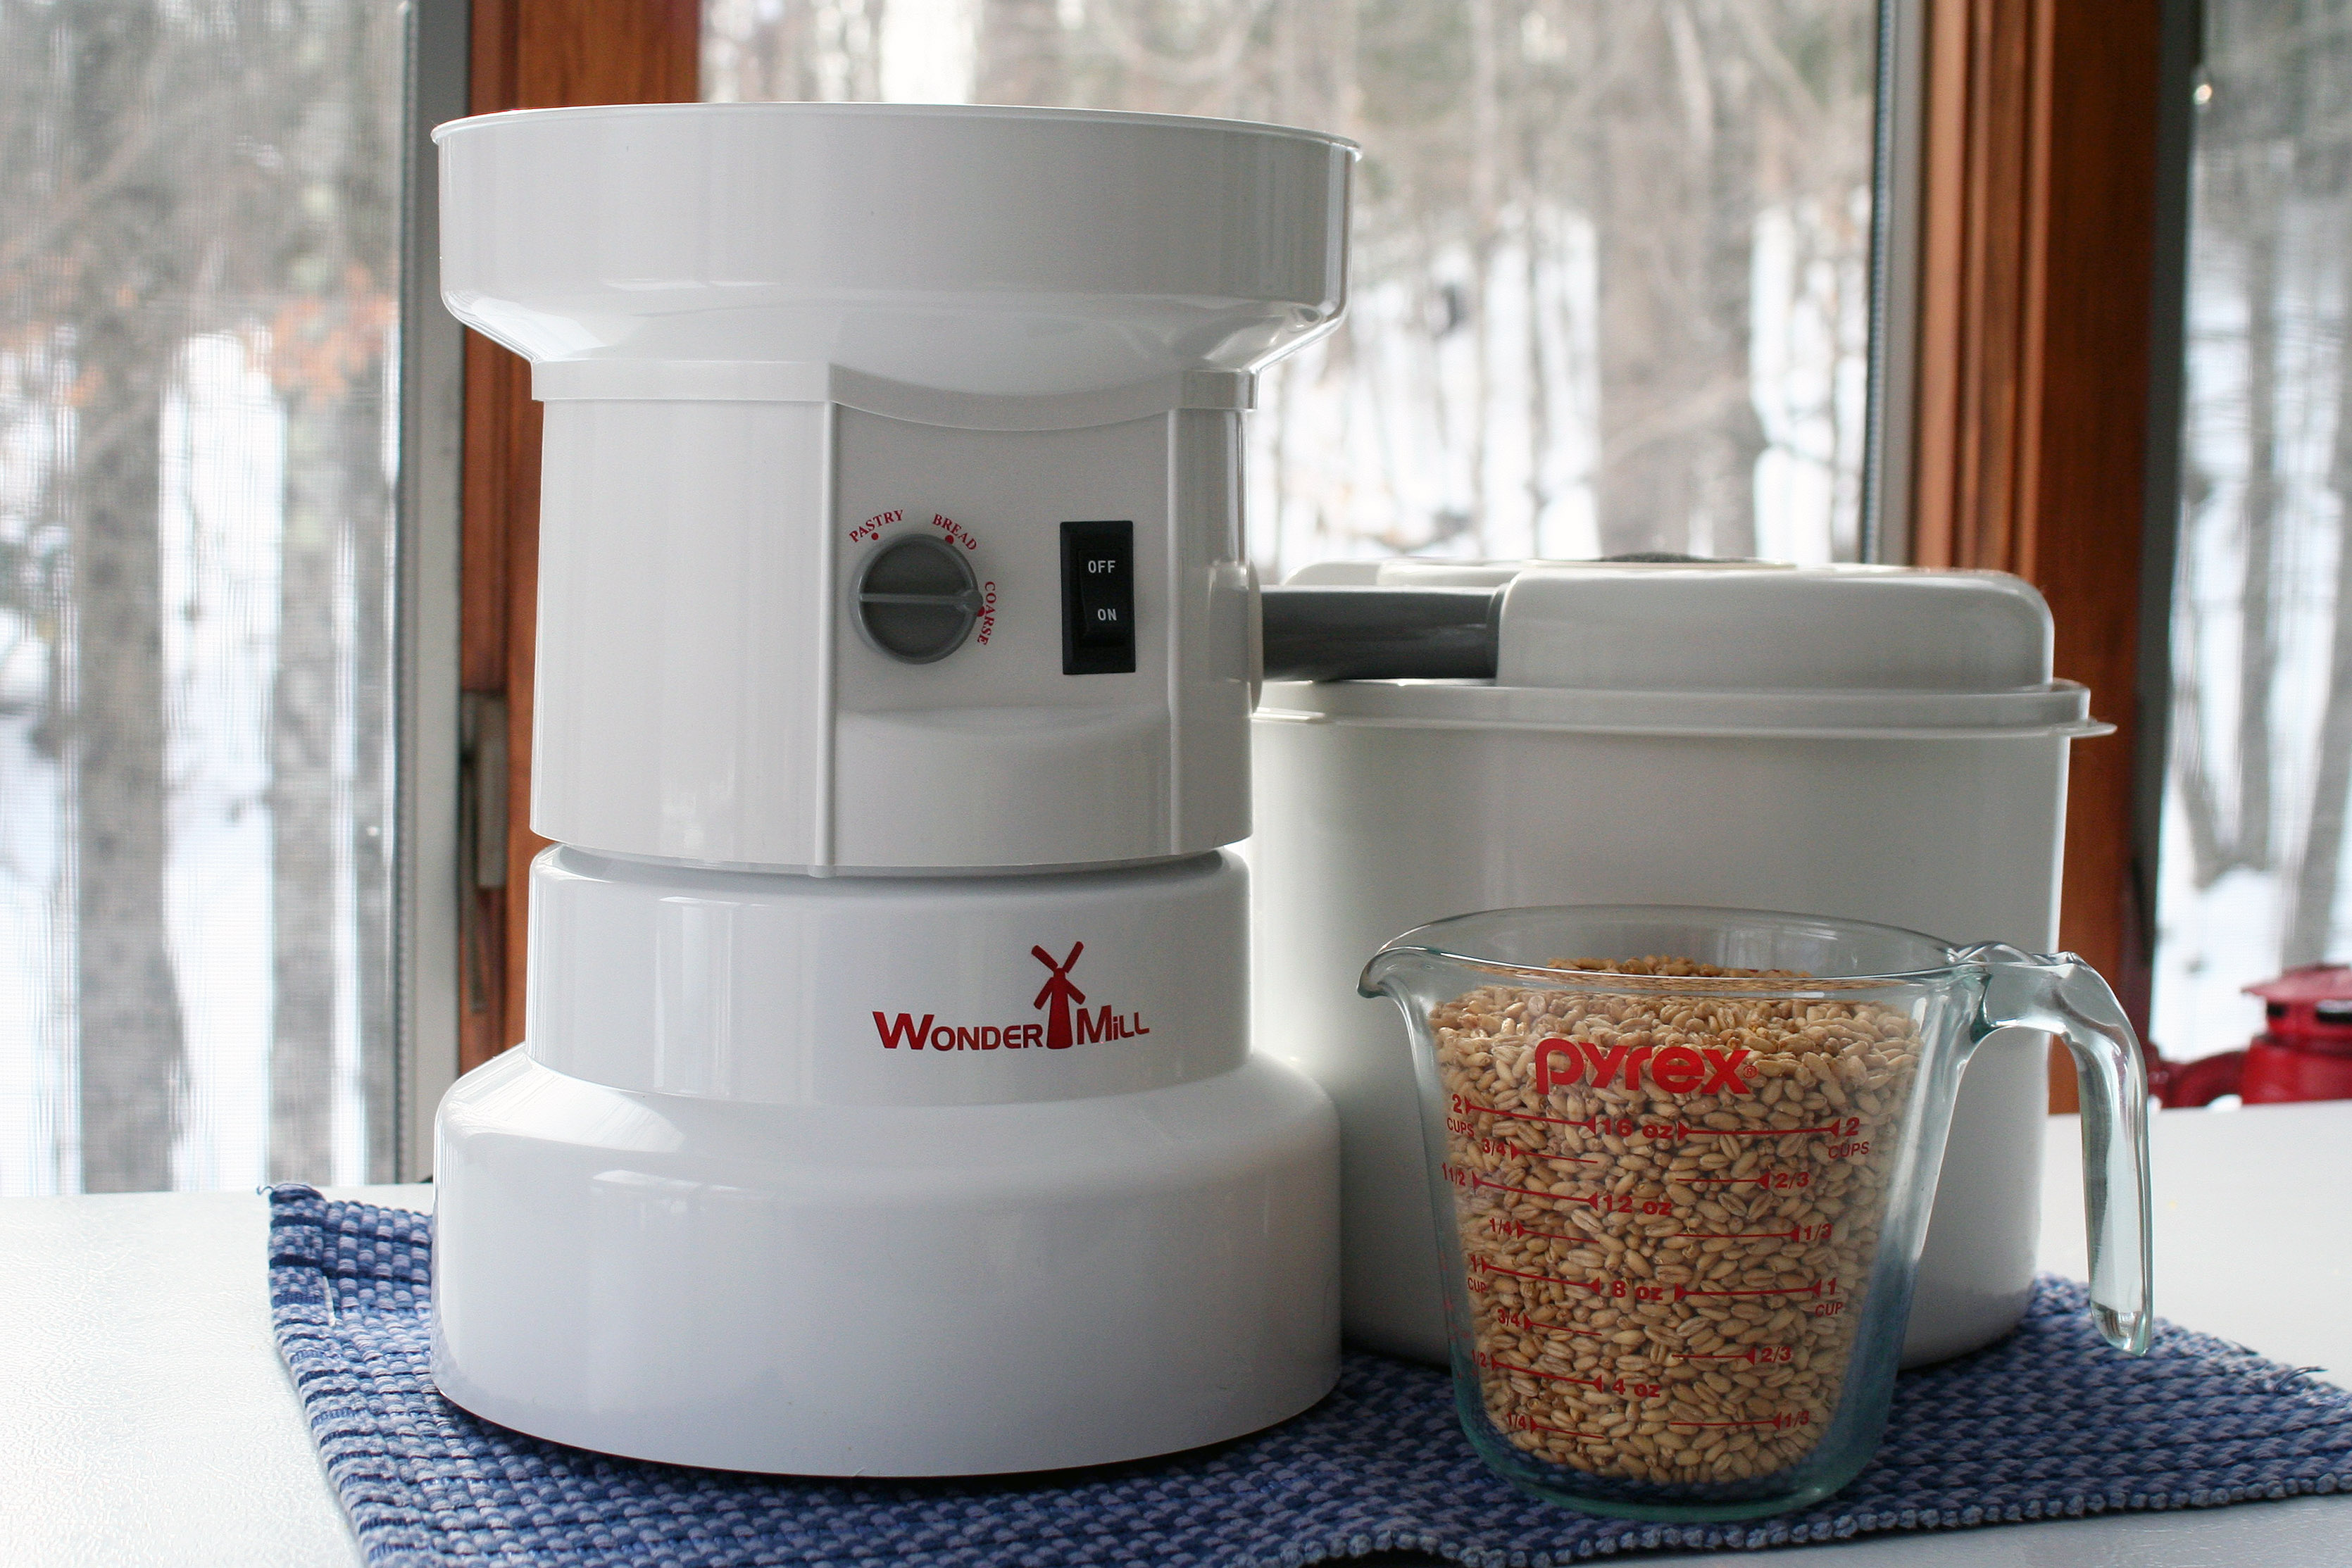
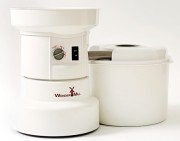
Set your mill at the desired grind, turn it on, and pour your sprouted beauties into the hopper.
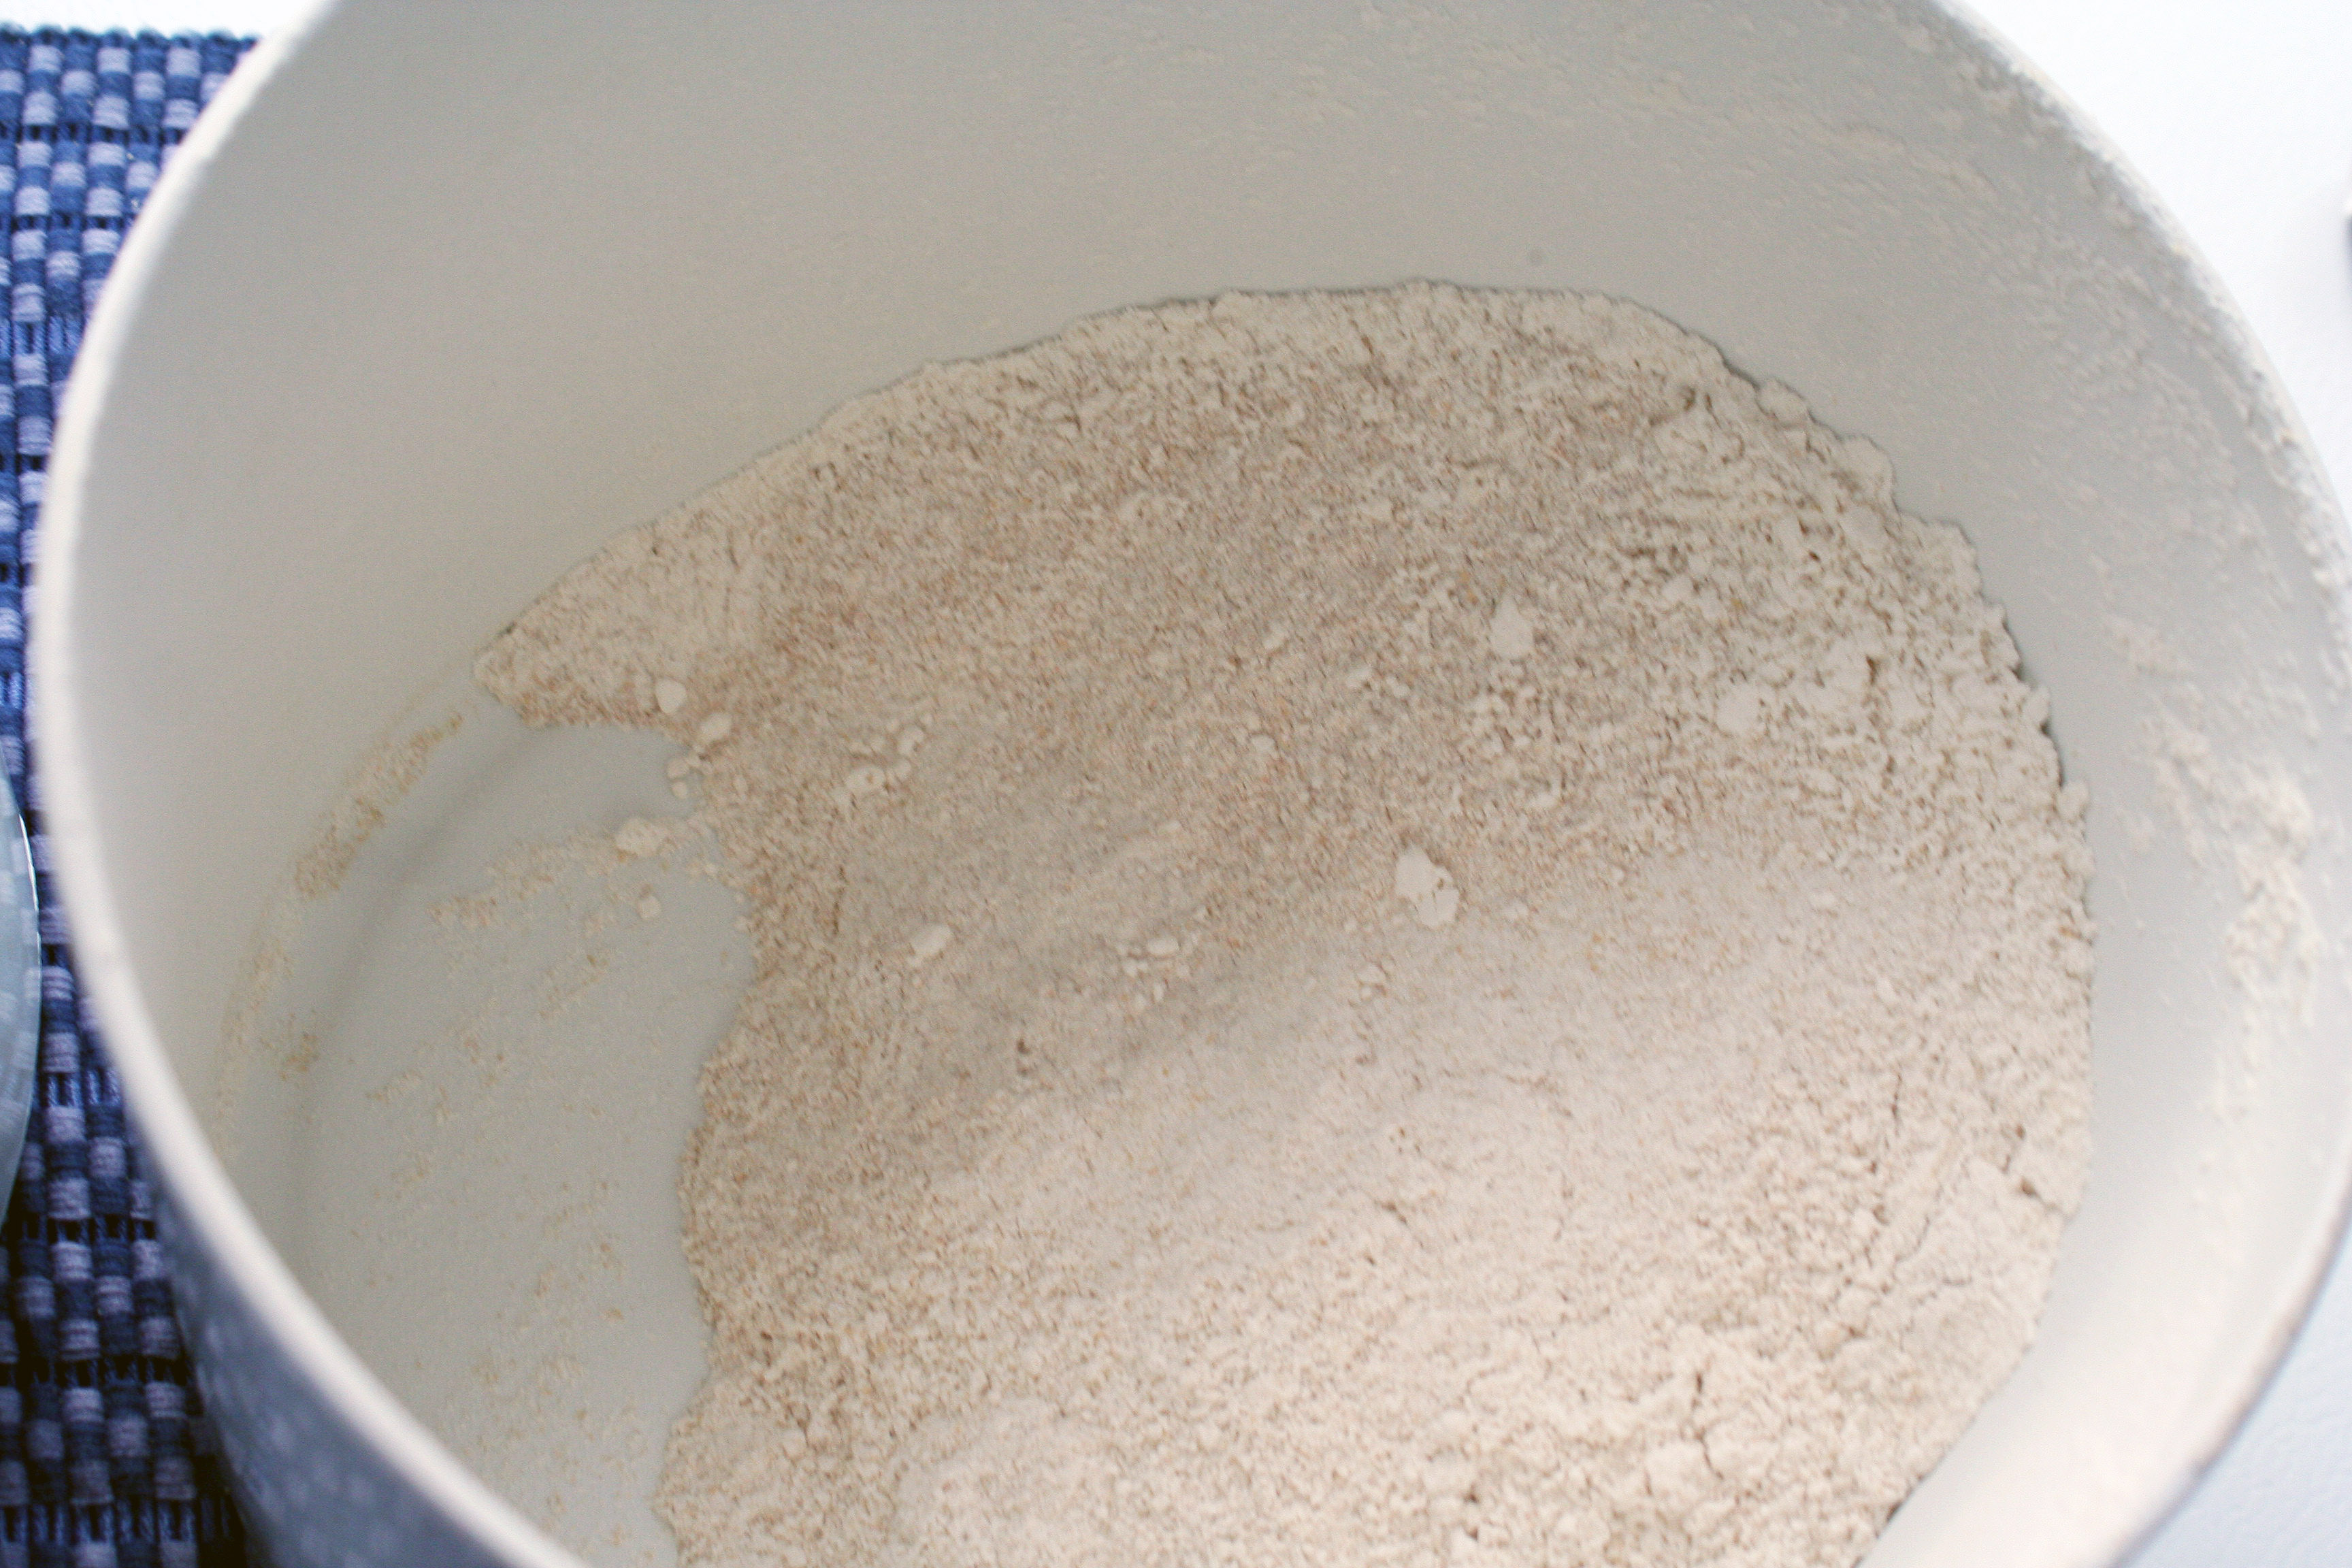
In about a minute’s time, you’ll have wholesome, nutritious, sprouted flour.
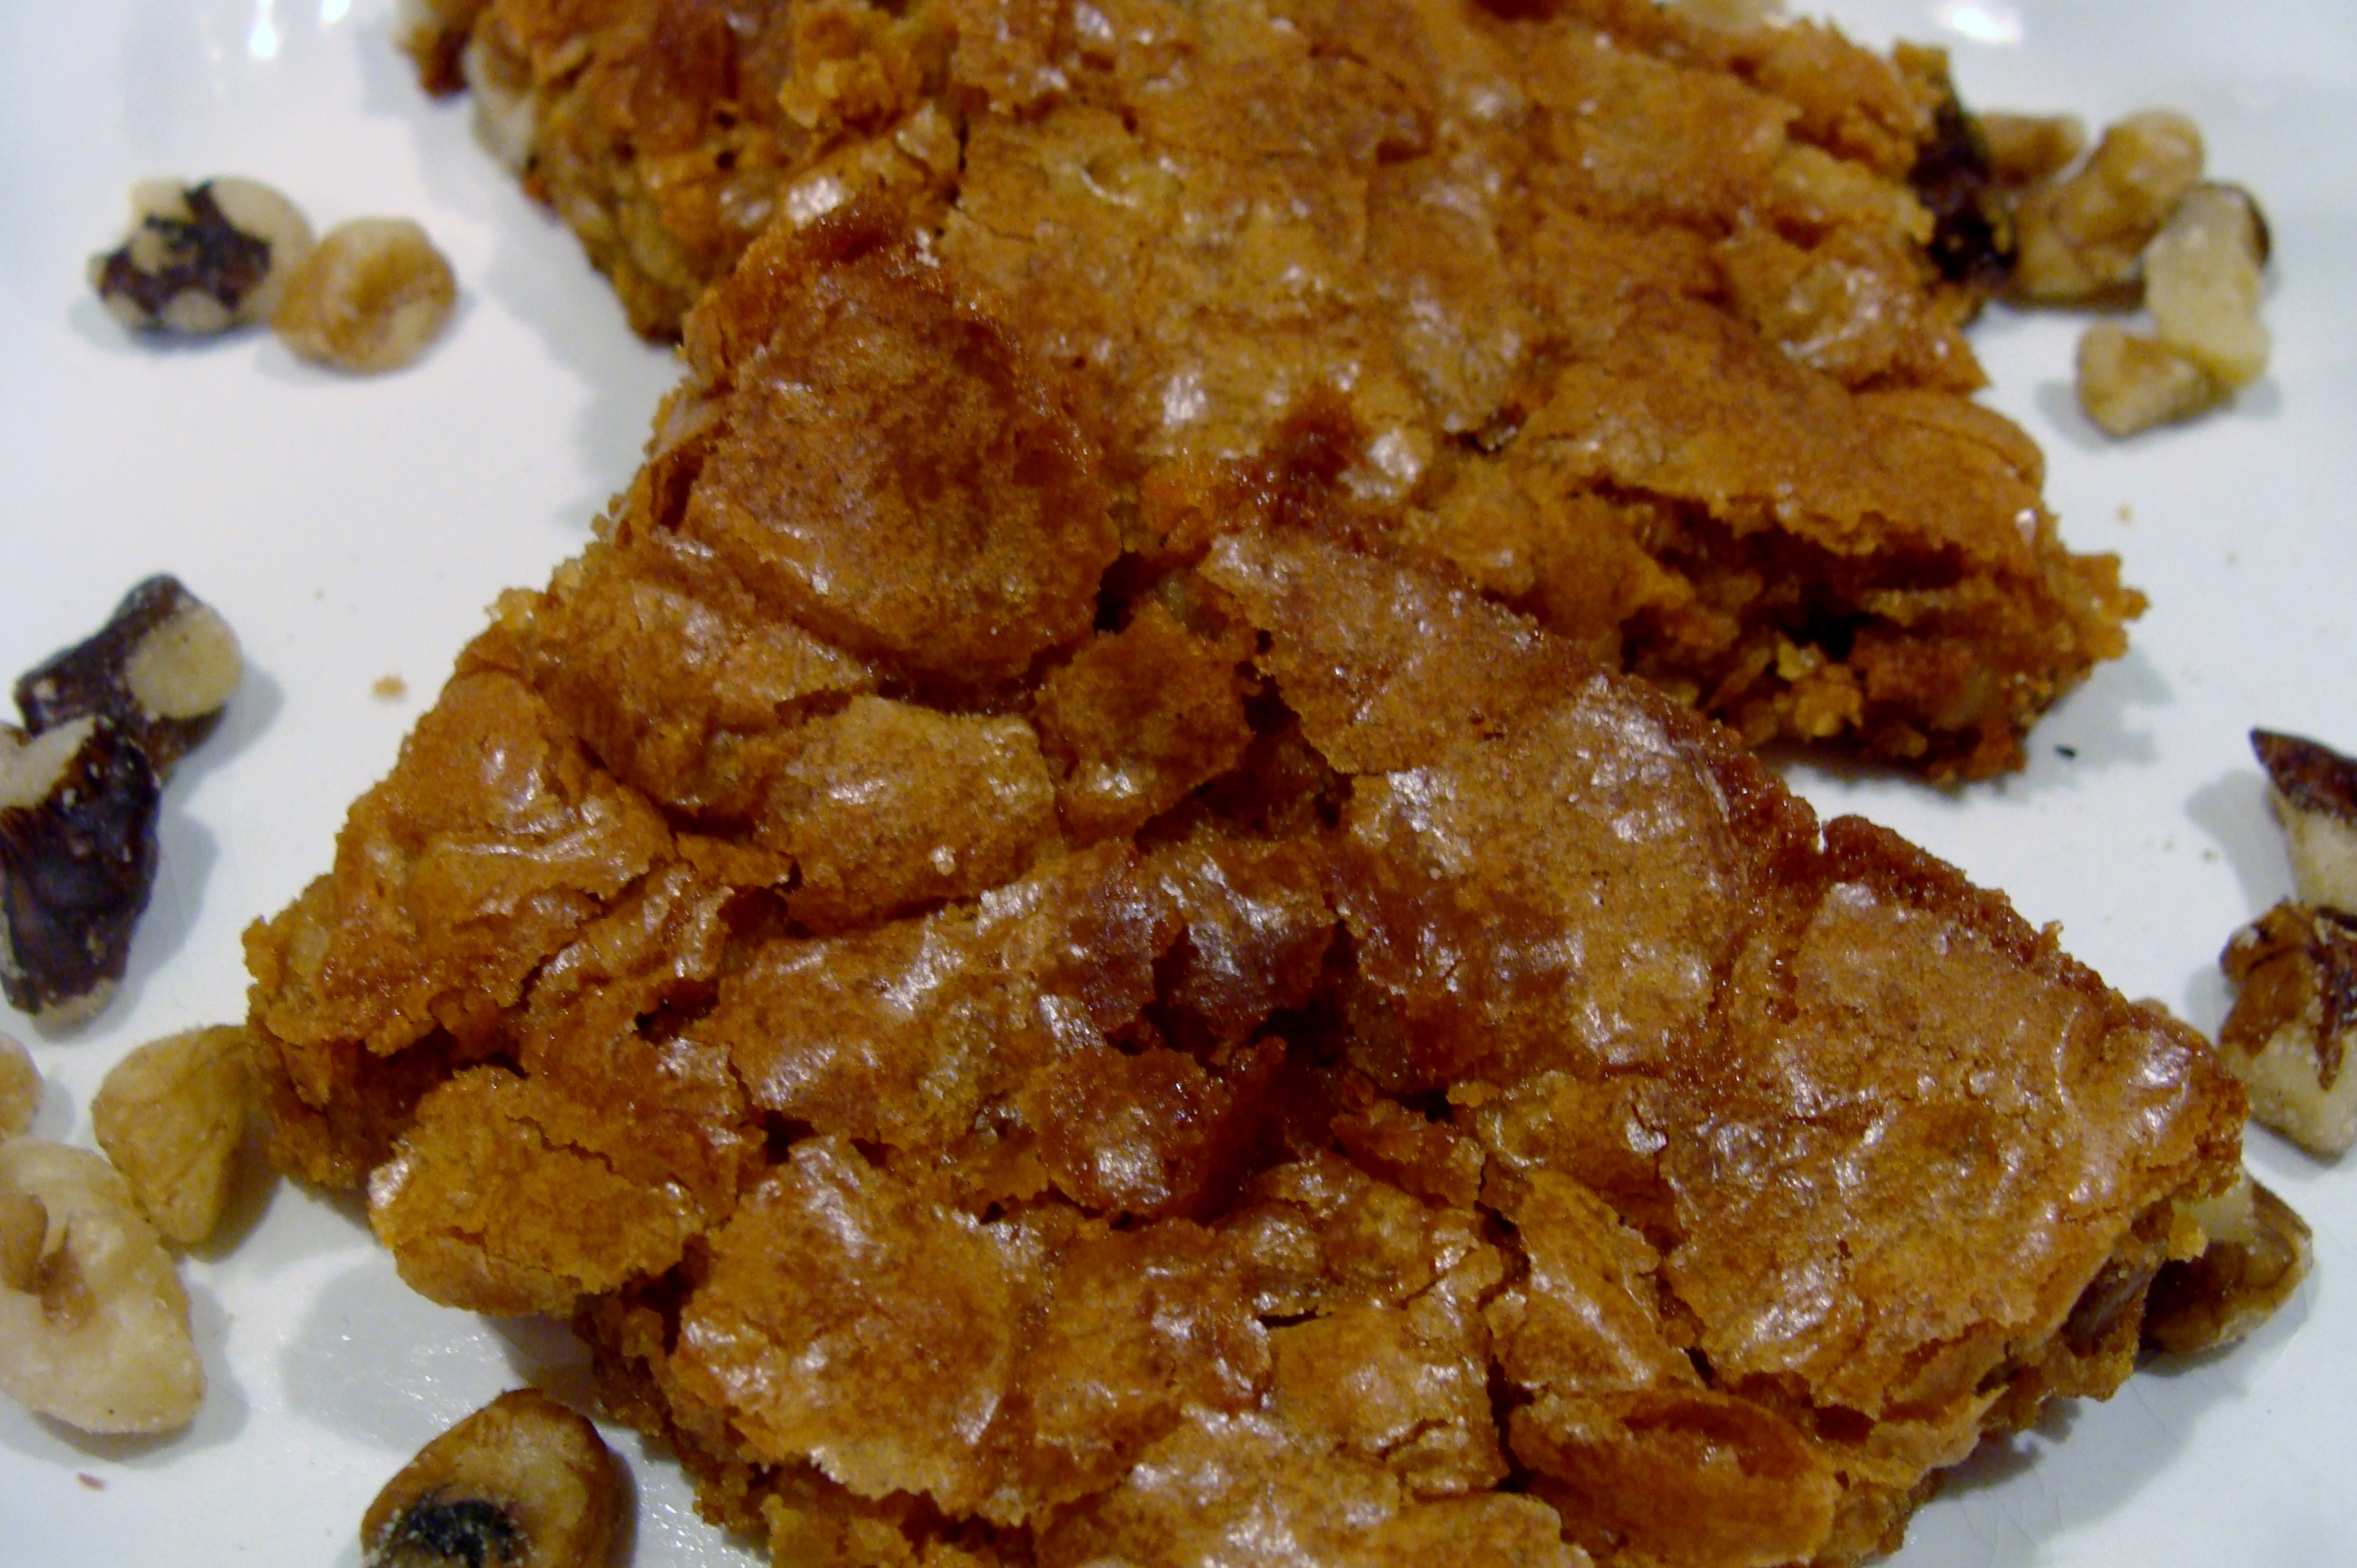
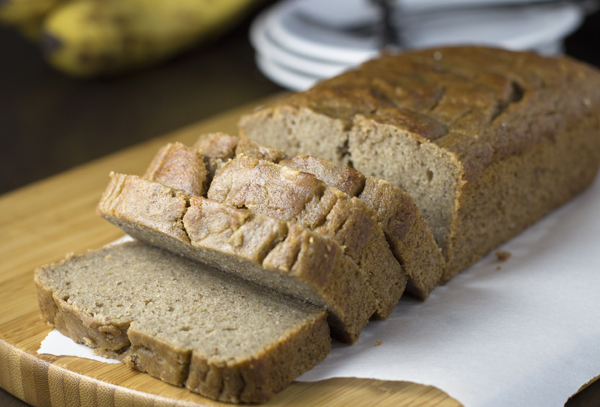
With this batch, I made amazingly moist brownies. Recipe coming soon.


2 Responses to Sprouted Wheat Berries – a tutorial