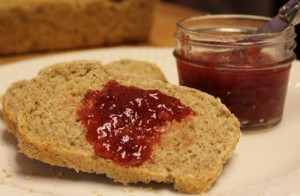
When it’s rainy and stormy, like it has been lately, it’s nice to have easy-to-make comfort food around so you don’t have to go out. I had some homemade Cran-Strawberry Jam from last season’s harvest that needed to be eaten so I decided to bake some bread to go with it.
I wanted to enjoy the ultimate in comfort food, a peanut butter & jelly sandwich.

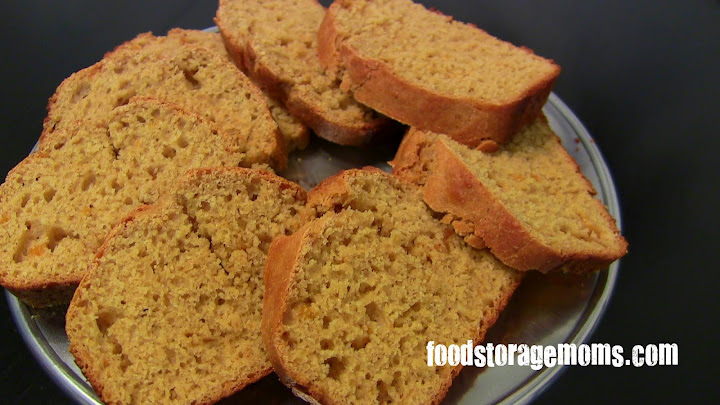
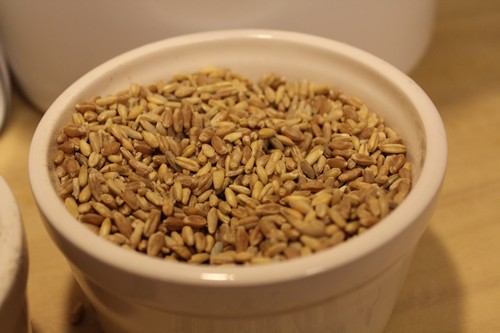
I chose a healthy, multi-grain bread made with a mixture of seven grains. I’ve had this mixture of grains for awhile so this seemed like a good time to experiment with them. If stored correctly, grains can last for a long time so I wasn’t worried about them going bad, I just like to bake with different types of grains.
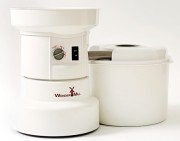
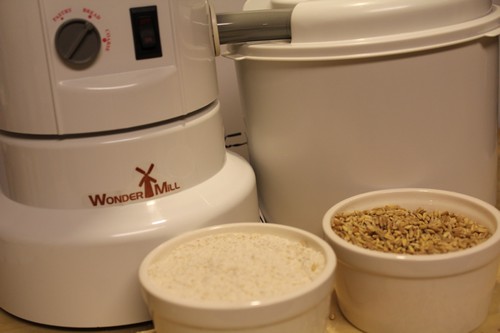
I ground the grains into flour using my WonderMill Grain Mill.
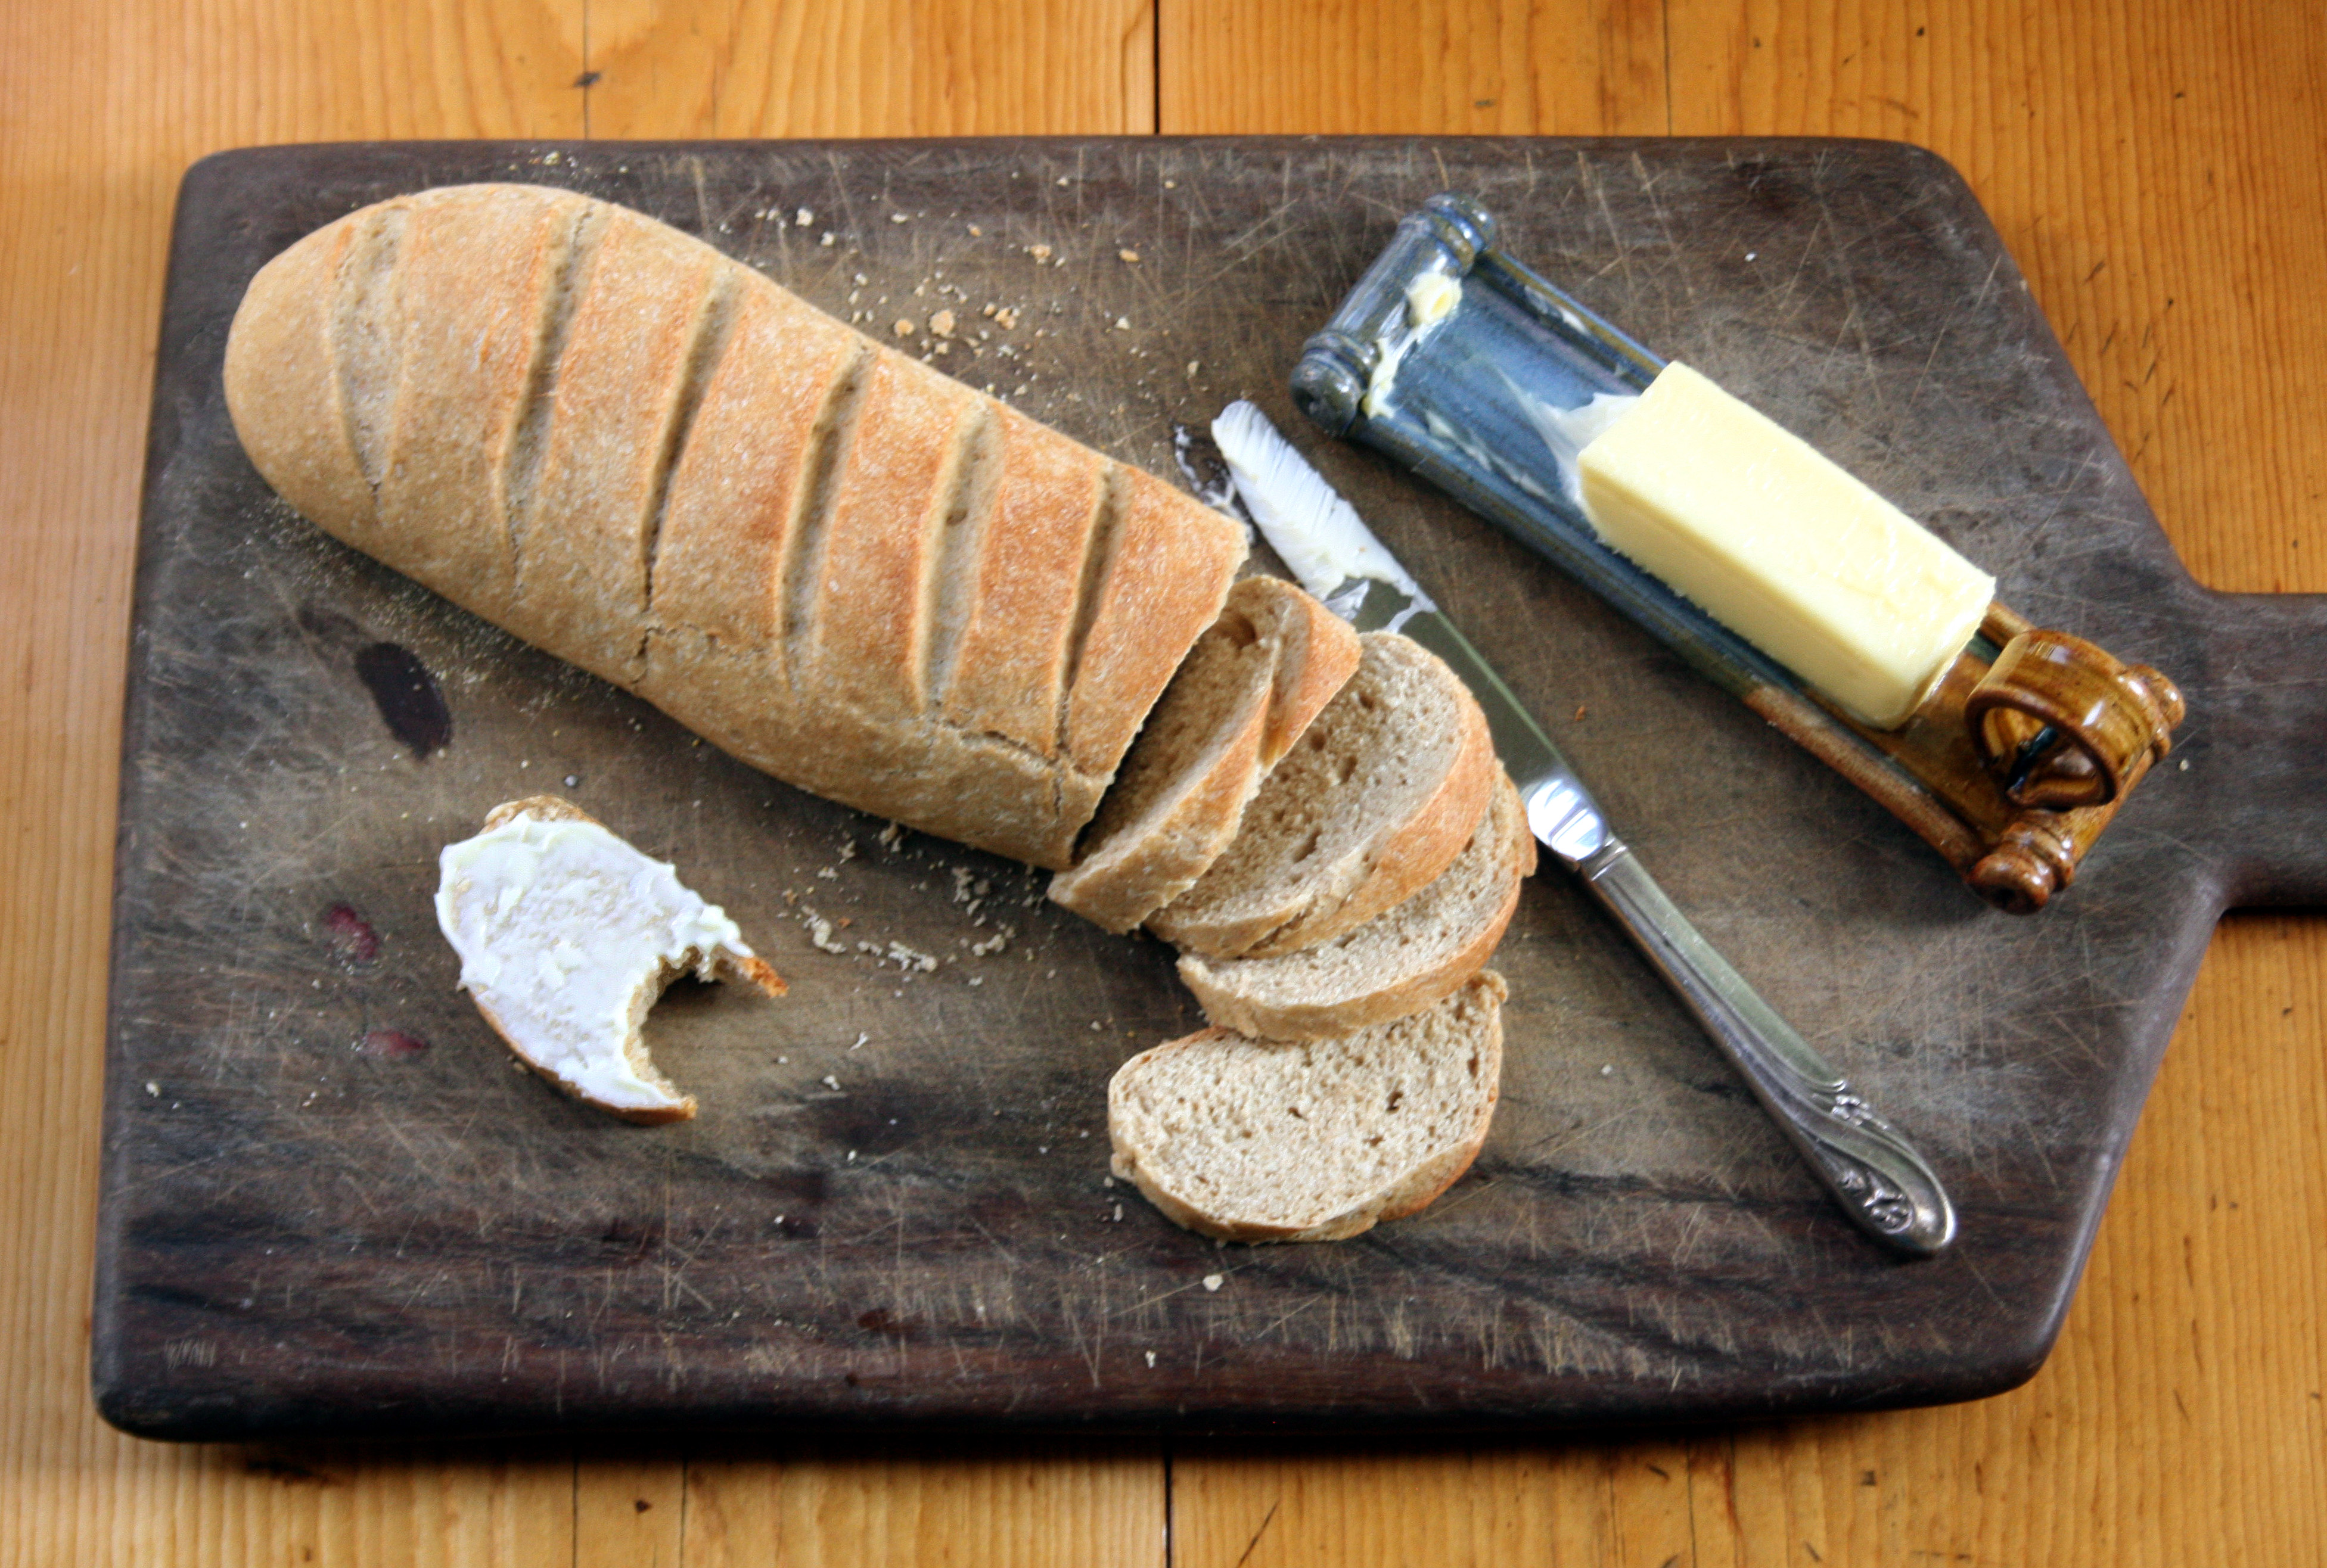
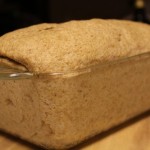
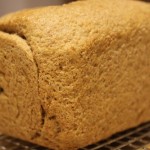
This 100% whole grain bread has a delicious and nutty flavor. Try this bread using your favorite mixture of grains or if you prefer a lighter loaf, use multi-grain bread flour.
The really easy part about this bread is that it can be made completely in the bread machine. Or, let the machine do the mixing and kneading while you work on other things, and bake the loaf in a conventional oven. If you prefer a more hands on approach, mix this bread using a stand mixer, a wooden spoon, or Danish dough whisk. The choice is yours.
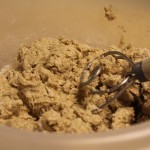
I usually prefer mixing the dough by hand so I can feel the texture of the dough and make any necessary adjustments, but sometimes it’s nice to let the machine do the work for you.
Makes: 1 medium loaf
- 1½ cups water
- 4½ cups multi-grain flour (milled from a mixture of 7 grains)
- 1½ teaspoons salt
- 1 tablespoon granulated sugar
- 2 tablespoons butter
- 1¼ teaspoons instant yeast (or bread machine yeast)
- Add the ingredients to the bread pan in the order specified by the manufacturer. For my bread machine, you add the water first, then sprinkle the flour over it and then add the salt, sugar, and butter in separate corners of the pan. Make a shallow well in the middle of the flour, but not all the way down to the water, and add the yeast.
- Set the bread machine to the whole wheat or multi-grain setting, medium crust. Press Start.
- Remove the bread at the end of the baking cycle and turn it out onto a wire rack to cool.
- Set the machine to the dough setting and let the machine do the mixing and kneading and bulk fermentation.
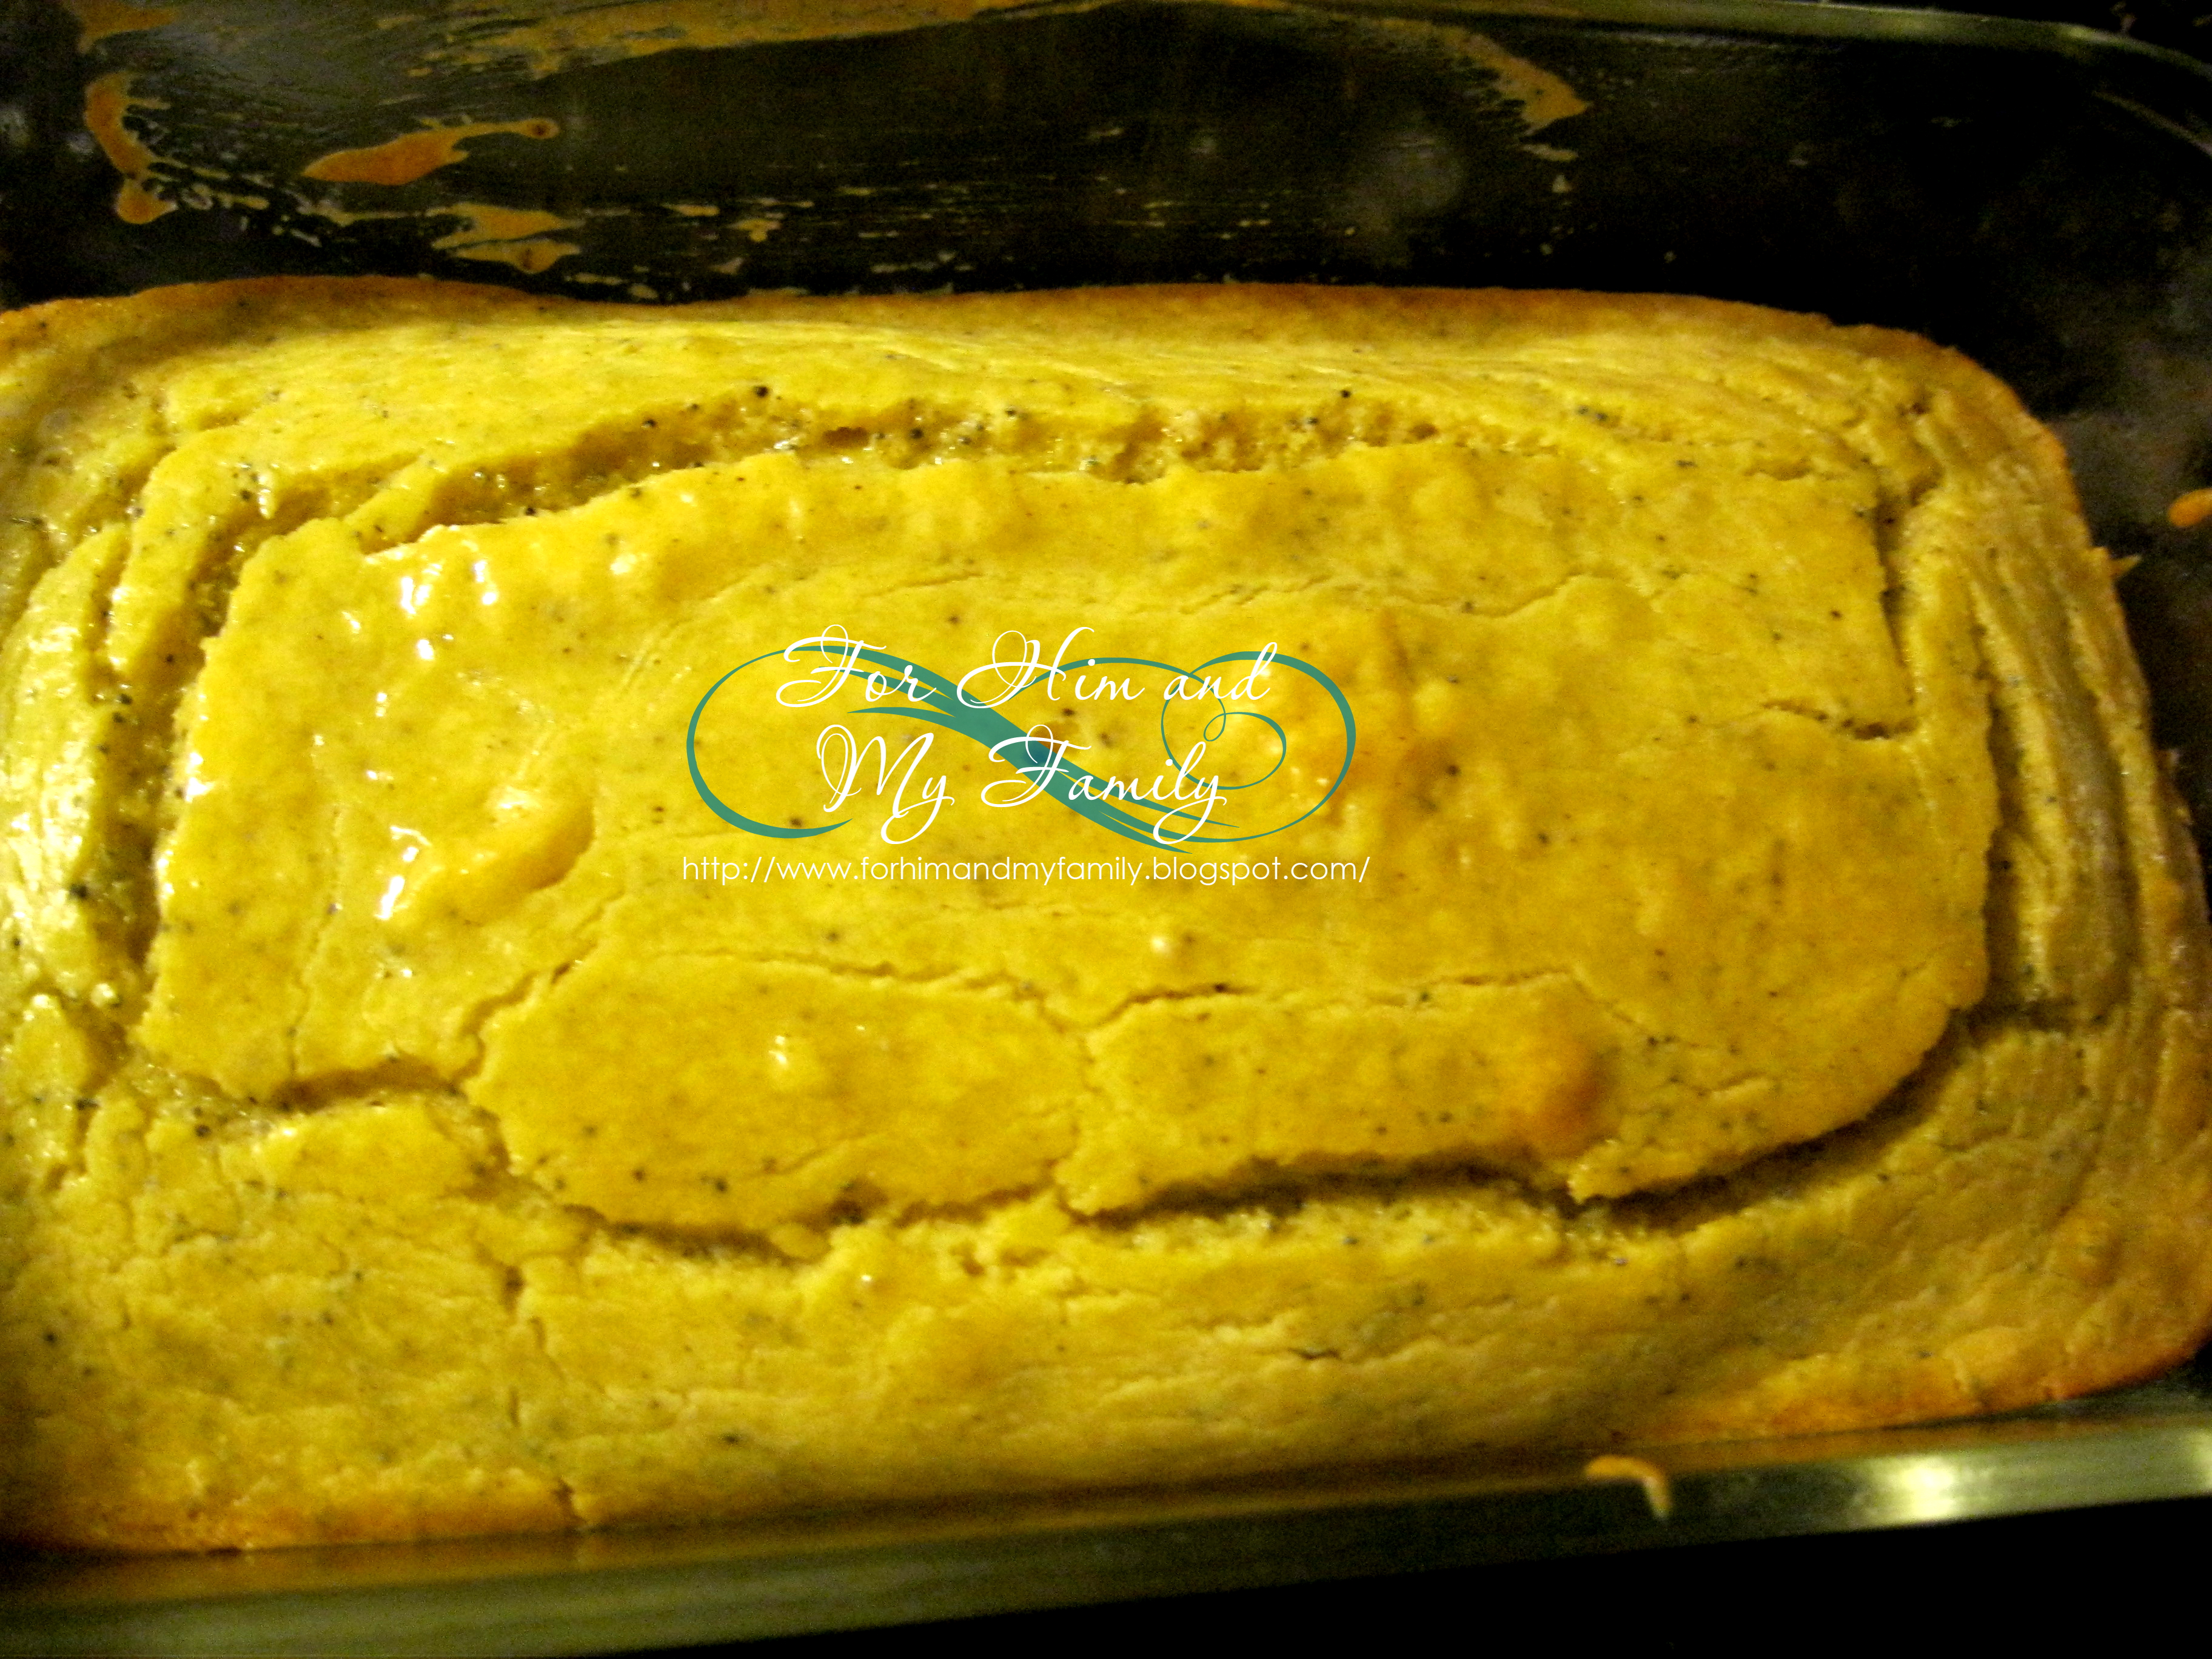
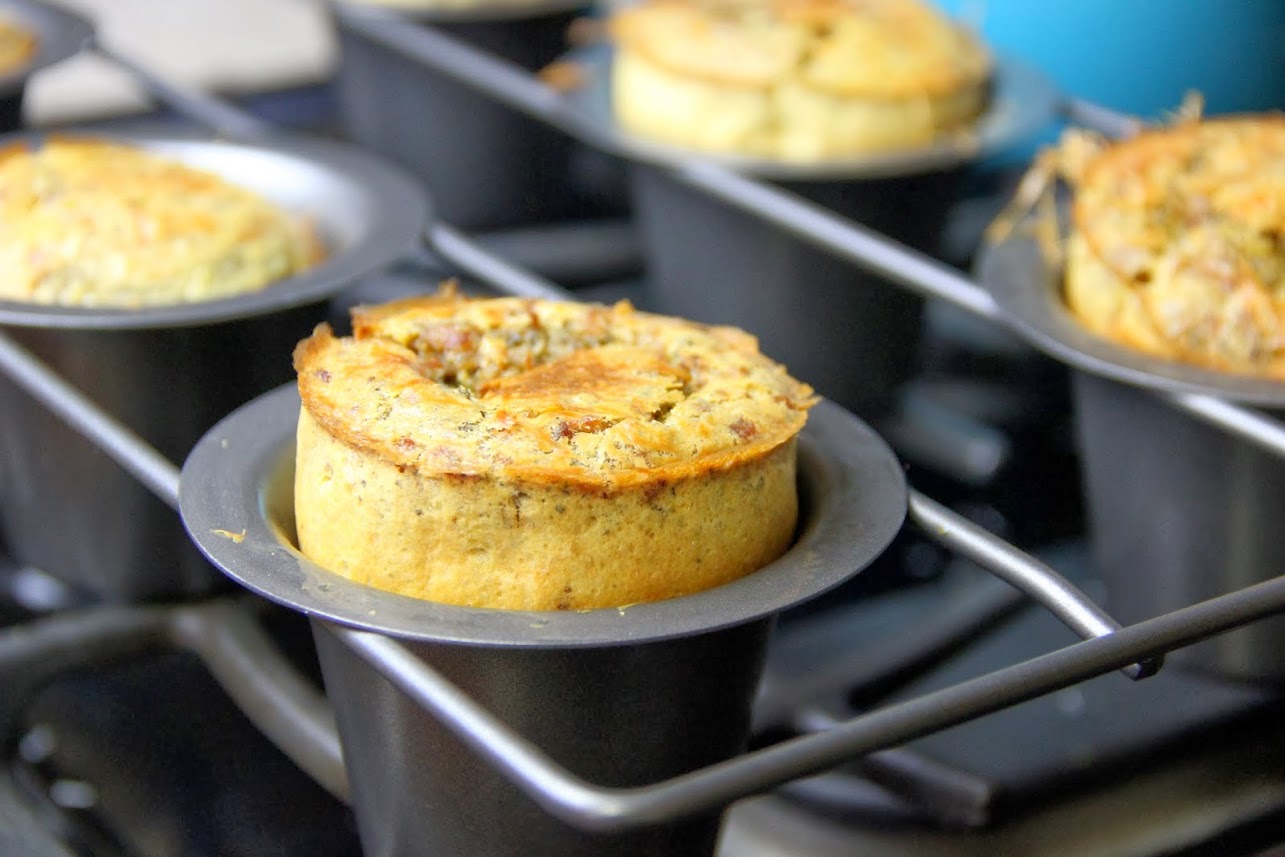
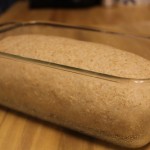
- At the end of the dough cycle, remove the dough from the pan and shape it into a loaf and place it in an 8 ½” x 4 ½” loaf pan. You can use a glass or nonstick pan. I prefer glass loaf pans.
- Let the loaf proof until it reaches the rim of the pan, about 45 minutes to an hour, depending on the heat in your kitchen.
- Bake the loaf in a preheated 350 degrees F. oven for 25 to 35 minutes, or until a wooden skewer inserted in the middle, comes out clean.
- Let the loaf cool in the pan for 10 minutes. Then remove the loaf from the pan to a wire rack to cool before slicing and serving.
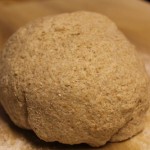
- Mix the dry ingredients together in a large bowl; add the liquid ingredients and mix until it forms a rough dough.
- Transfer the dough to a counter sprinkled with flour. Cover and let it rest for 10 minutes before starting the kneading process. This will help develop the gluten structure.
- Knead until it is soft and smooth, sprinkling additional flour if necessary.
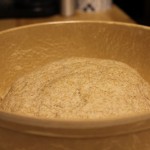
- Place the dough in a clean, lightly greased bowl and roll it around to coat it in oil. You can omit the oil if you prefer. Let the dough bulk ferment for 1 hour, or until it doubles in size.
- Remove the dough to a lightly floured surface, shape into a loaf, and place in a greased and floured loaf pan.
- Let the loaf proof for an hour, or until it crests slightly over the top of the rim..
- Bake the loaf in a preheated 350 degrees F. oven for 25 to 30 minutes, or until a wooden skewer inserted in the center comes out clean.
- Take the loaf out of the oven and let it cool in the pan for 10 minutes.
- Remove the loaf to a wire rack to cool completely.
- Slice and enjoy!
Happy Baking!
Cathy