I’ll admit it, I hate cake. I’m just not a fan of the spongy texture and it’s usually a chunk of spongy with a glob of over-sugary frosting. Okay, okay, so not every cake is like that but you know the ones. A few years ago that changed and a single cake is requested for almost every special occasion at my in-law’s. Not even joking, we requested my mother in law to make this Honey Cake for even the most mediocre of holidays along with almost everyone’s birthdays. It’s just the right textures and sweet flavors that make you want more but filling enough to only need a small piece.
I finally got this recipe from my mother in law a little while back and decided to give it a go. It is a recipe that takes a little longer to prepare and you do have to keep your eye on it while cooking, but it’s BEYOND worth it.
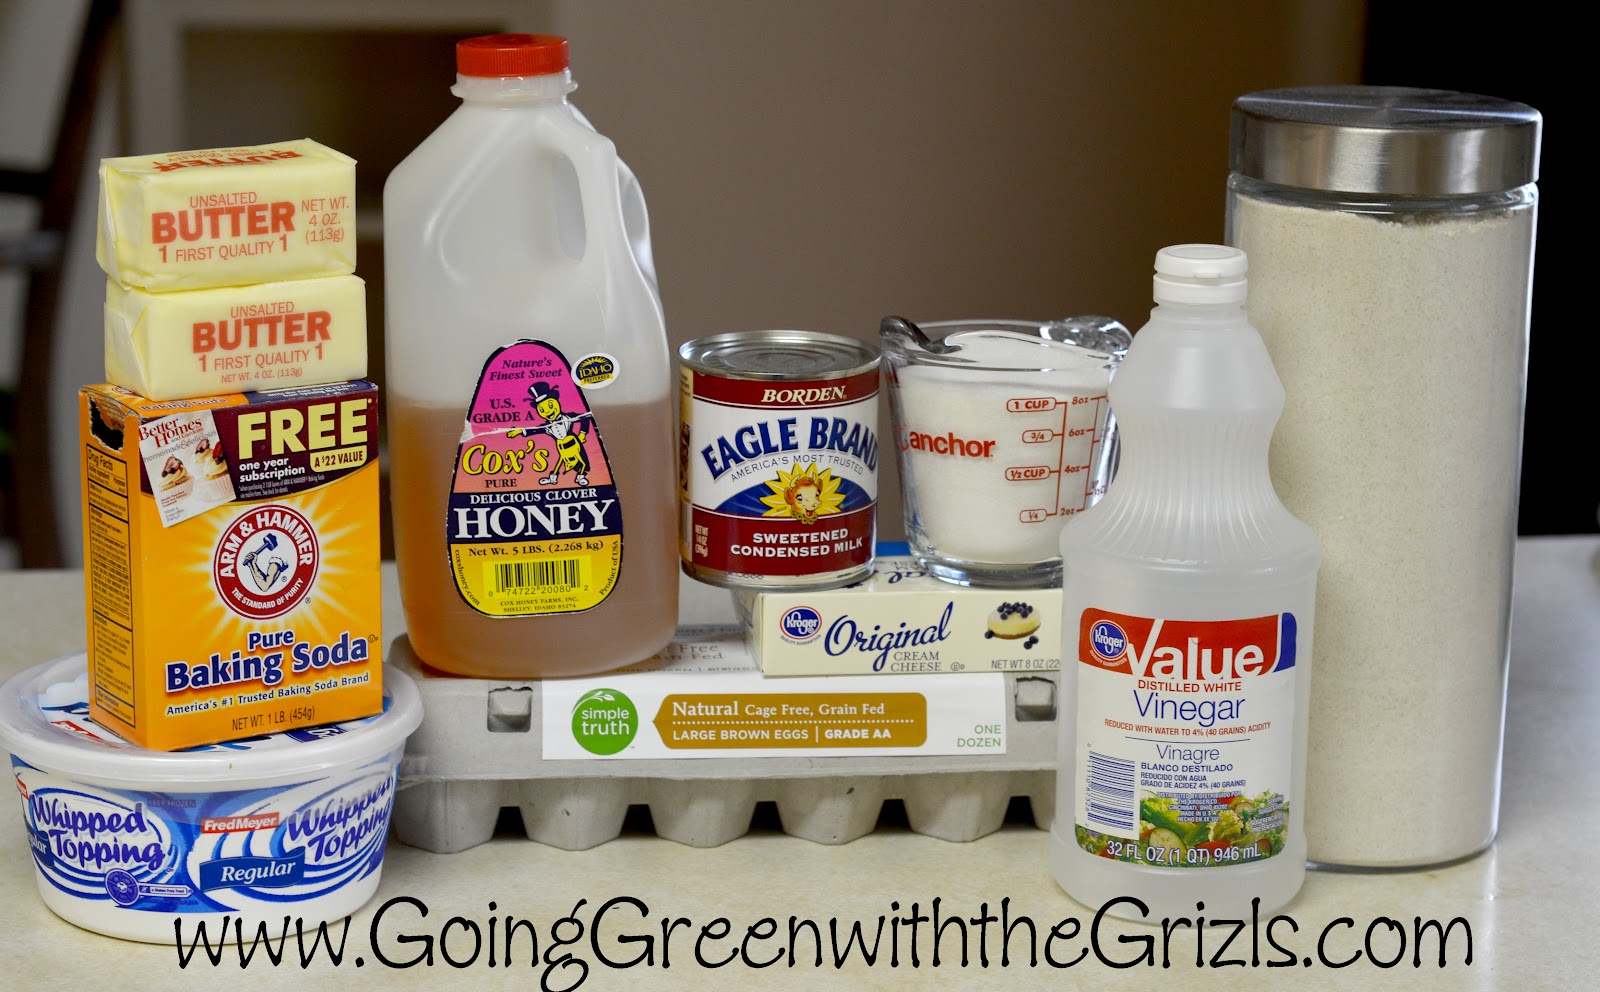
You’re at least intrigued now, right? This is a lovely cast of ingredients. =)
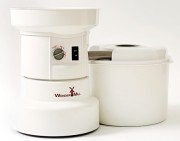
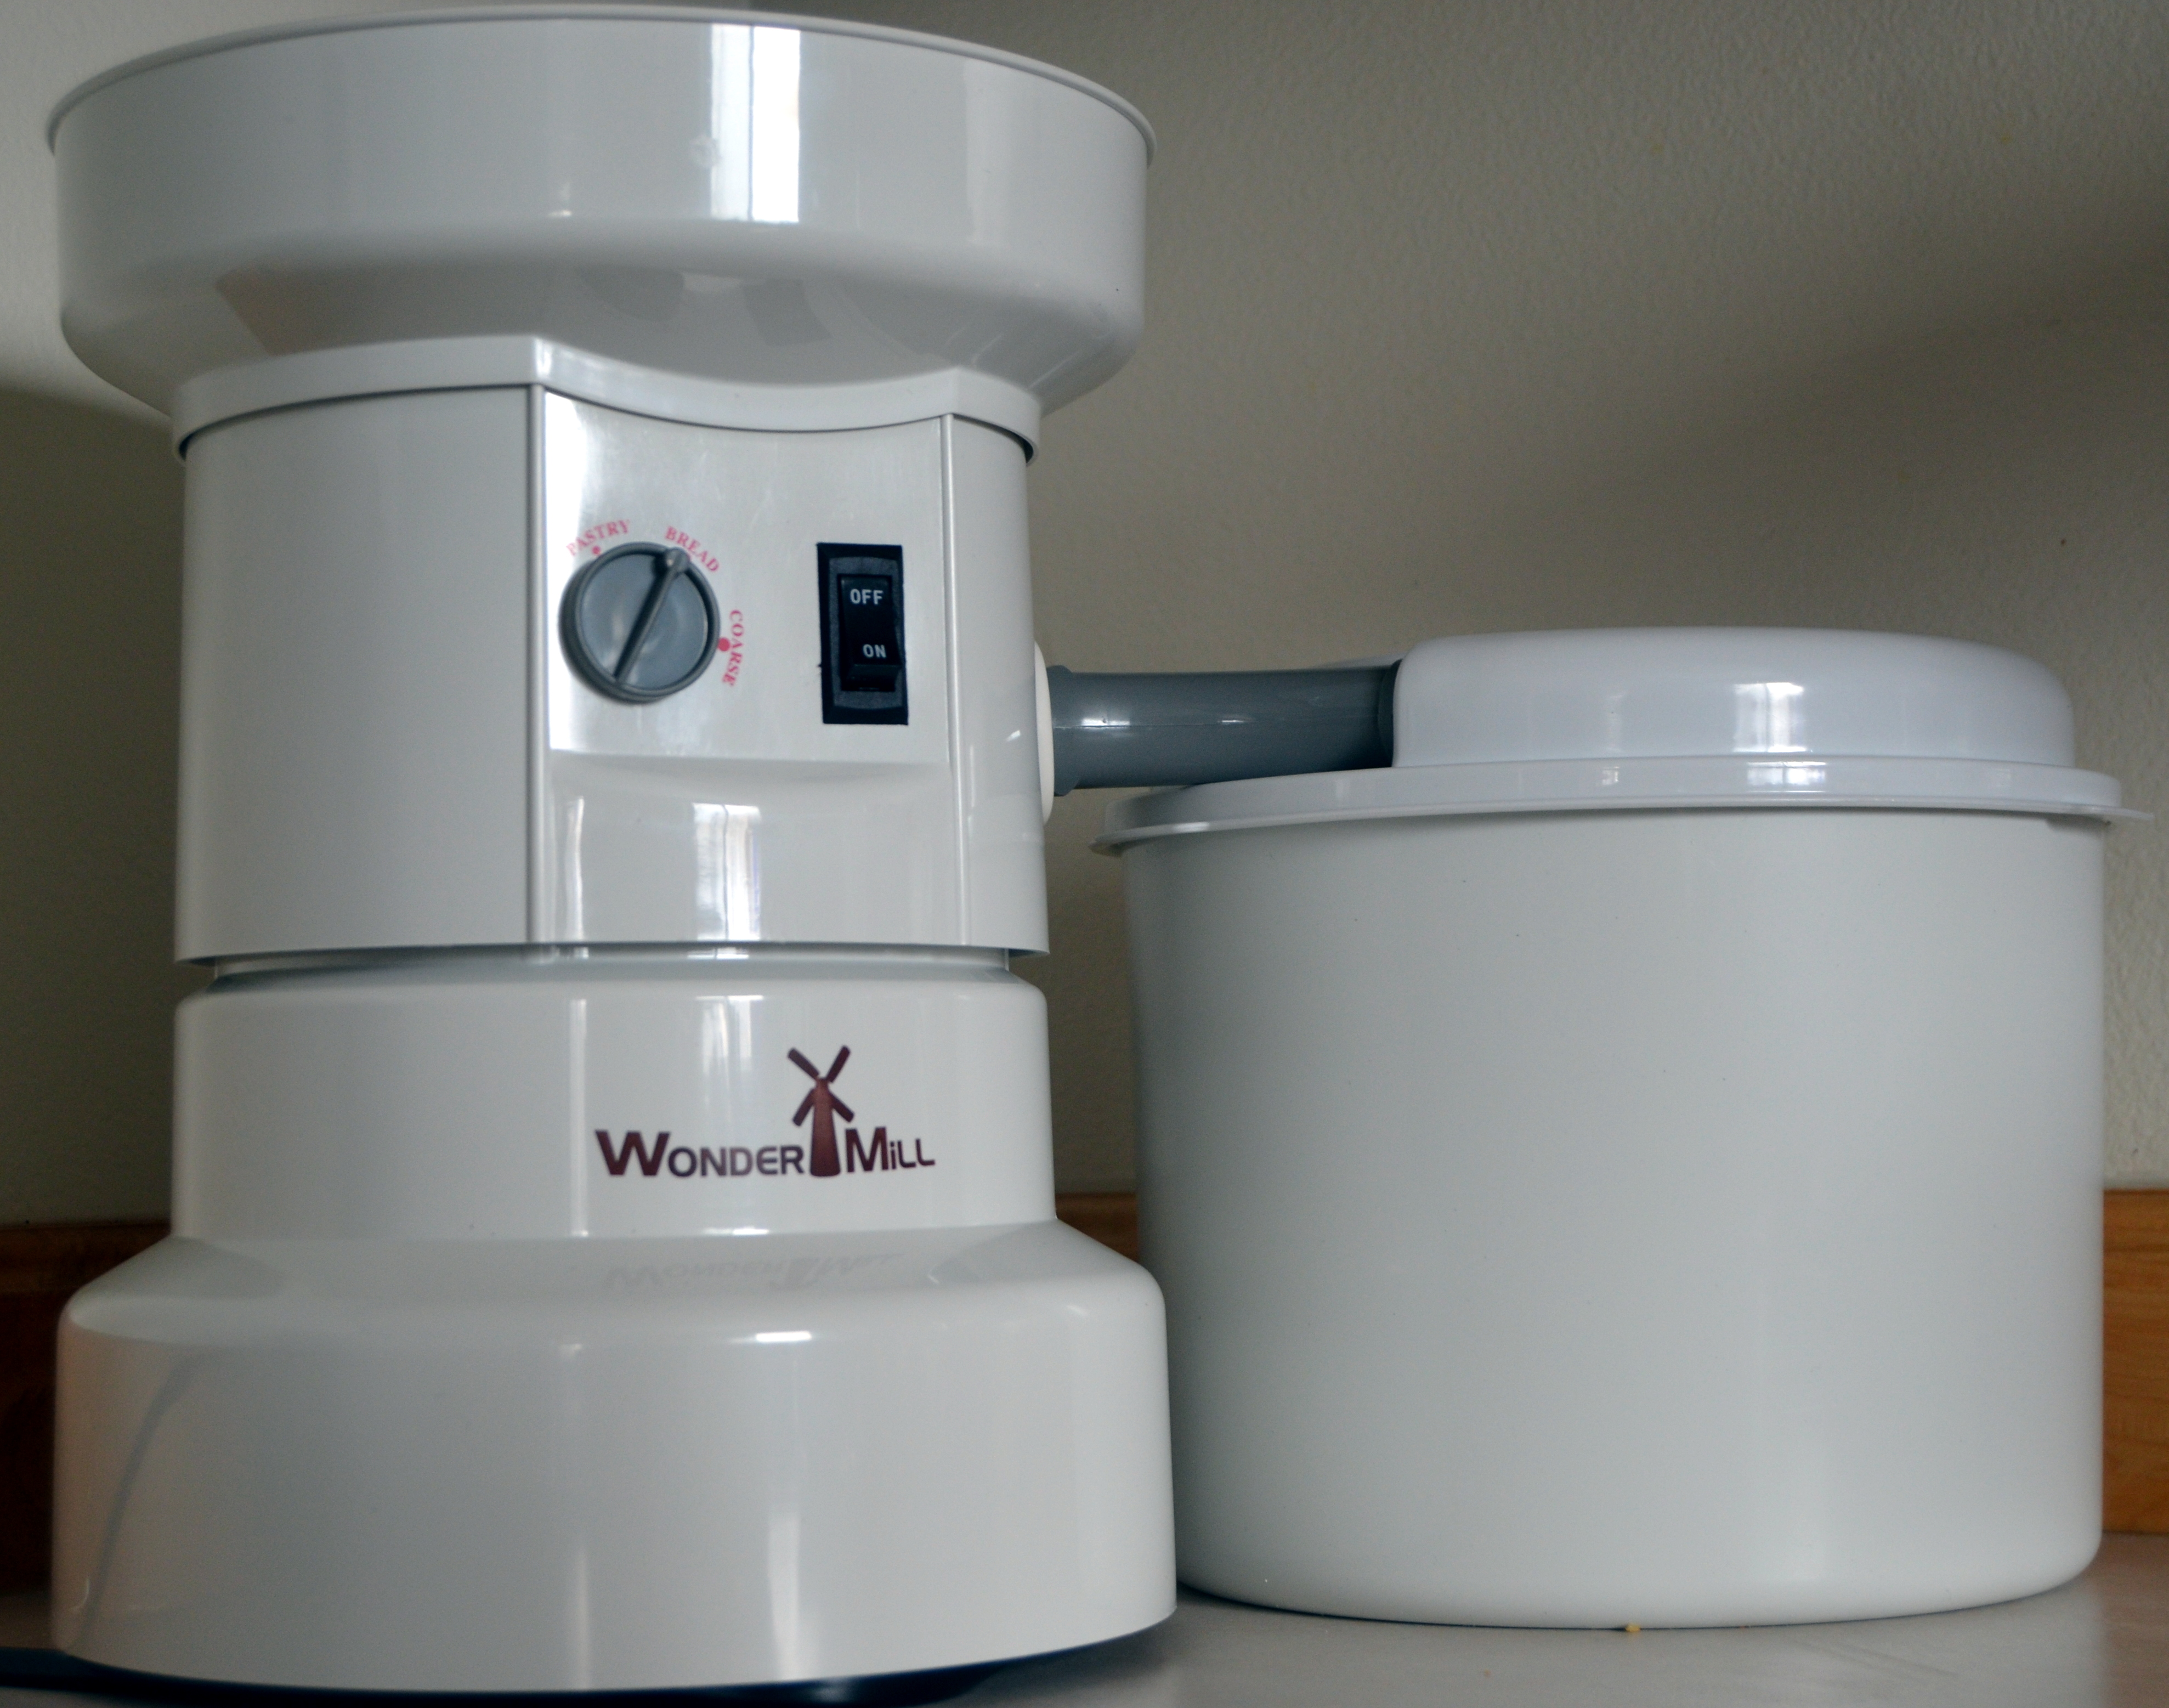 In this recipe, I use whole wheat flour that we milled with our WonderMill.
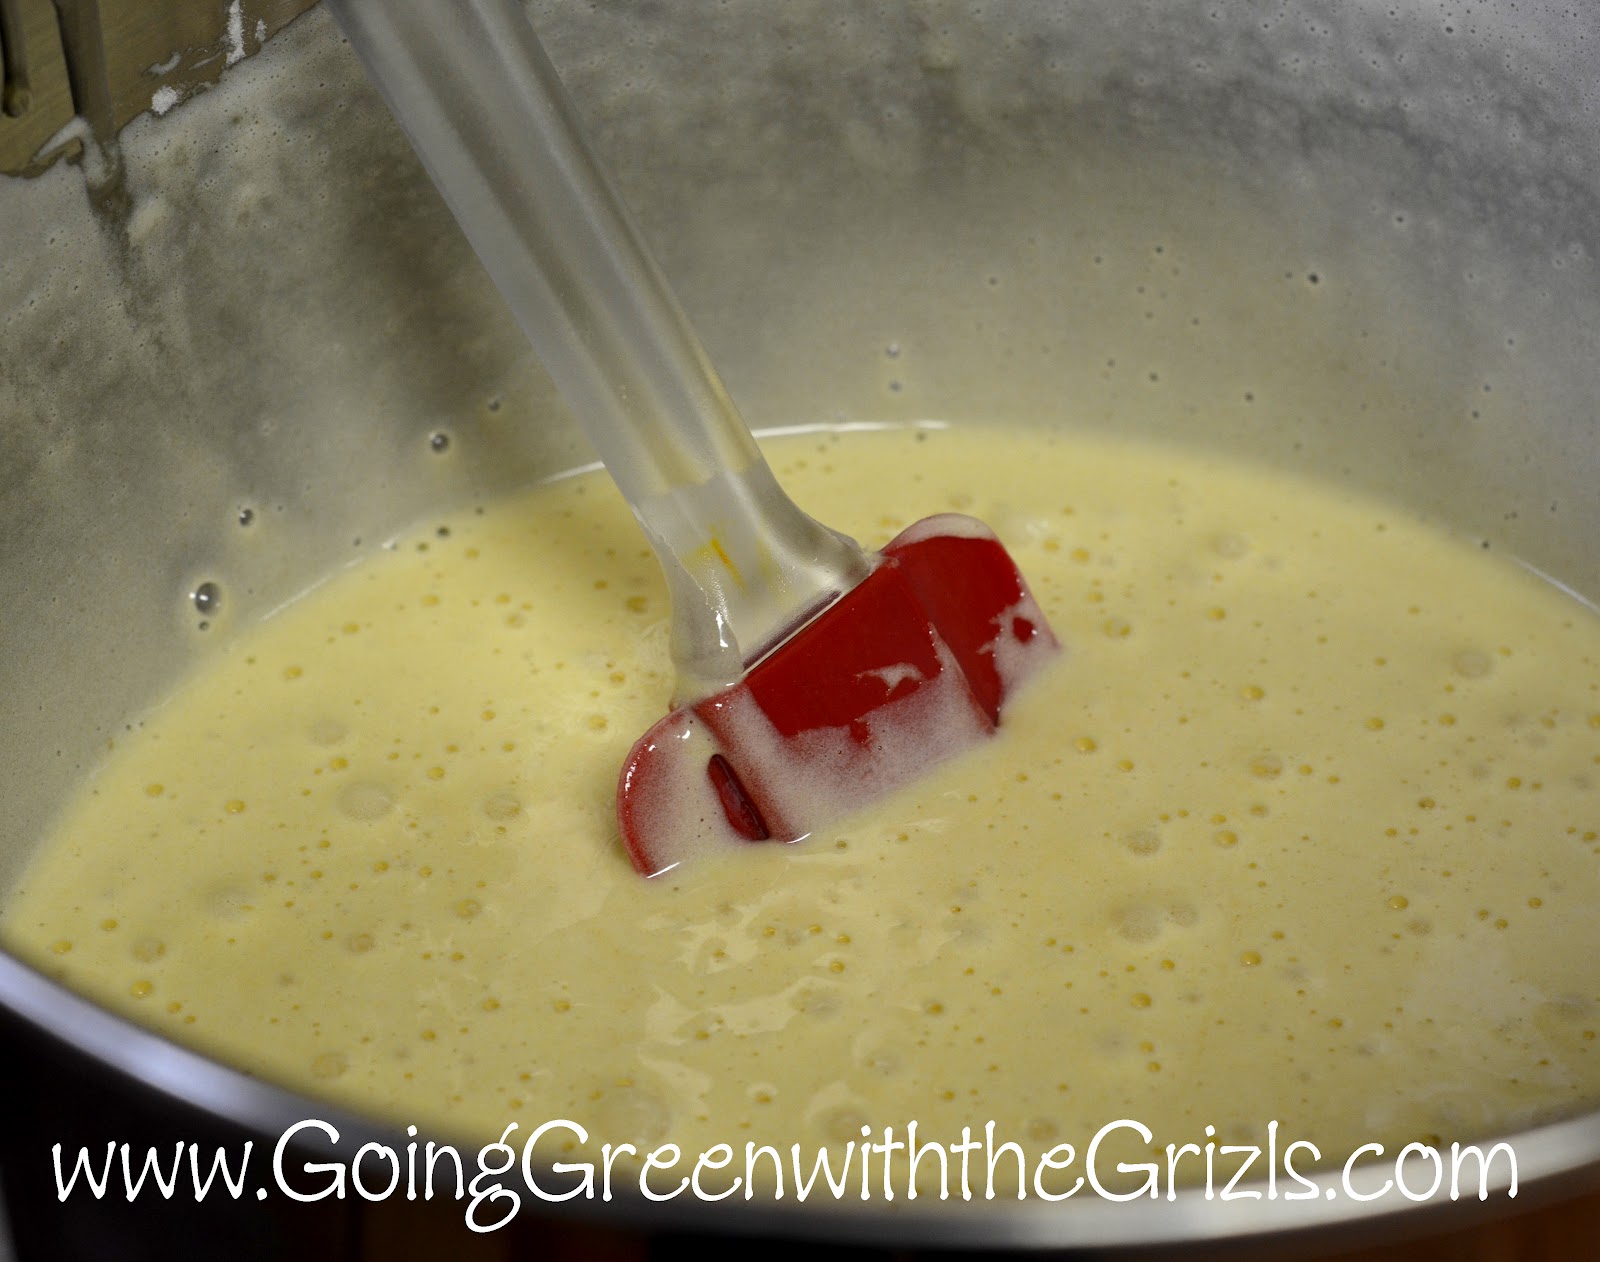
First, beat 6 eggs and 1 cup of sugar for 20 minutes. I like to do things the easy way because I’m not much of a baker to begin with so I used my KicthenAid. You could also use a stick (immersion) blender or a whisk and do it by hand if you’re truly a super woman. I like that I can set it to a speed that gets the job done but won’t make a mess and I can still do other things like dishes or feed my little girl lunch while it’s going. (I keep mine on either 6 or 8.)
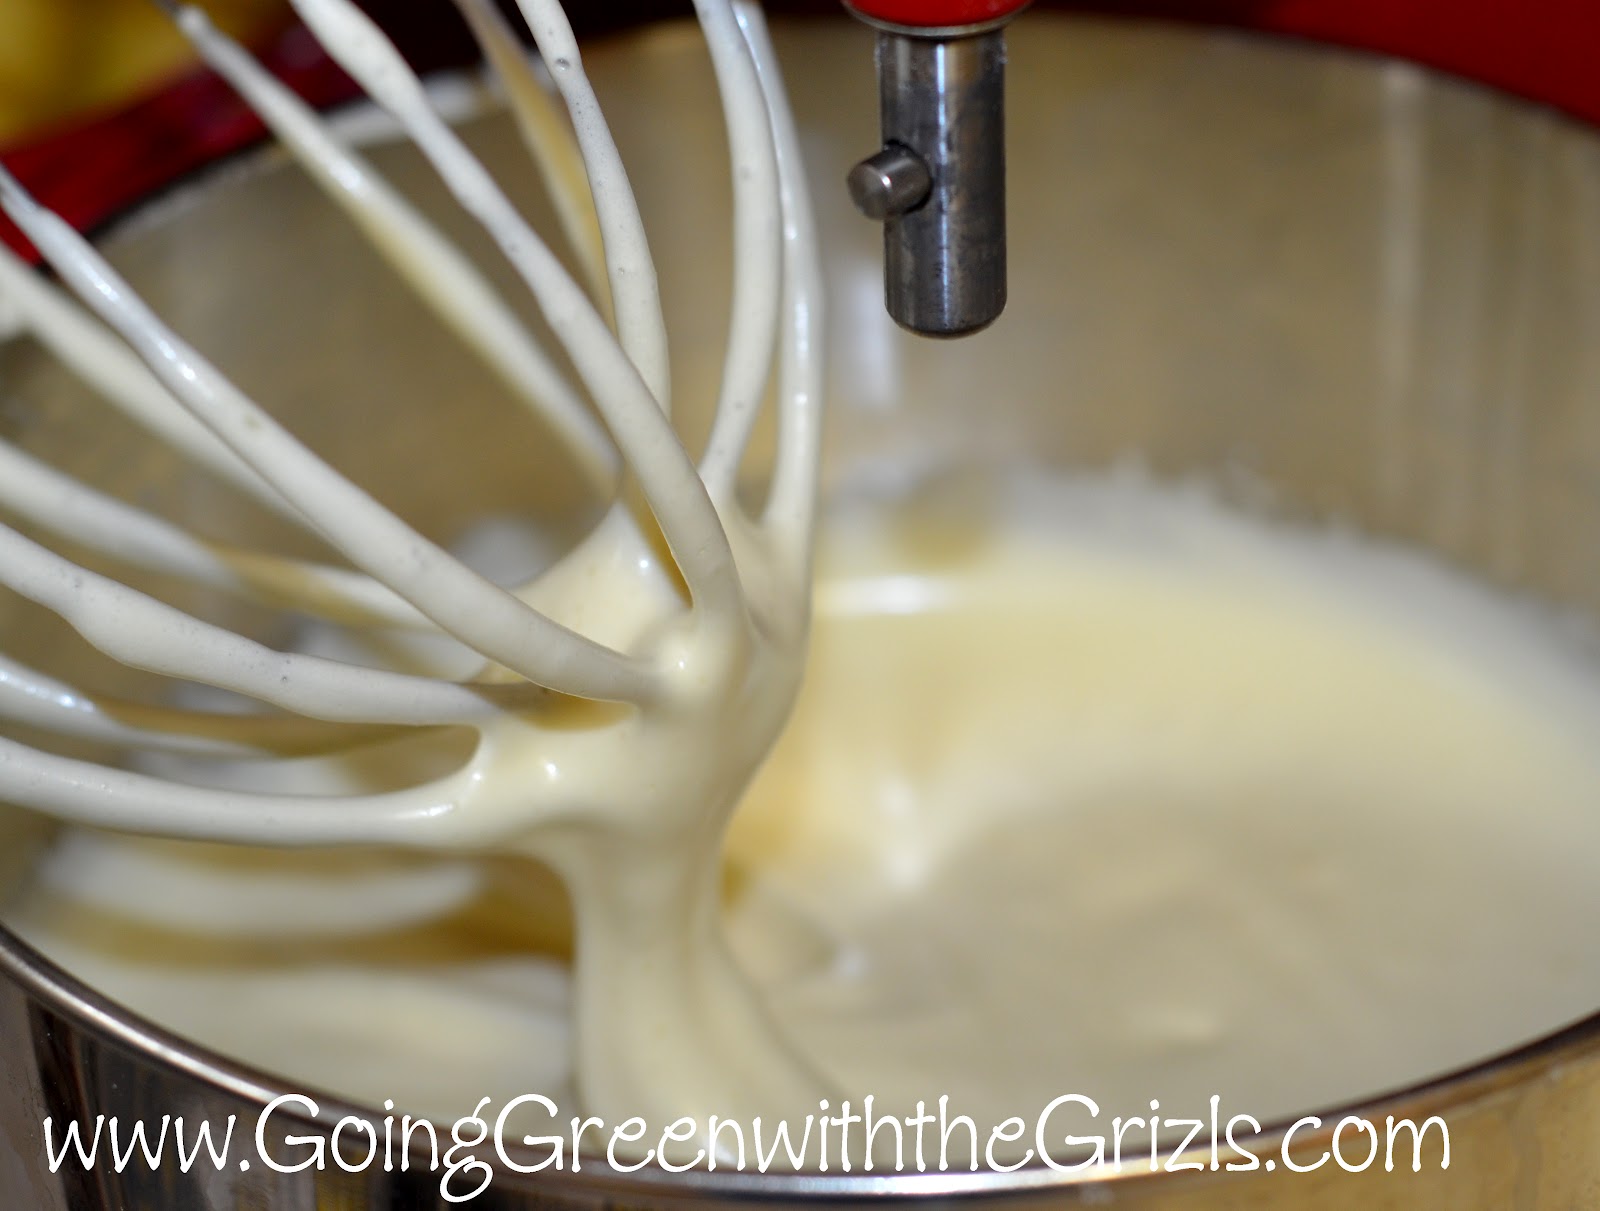
After the 20 minutes, your batter should be a pale yellow and have a frothy foam texture.
Add 1/2 cup of honey and 1 tablespoon of sweetened condensed milk and mix for another 5 minutes.
In a small separate bowl, add 1 tablespoon of vinegar. Carefully add 1 teaspoon of baking soda and stir before adding to the egg mixture. Mix.
Add in 1 3/4 cup of flour and mix together. Your batter should now look something like this. Notice the small bubbles.
The batter needs to be divided in half between two pans of the same size. You have a few different options on baking size. Originally my mother in law made them a 9 x 13 size and said it was no fun because you have to cut it into layers. Lately, she’s been using 8-10″ round pans. Since we don’t eat much cake here (my husband is not a fan either) I don’t have any round pans so I used my 8″ square pan.
For my first trial, I actually made one cake, let it cool and repeated with the second using the same pan. I refrigerated my batter in between baking and it made the second cake not bake as evenly. I should’ve either made both cakes at once or let the batter get closer to room temperature before baking the second cake. (I ended up buying a second square pan for when I made the cake a second time. =))
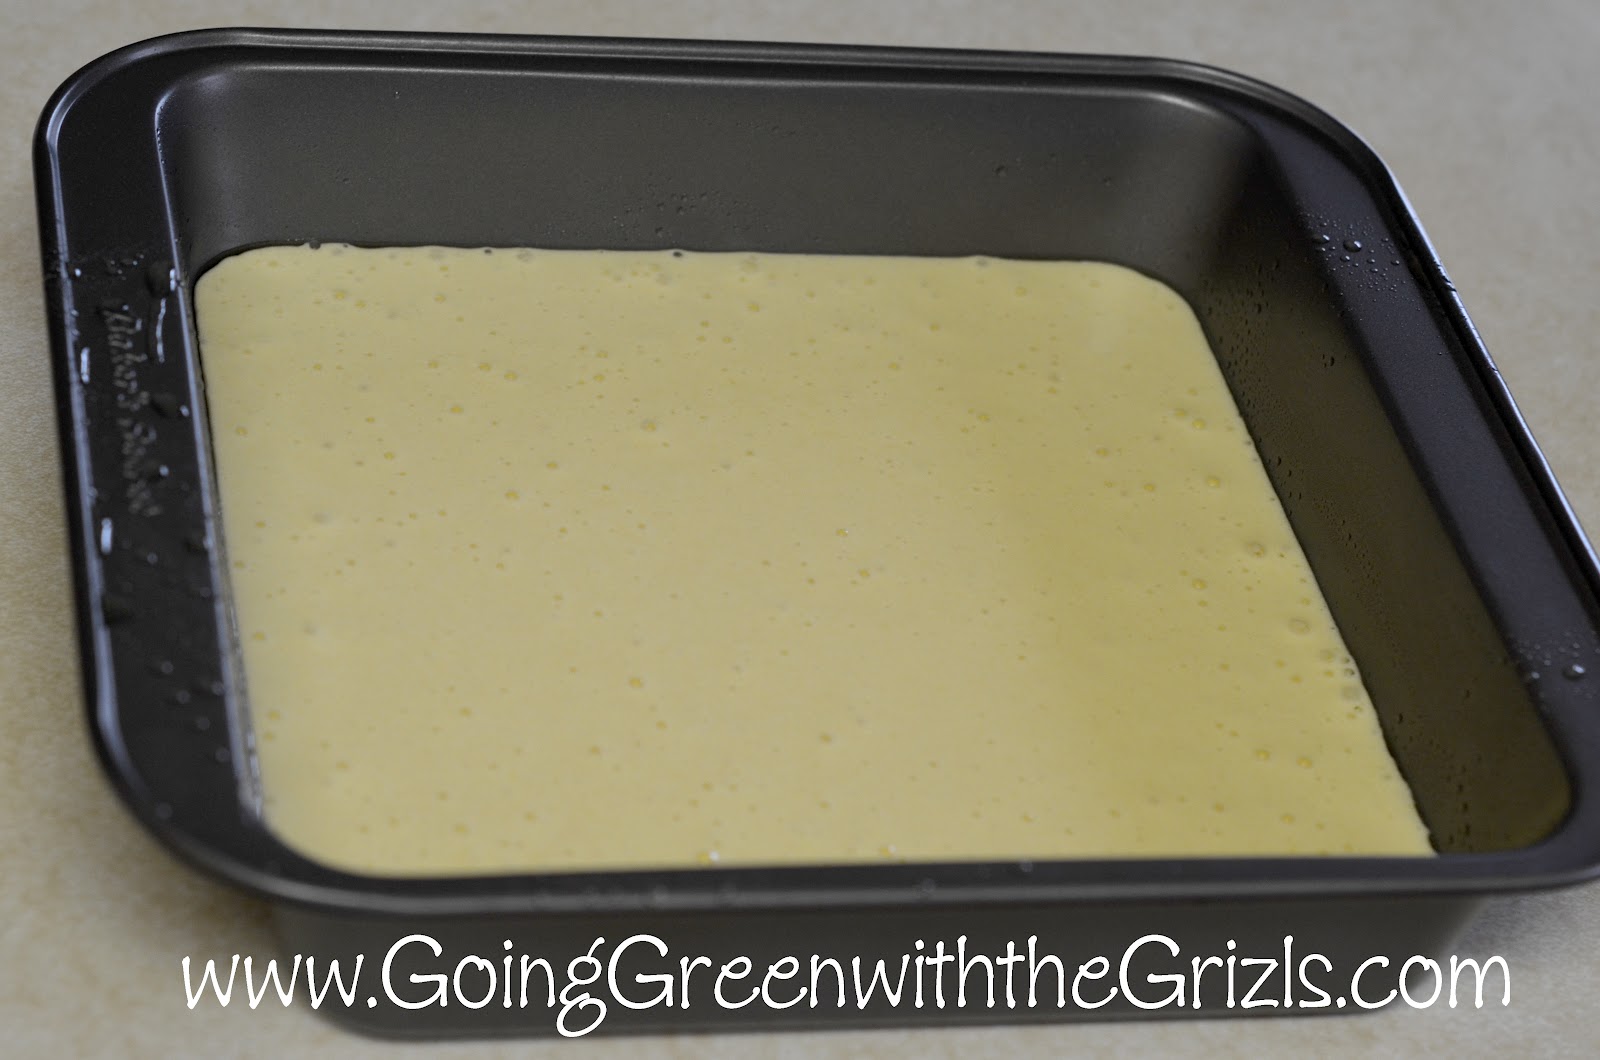
Bake at 350 for about 25 minutes. I set my timer for 15 then watched it pretty close after that.
Once the cakes cool, we need to cut them both in half to create 4 layers of cake. Since I used a smaller pan than the original 9 x 13 called for, it’s a little easier to cut my layers. I’m all about easier. =)
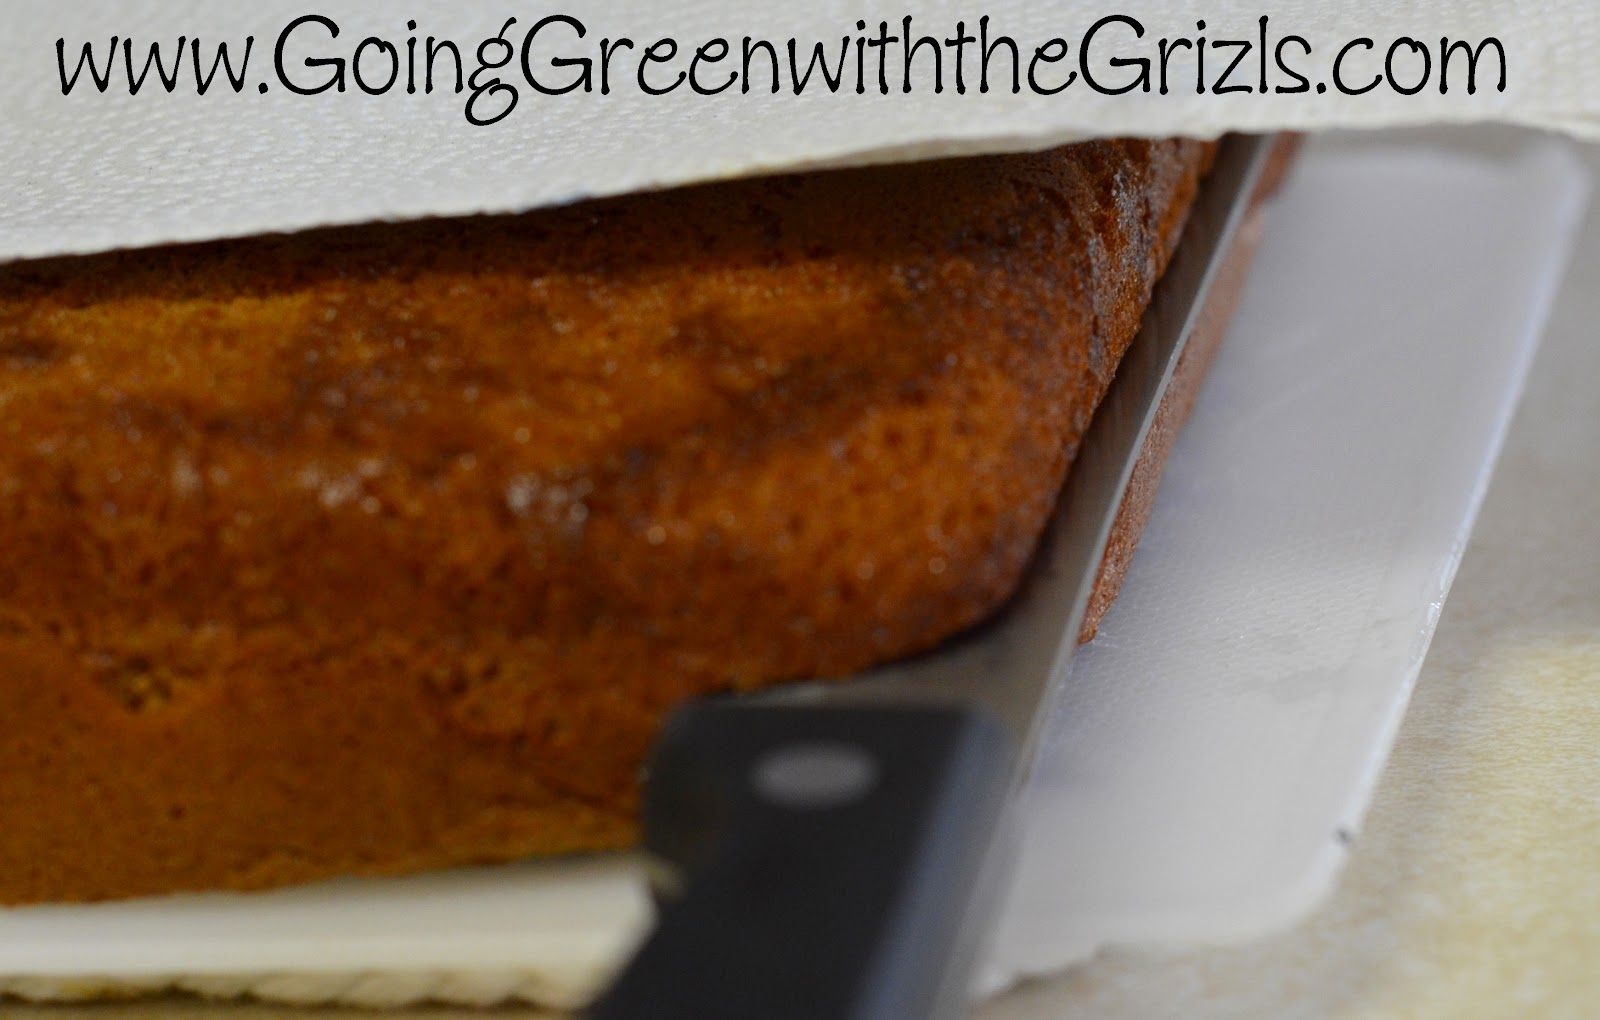
Get a sharp knife and be careful. Added tip: lay a paper towel on top of the cake before placing your hand on it. It’ll help hold the cake still and make it easier to cut.
For the filling/frosting I used my KitchenAid and again used the whisk attachment. Mix together 8 oz of cream cheese, 2 cubes of butter (1 cup), 16 oz whipped cream, and 8 oz of sweetened condensed milk. It really helps if everything is softened and thawed before hand. you’ll end up with a nice filling with less lumps. Plus, you don’t want to mess up the wire attachment by beating it with frozen things.
It really helps if you have a cute assistant to help you eat as much of the filling as possible taste test.

If you have any hard edges, now is the time to trim them off. Choose a layer for the bottoms and spread a layer of filling on top. Repeat with all the layers and stack. When you’re doing this it’s really about getting the filling on there and not about being pretty. Here’s mine after stacking.
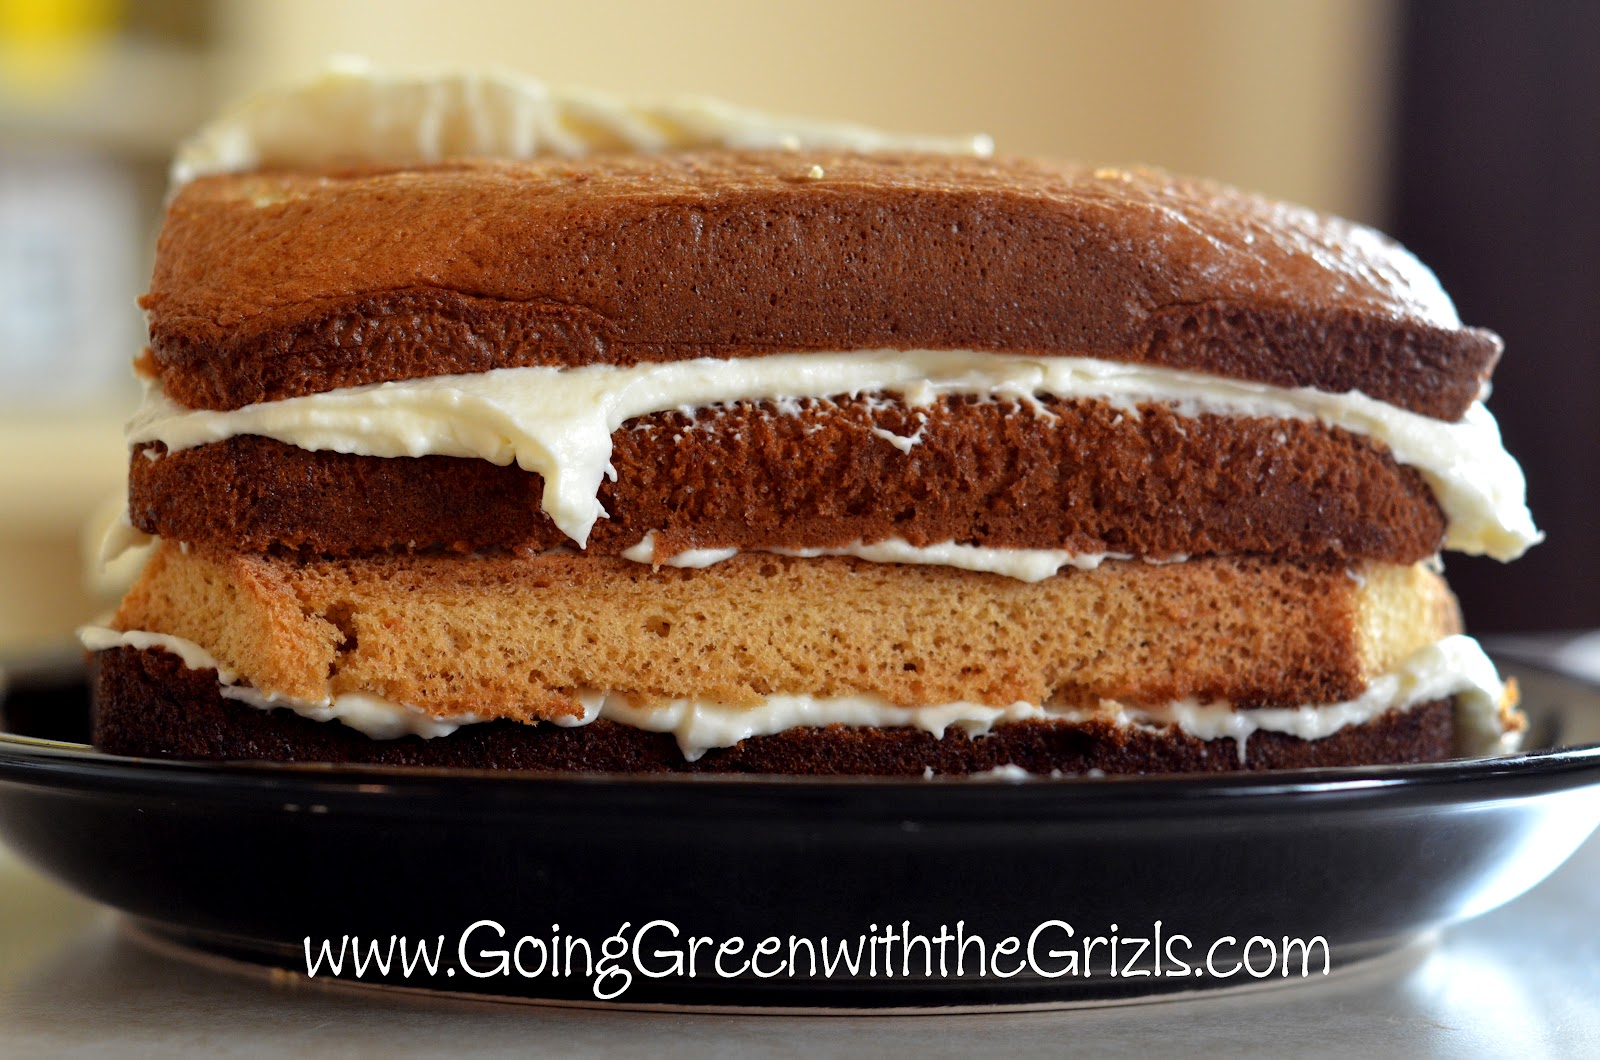
Use the remainder of the filling to frost the top and sides of the cake. I don’t know why, maybe it’s because I never make cakes and therefore never frost them, but this cake tends to have a messier look to it. A tip I can give you is that I used a large knife (think shape of a meat cleaver but small and light) to get my edges as smooth as possible. It’s also tricky that the cake itself is kind of fragile and crumbles if you mess with it too much.

So there you have it, a delicious cake that you can make ahead of time and wow everybody at those holiday cookouts coming up.
Cake:
6 eggs
1 cup sugar
Beat for 20 minutes
Add
1 tbs sweetened condensed milk
1/2 cup honey
Beat 5 more minutes.
In separate bowl, mix
1 tbs vinegar
1 tsp baking soda
Add to egg mix.
Add
1 3/4 cup flour
Split between two pans (same size)
Bake at 350 for about 5 minutes
*Keep an eye on it after 15 minutes.
Cool. Cut into layers.
Filling:
1 8 oz pkg cream cheese
2 cubes butter (1 cup)
16 oz whipped cream
8 oz sweetened condensed milk
Layer cake/filling/cake until you’ve used all 4 layers of cake. Top with remainder of filling and cover sides.
Chill before serving.