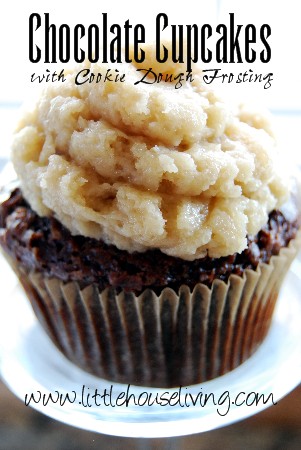

I did a lot of playing around with recipes and mixing different ones to make what you see here. At the time, my dad couldn’t have wheat, but I didn’t like most of the gluten free cake I had tried on account of them being too dense. So I set out to experiment, and this is what I came up with.
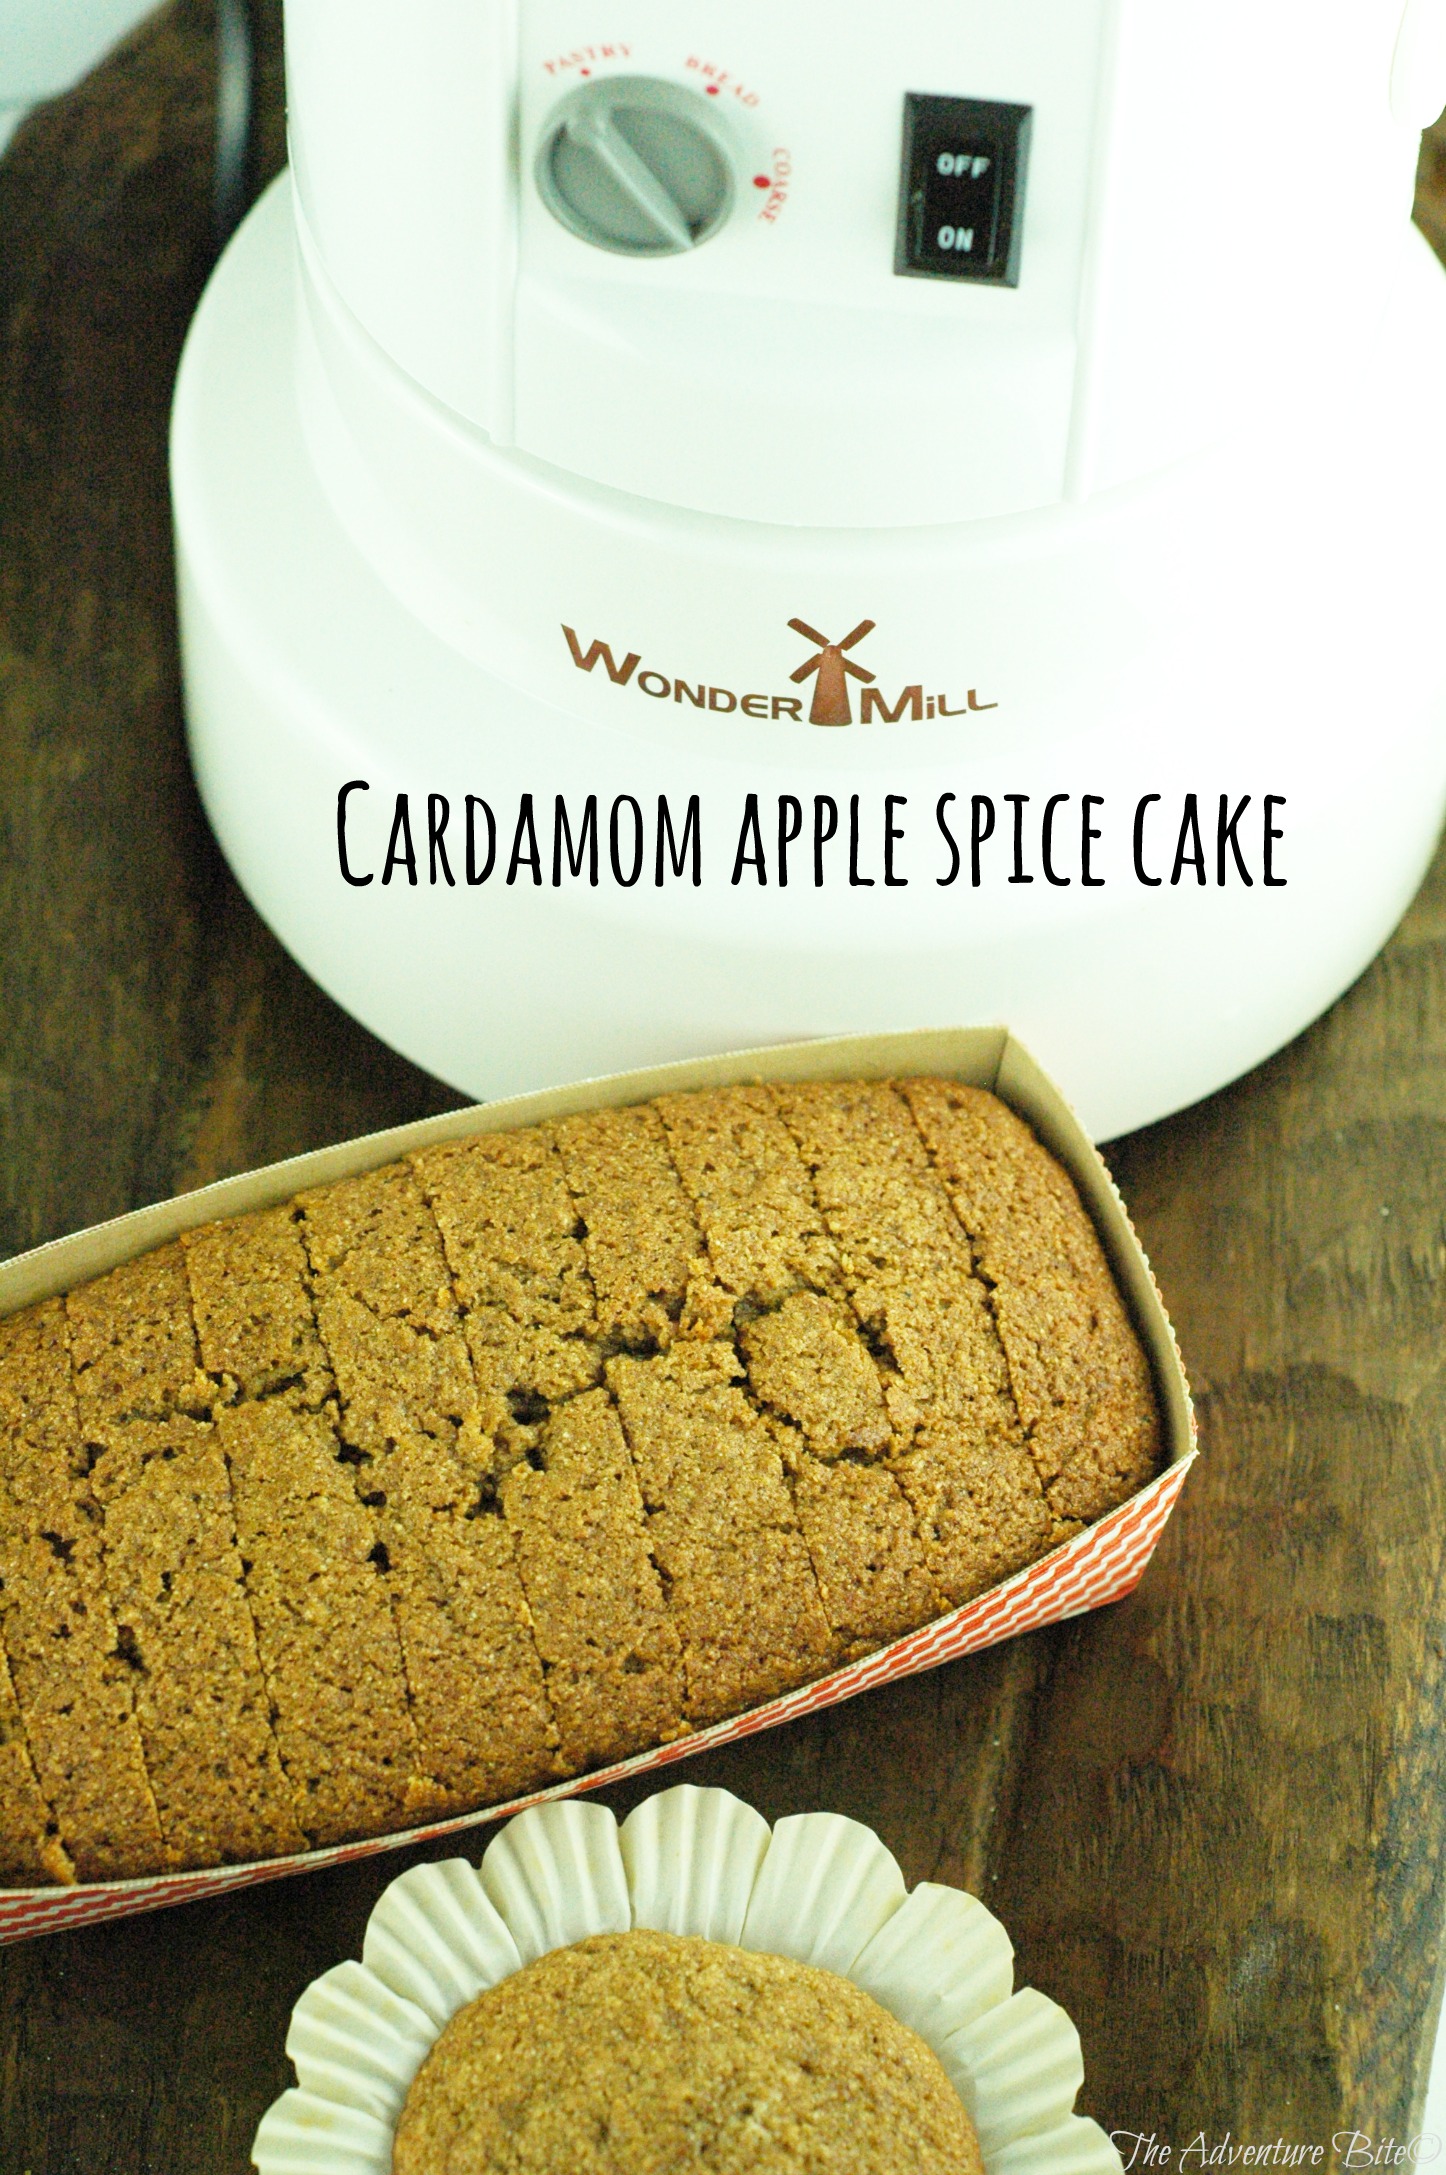
In this recipe I used a grain called Amarantha. It has a nutty flavor and is gluten free! You can buy the grain at your local health food store.
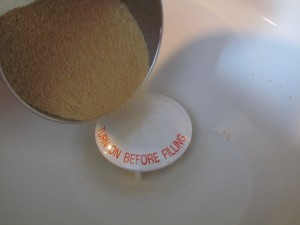
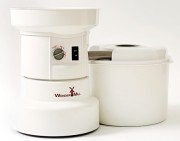
Start by grinding about 1/2 cup of Amarantha grain (this gave me about 3/4 cup Amarantha flour) on the “pastry” setting in your WonderMill. Now you’re ready to begin!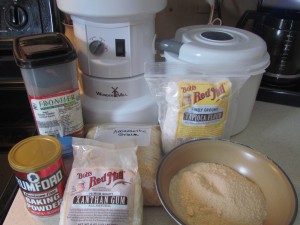
Preheat oven to 350 degrees.
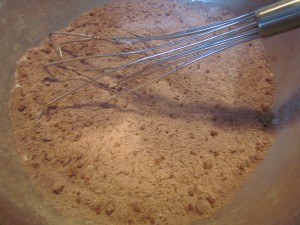
In a bowl combine dry ingredients:
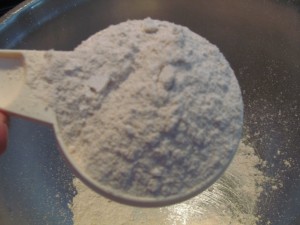
3/4 cup (rounded) Amarantha Flour (use your WonderMill to grind the grain to flour)
3/4 cup (rounded) Tapioca Starch
1/2 cup cocoa powder
1 cup evaporated cane sugar (any sugar will work)
1/2 tsp. sea salt
1 tsp. baking powder
1 tsp. baking soda
1 tsp. xanthan gum
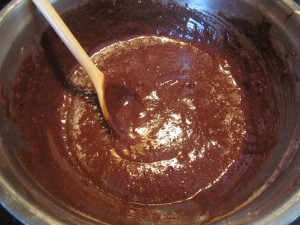
Add wet ingredients to your dry ones and mix:
1 cup warm coffee, milk, or Almond milk (I used 1/2 cup coffee and 1/2 cup milk)
2 eggs
3 tab. oil (I used safflower oil)
2 tsp. Vanilla Extract
1/2 tsp. hazelnut (optional)
1/2 tsp. vinegar
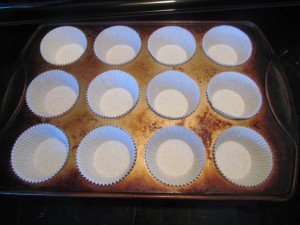
Line muffin pan with paper baking cups. Spray lightly with non stick cooking spray.
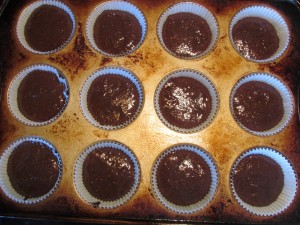
Fill each muffin cup 2/3 – 3/4 full (depending on how big you want your cupcakes). Bake in 350 degree oven for 18-20 minutes.
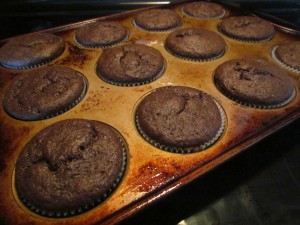
When done, pull out of oven and place on cooler rack to cool. While they are cooling you can make the Whipped Cream for the top!
Chocolate Whipped Cream:
Begin with making a stabilizer for the whipped cream. This will help to keep if from “melting” and getting drippy when it sits for a bit.
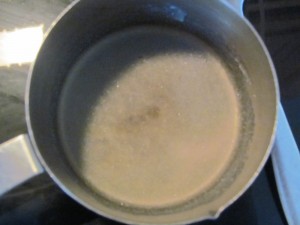
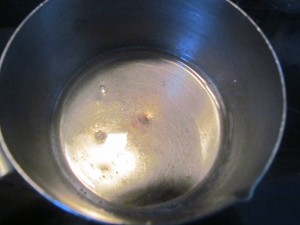
Place in a small pan:
1 tsp. unflavored gelatin
4 tsp. cold water
Combine and let sit until thick. Place over low heat, stirring constantly just until gelatin dissolves. Remove from heat and cool slightly.
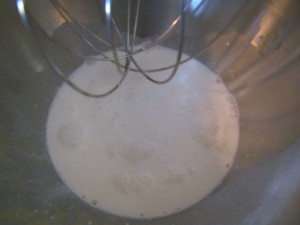
In a mixing bowl combine:
2 cups heavy whipping cream (at least 24 hours old and very cold)
2/3 cup – 1 cup powdered sugar
1 tsp. vanilla extract.
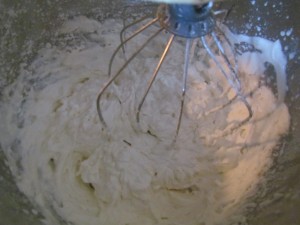
Beat until slightly thickened.
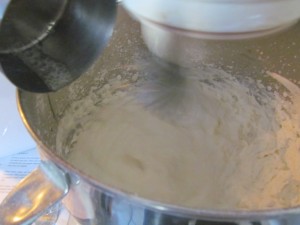
While beating slowly, gradually add gelatin to whipped cream mixture. Whip at high speed until stiff.
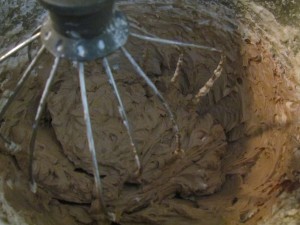
Add:
3 tab. cocoa powder
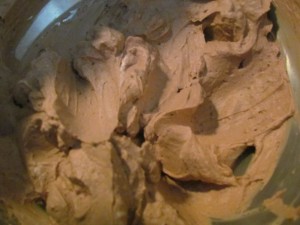
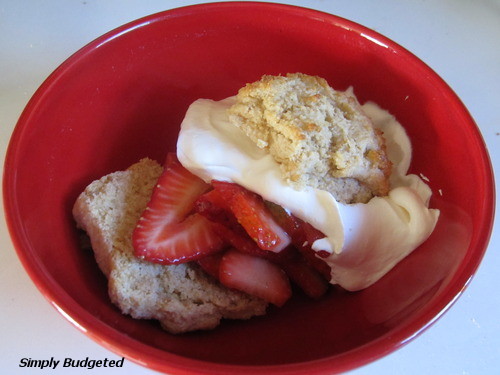
Frost cooled cupcakes or put whipped cream in a pastry bag and pipe onto cupcakes. Store in refrigerator until ready to serve. Makes 12-18 cupcakes.