The 4th of July Holiday is right around the corner and folks in the U.S. are in cookout mode. Recently, someone asked me if I had a good recipe for hamburger buns. Do I have a good recipe for burger buns? Yes, I do and here it is.
In the past, I didn’t make buns for hamburgers and hotdogs very often because it was hard to get the timing down when we wanted to grill out. Sometimes we would plan ahead, but other times, we would decide at the last minute to cookout and then make a mad dash to the store to buy the meat and the buns.
I finally got wise and started using the Healthy Bread in Five Minutes method to prepare the dough ahead of time and let it ferment in the refrigerator overnight (or for a few days even). The HBin5 method makes a versatile dough that’s easy to work with, and because it can be prepared ahead of time, it takes the stress out of getting the timing down.
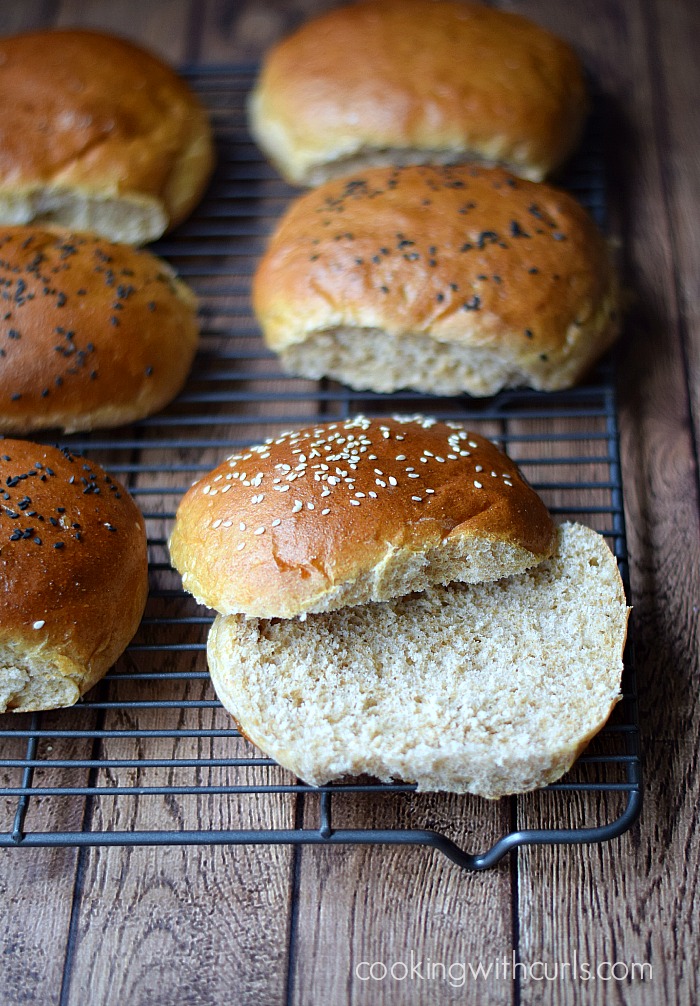
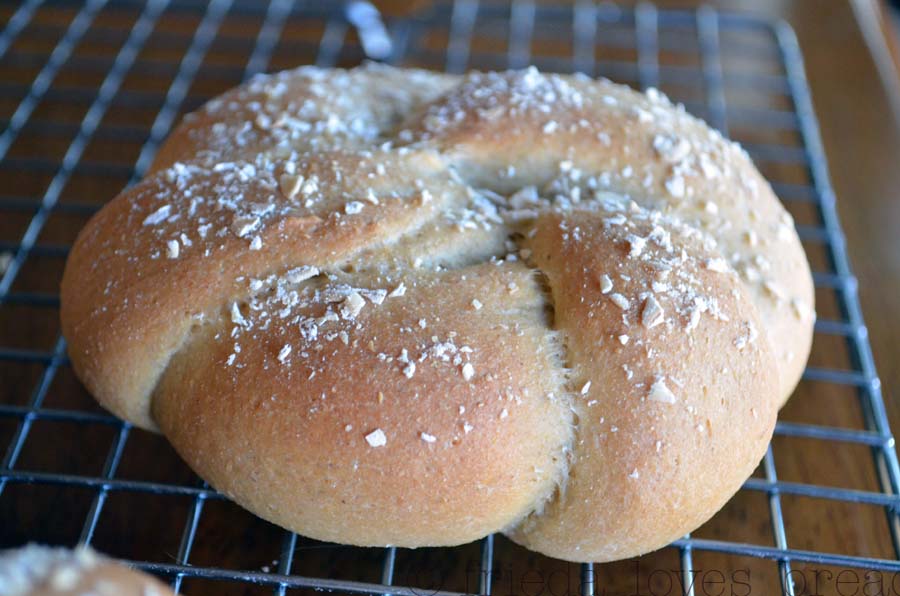
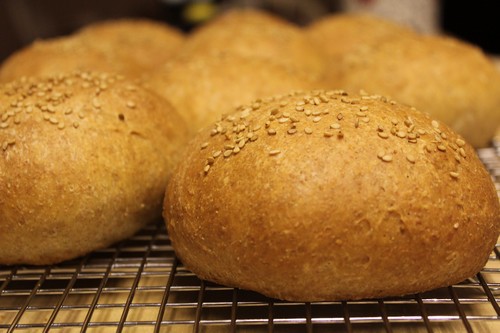
I prefer sandwich buns that have some substance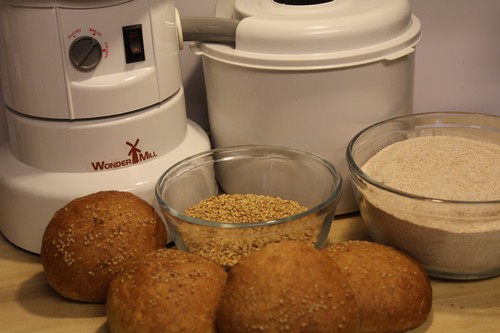 , but aren’t too heavy. These Light Wheat Buns are healthier for you than store-bought ones. They are made with home-milled whole wheat flour, but they also include some all-purpose flour to make them a little bit lighter.
On the day of the cookout, all you do is take the dough out of the refrigerator, shape the buns, and you’re all set! You can bake the buns in a conventional oven or on the grill if you like. You can also bake the buns ahead of time. Just freeze them if it’s going to be more than a couple of days before you use them. This is also a good option if you’re going to a friend’s house for the cookout.
Makes: About 9 large rolls or 10-12 smaller rolls
This is a versatile dough. You can use it to make hamburger buns, hotdog buns or a soft wheat sandwich loaf.
- 2 cups whole wheat flour
- 1¼ cups all-purpose flour
- 1½ teaspoons instant yeast
- 1½ teaspoons salt
- 1 cup lukewarm water
- ¼ cup honey
- 2 eggs
- ⅓ cup olive oil
- Mix the dough: Mix together the flours, instant yeast, and salt in a large mixing bowl or food-grade container. Combine the liquid ingredients and add them to the dry ingredients using a Danish dough whisk, wooden spoon or your stand mixer using the paddle attachment. You don’t have to knead this dough; just mix it until the ingredients are thoroughly combined. You might have to use wet hands to incorporate the final bits of flour. It’s okay! Go ahead and get your hands in the dough.
- Refrigerate the dough overnight:Cover the bowl or container with plastic wrap or a non-airtight lid and let it rest on the counter, at room temperature, for 2 hours. During this time, the dough should rise and collapse or flatten on top. You can use the dough after the initial rise, but it is easier to work with and will develop more flavor if you let it rest in the refrigerator for at least 24 hours. Just cover the container with a non-airtight lid and use the dough over the next few days.
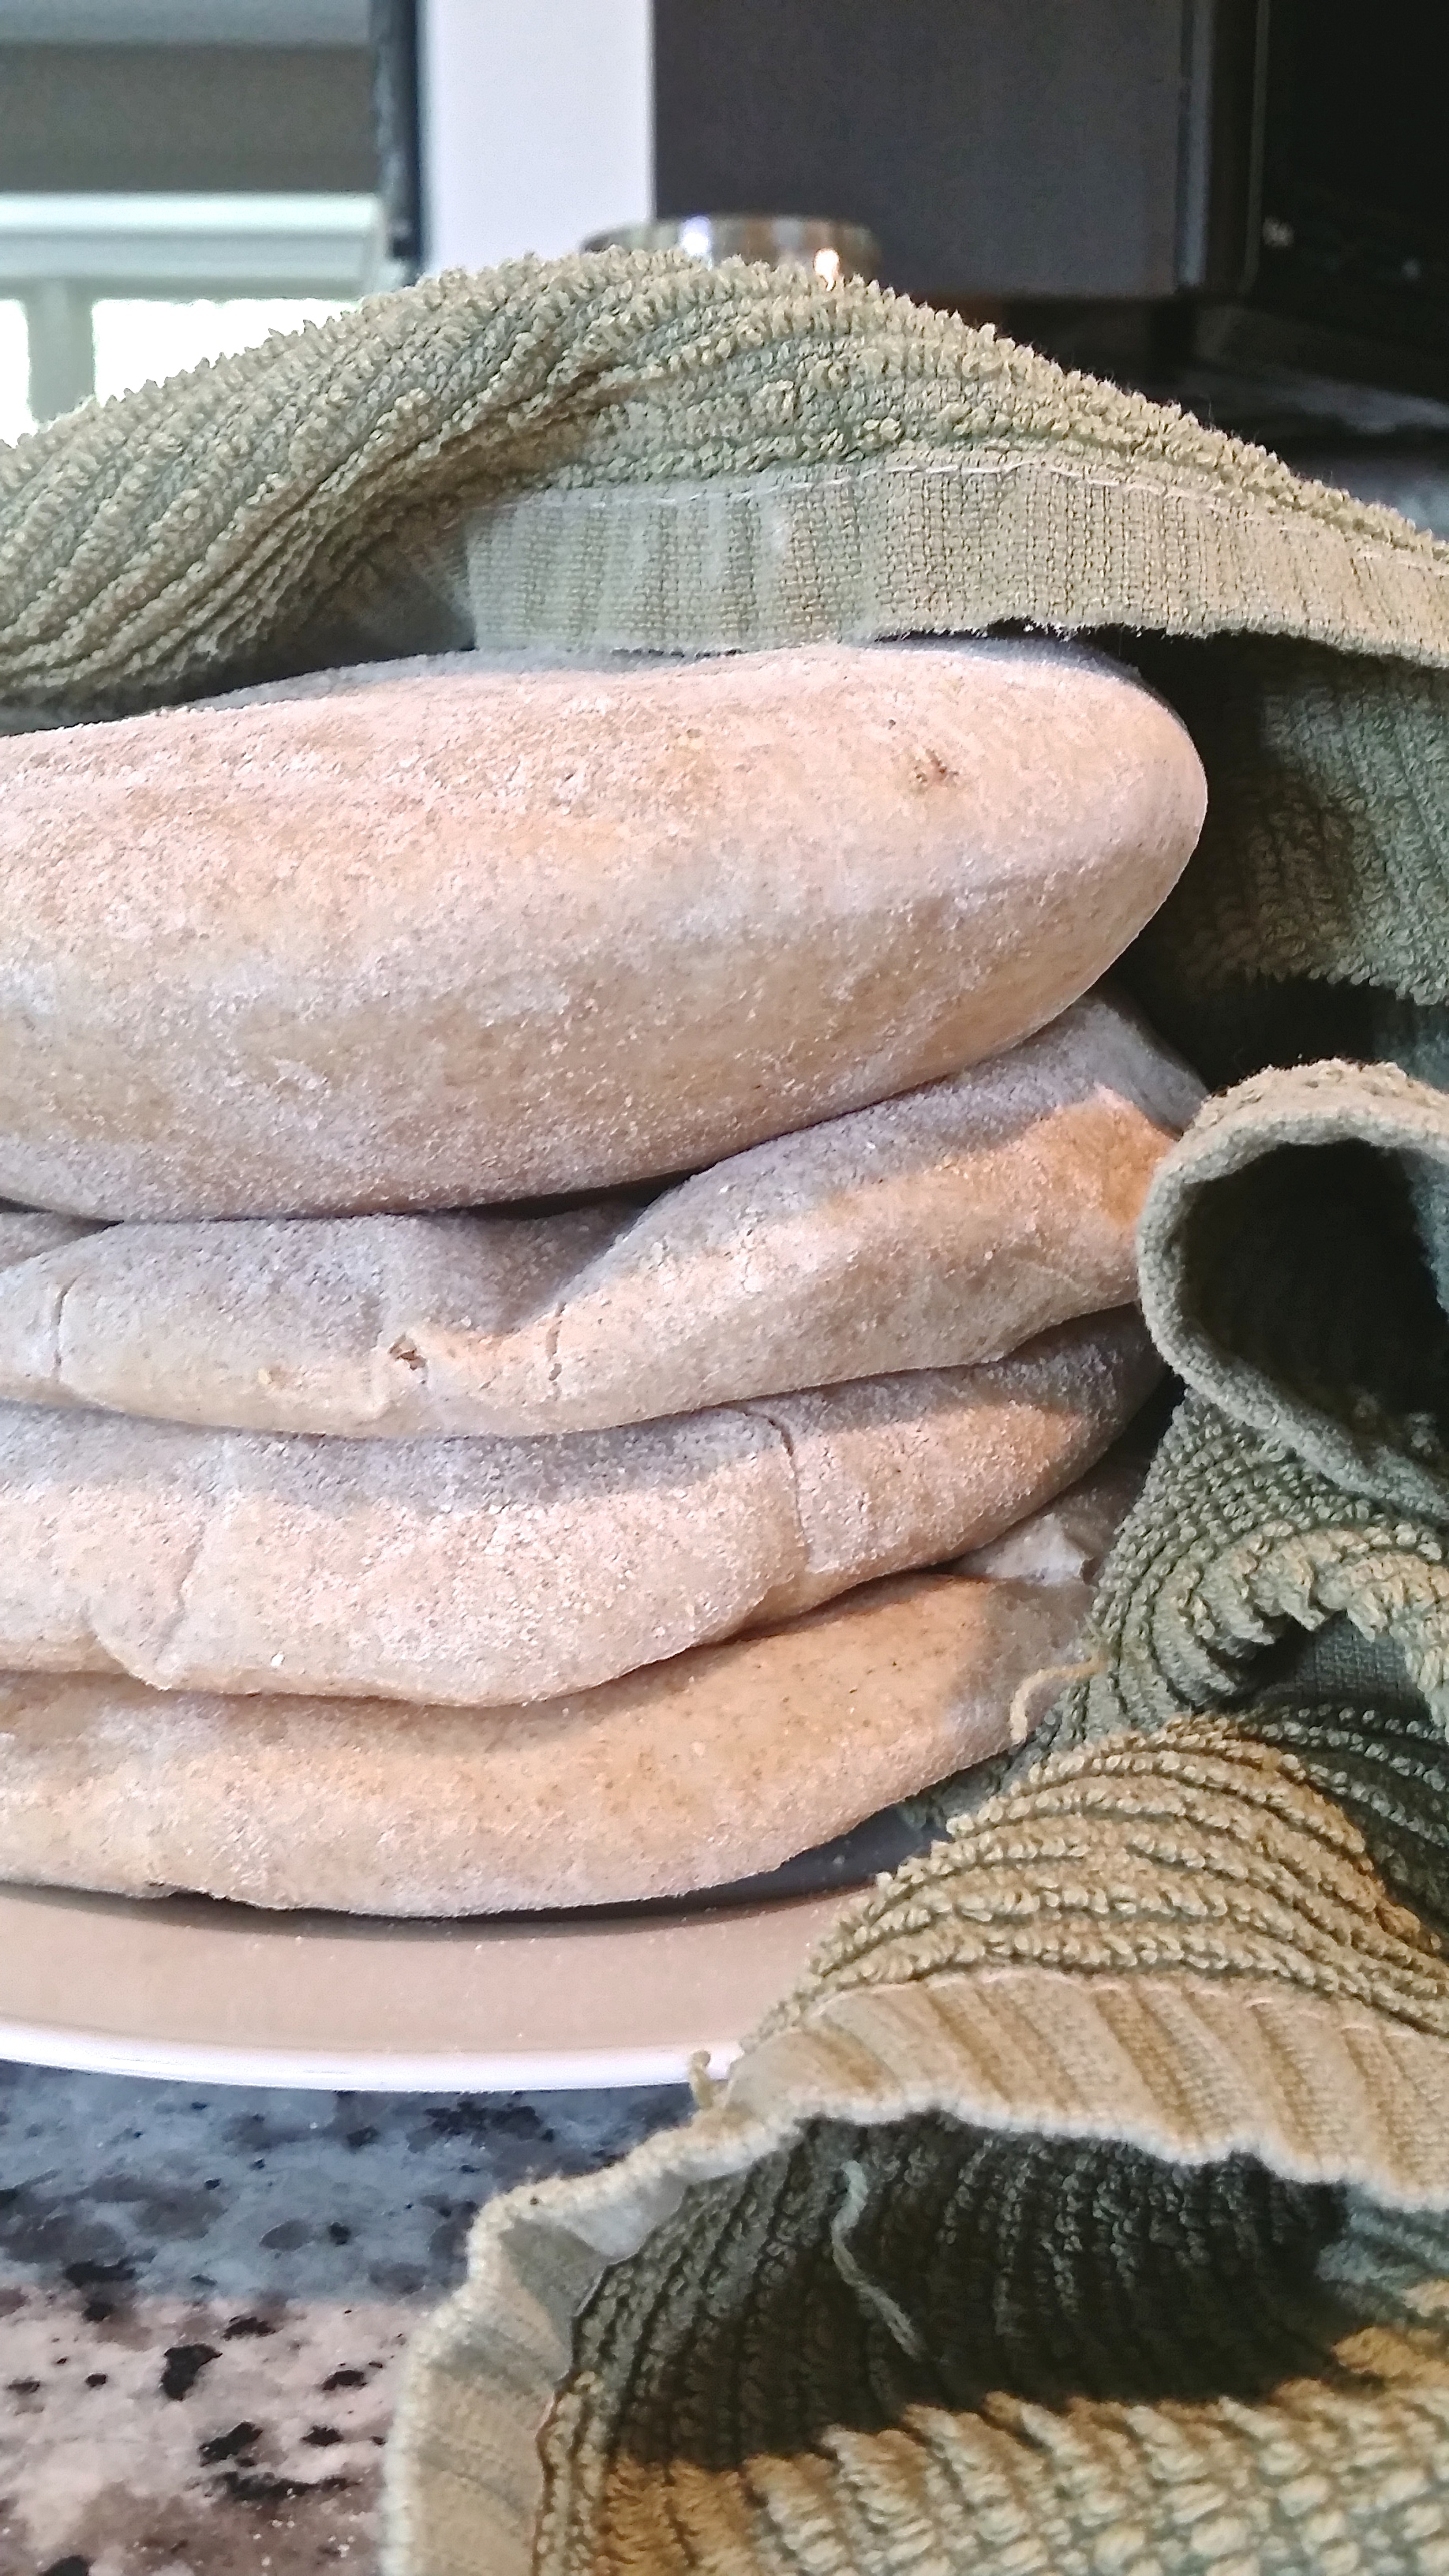
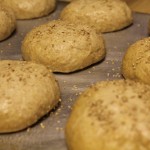
- Shaping the buns: On the day you plan to bake the buns, remove the dough from the refrigerator and grease a baking sheet. Divide the dough into the desired number of pieces. This amount of dough makes 9 large or 10-12 smaller buns. Shape the pieces into smooth balls, and place them about 2 inches apart on the greased baking sheet. Gently press on the balls to flatten them slightly. Cover them with plastic wrap and let them rest at room temperature for about 40 minutes.
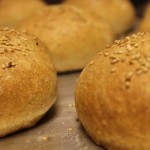
- Baking the buns: Preheat the oven to 350 degrees F. Right before baking, brush the buns with egg wash, melted butter, or water, and sprinkle with sesame seeds, poppy seeds or a mixture of both. I used water for the wash. Place the baking sheet in the preheated oven and let the buns bake for 20 minutes or until golden brown and firm. They will soften a bit after cooling.
- Cooling and enjoying the hamburger buns: Allow the buns to cool on a wire rack before slicing and serving with your delicious grilled hamburgers.
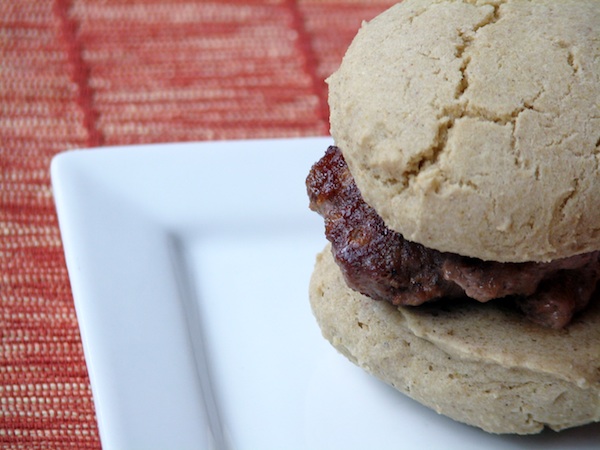
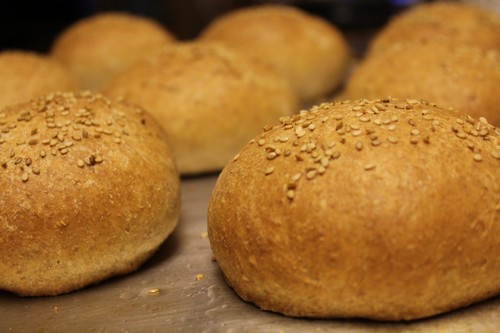 My son likes to make big burgers when he grills out so I made big buns to go with the burgers. You can make the buns any size you like.
I made the dough a couple of days before I planned to bake the buns and let it ferment in the refrigerator. On the evening of the second day, I shaped the buns after work, baked them an hour later, and we enjoyed grilled hamburgers with homemade buns. It made an enjoyable and stress-free weeknight meal.
Happy Baking!
Cathy