

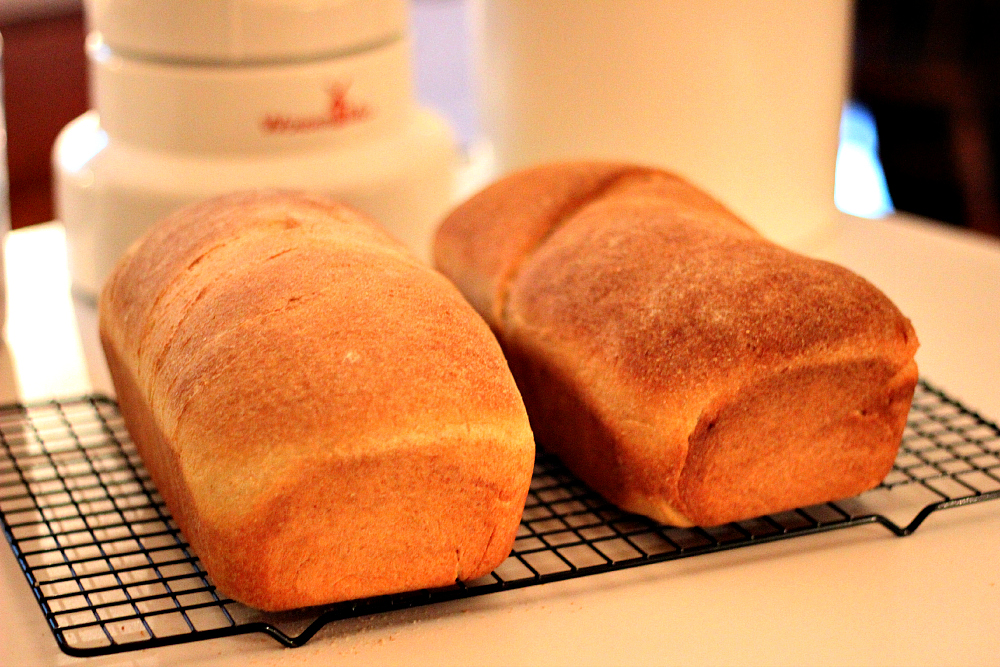
The first thing I wanted to make with my WonderMill was bread. Before I started milling my own flour I would from time to time bake my own bread. I, therefore, thought it would be good to begin my milling experience with baking bread. When I was researching about milling and baking bread I learned it can be good to include malt. Diastatic malt to be exact.
Diastatic malt helps the yeast grow and in turn promotes a good rise, great texture and brown crust. All which will help make my homemade bread better. And now that I have a grain mill I thought I might as well make the malt myself. I found good directions on ehow.com that I used. Since I have never made malt before I opted for just making half the recipe the first time around.
Items needed:
Lukewarm water
1 cup hard wheat berries
Sprouting jar or wide mouth jar/vase
Nylon sock and rubber band (if not using sprouting jar)
Dehydrator or cookie sheet
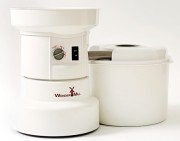
Grain Mill such as the Wondermill
Directions:
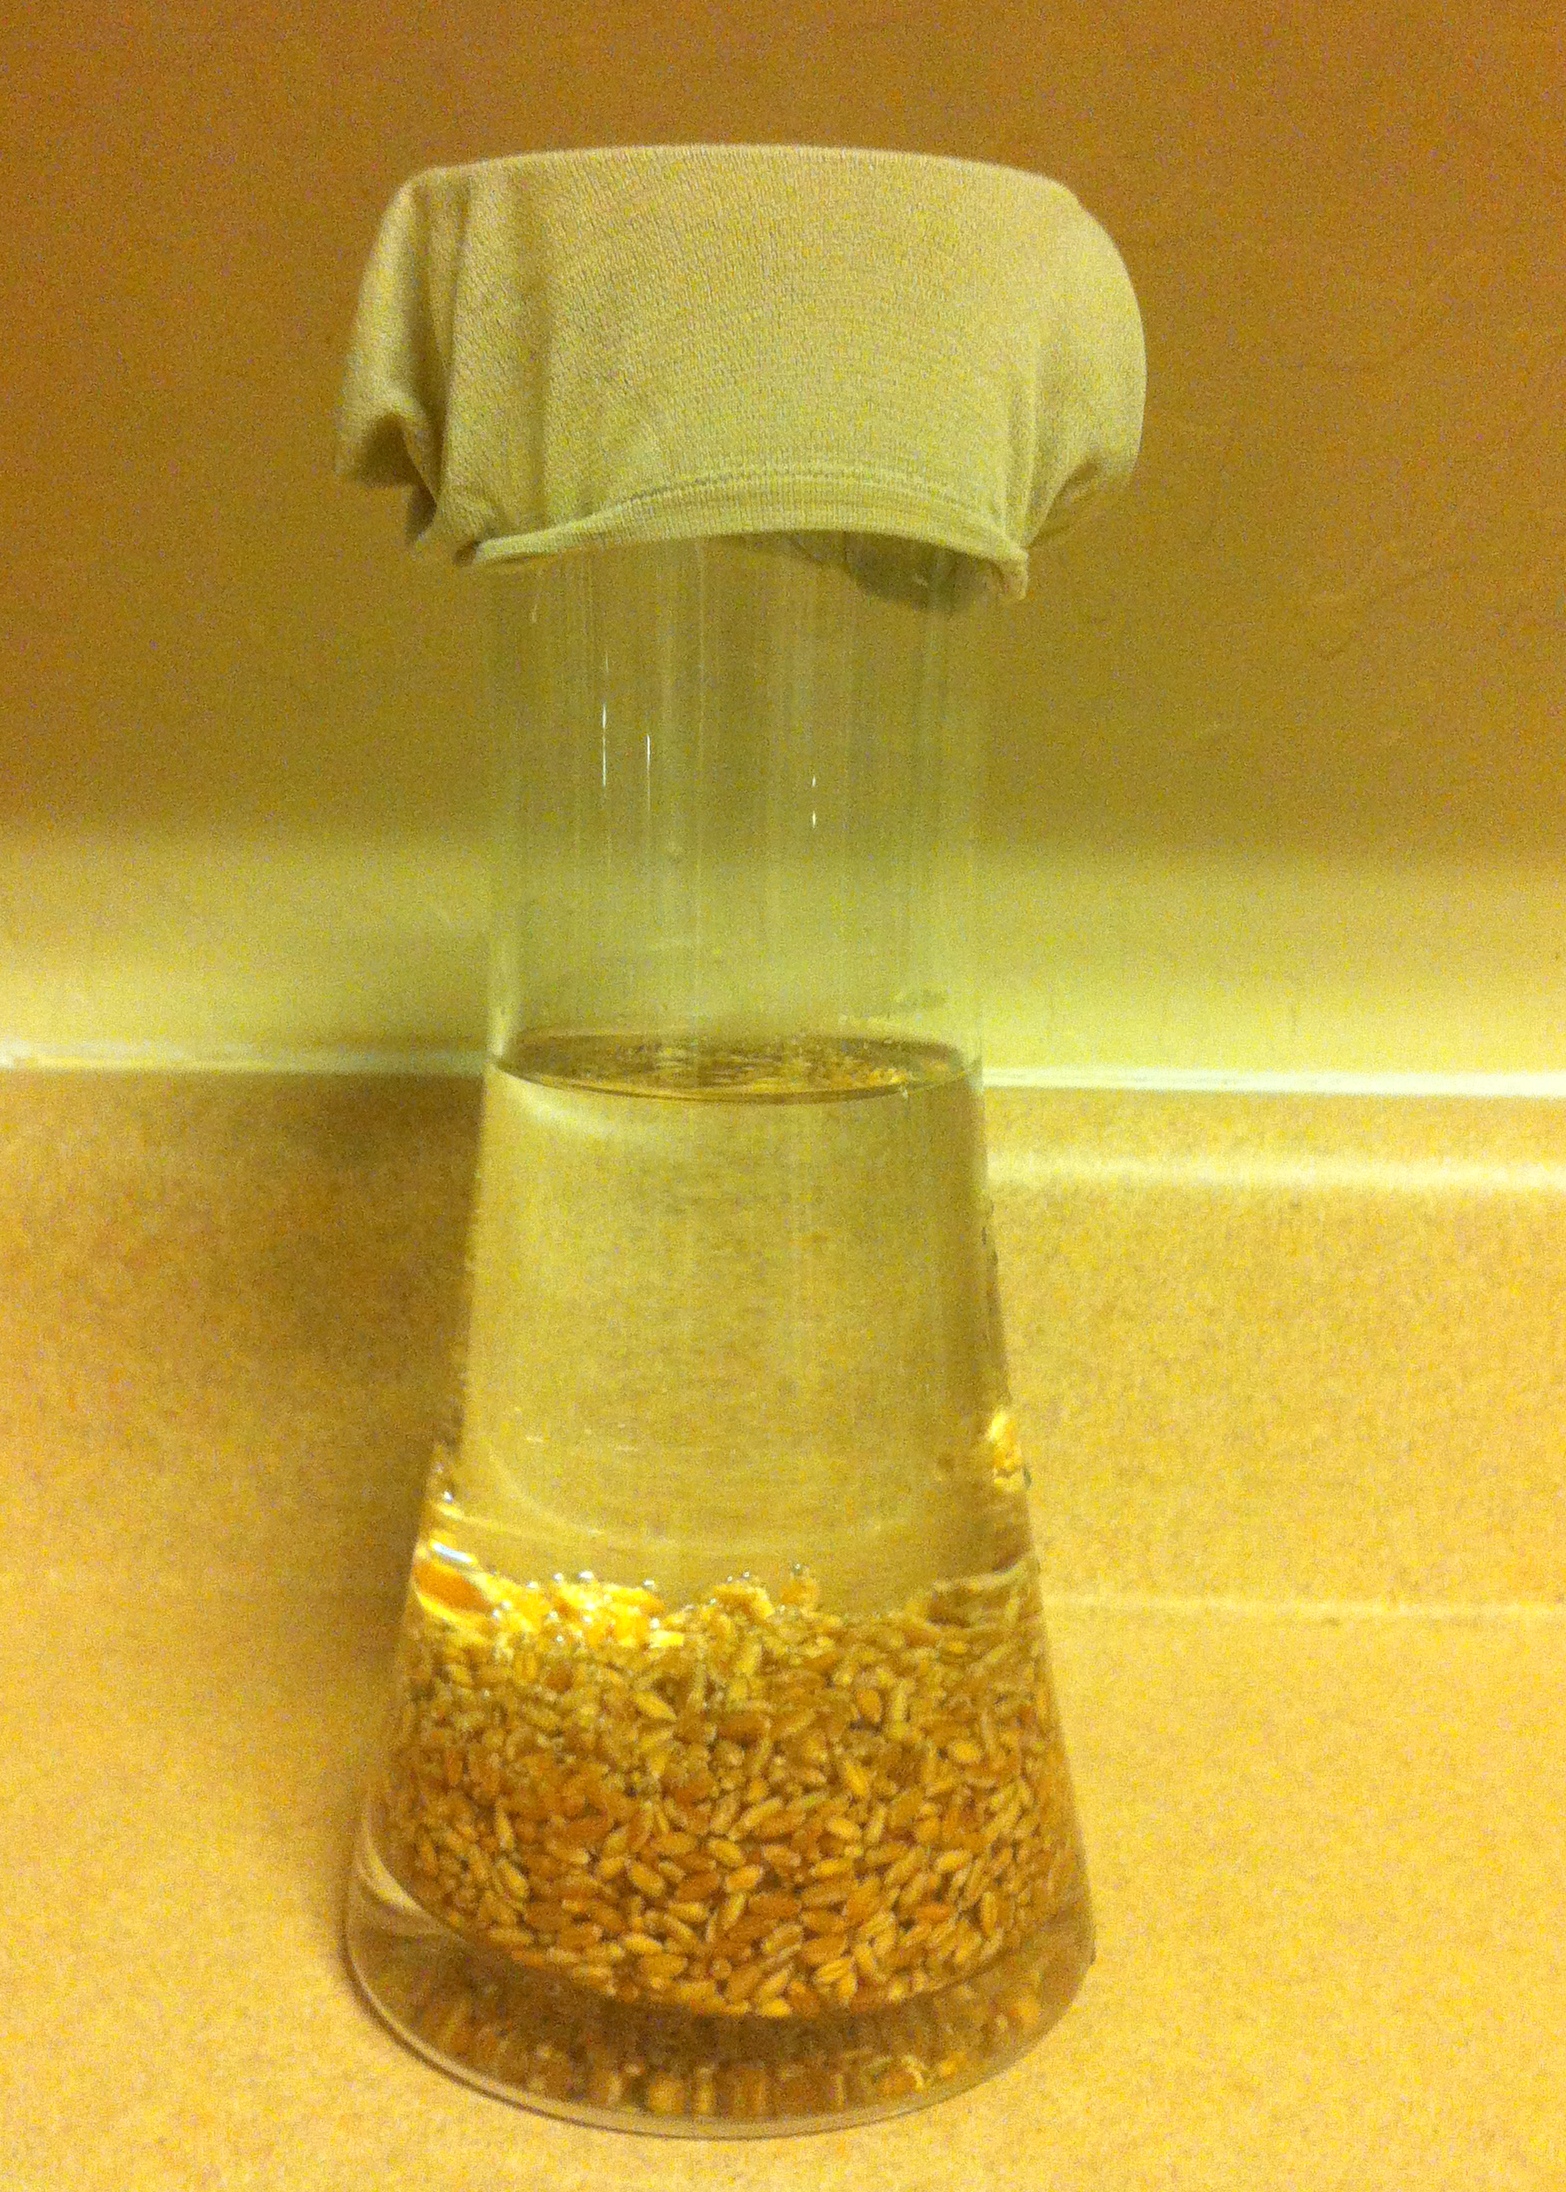
Since I don’t have a sprouting jar I just used a wide mouth vase. I filled the vase with two cups of lukewarm water and one cup of hard red wheat berries. I then used a clean nylon no-show sock (it already has elastic built in so I didn’t have to use a rubber band to fasten it to the vase).
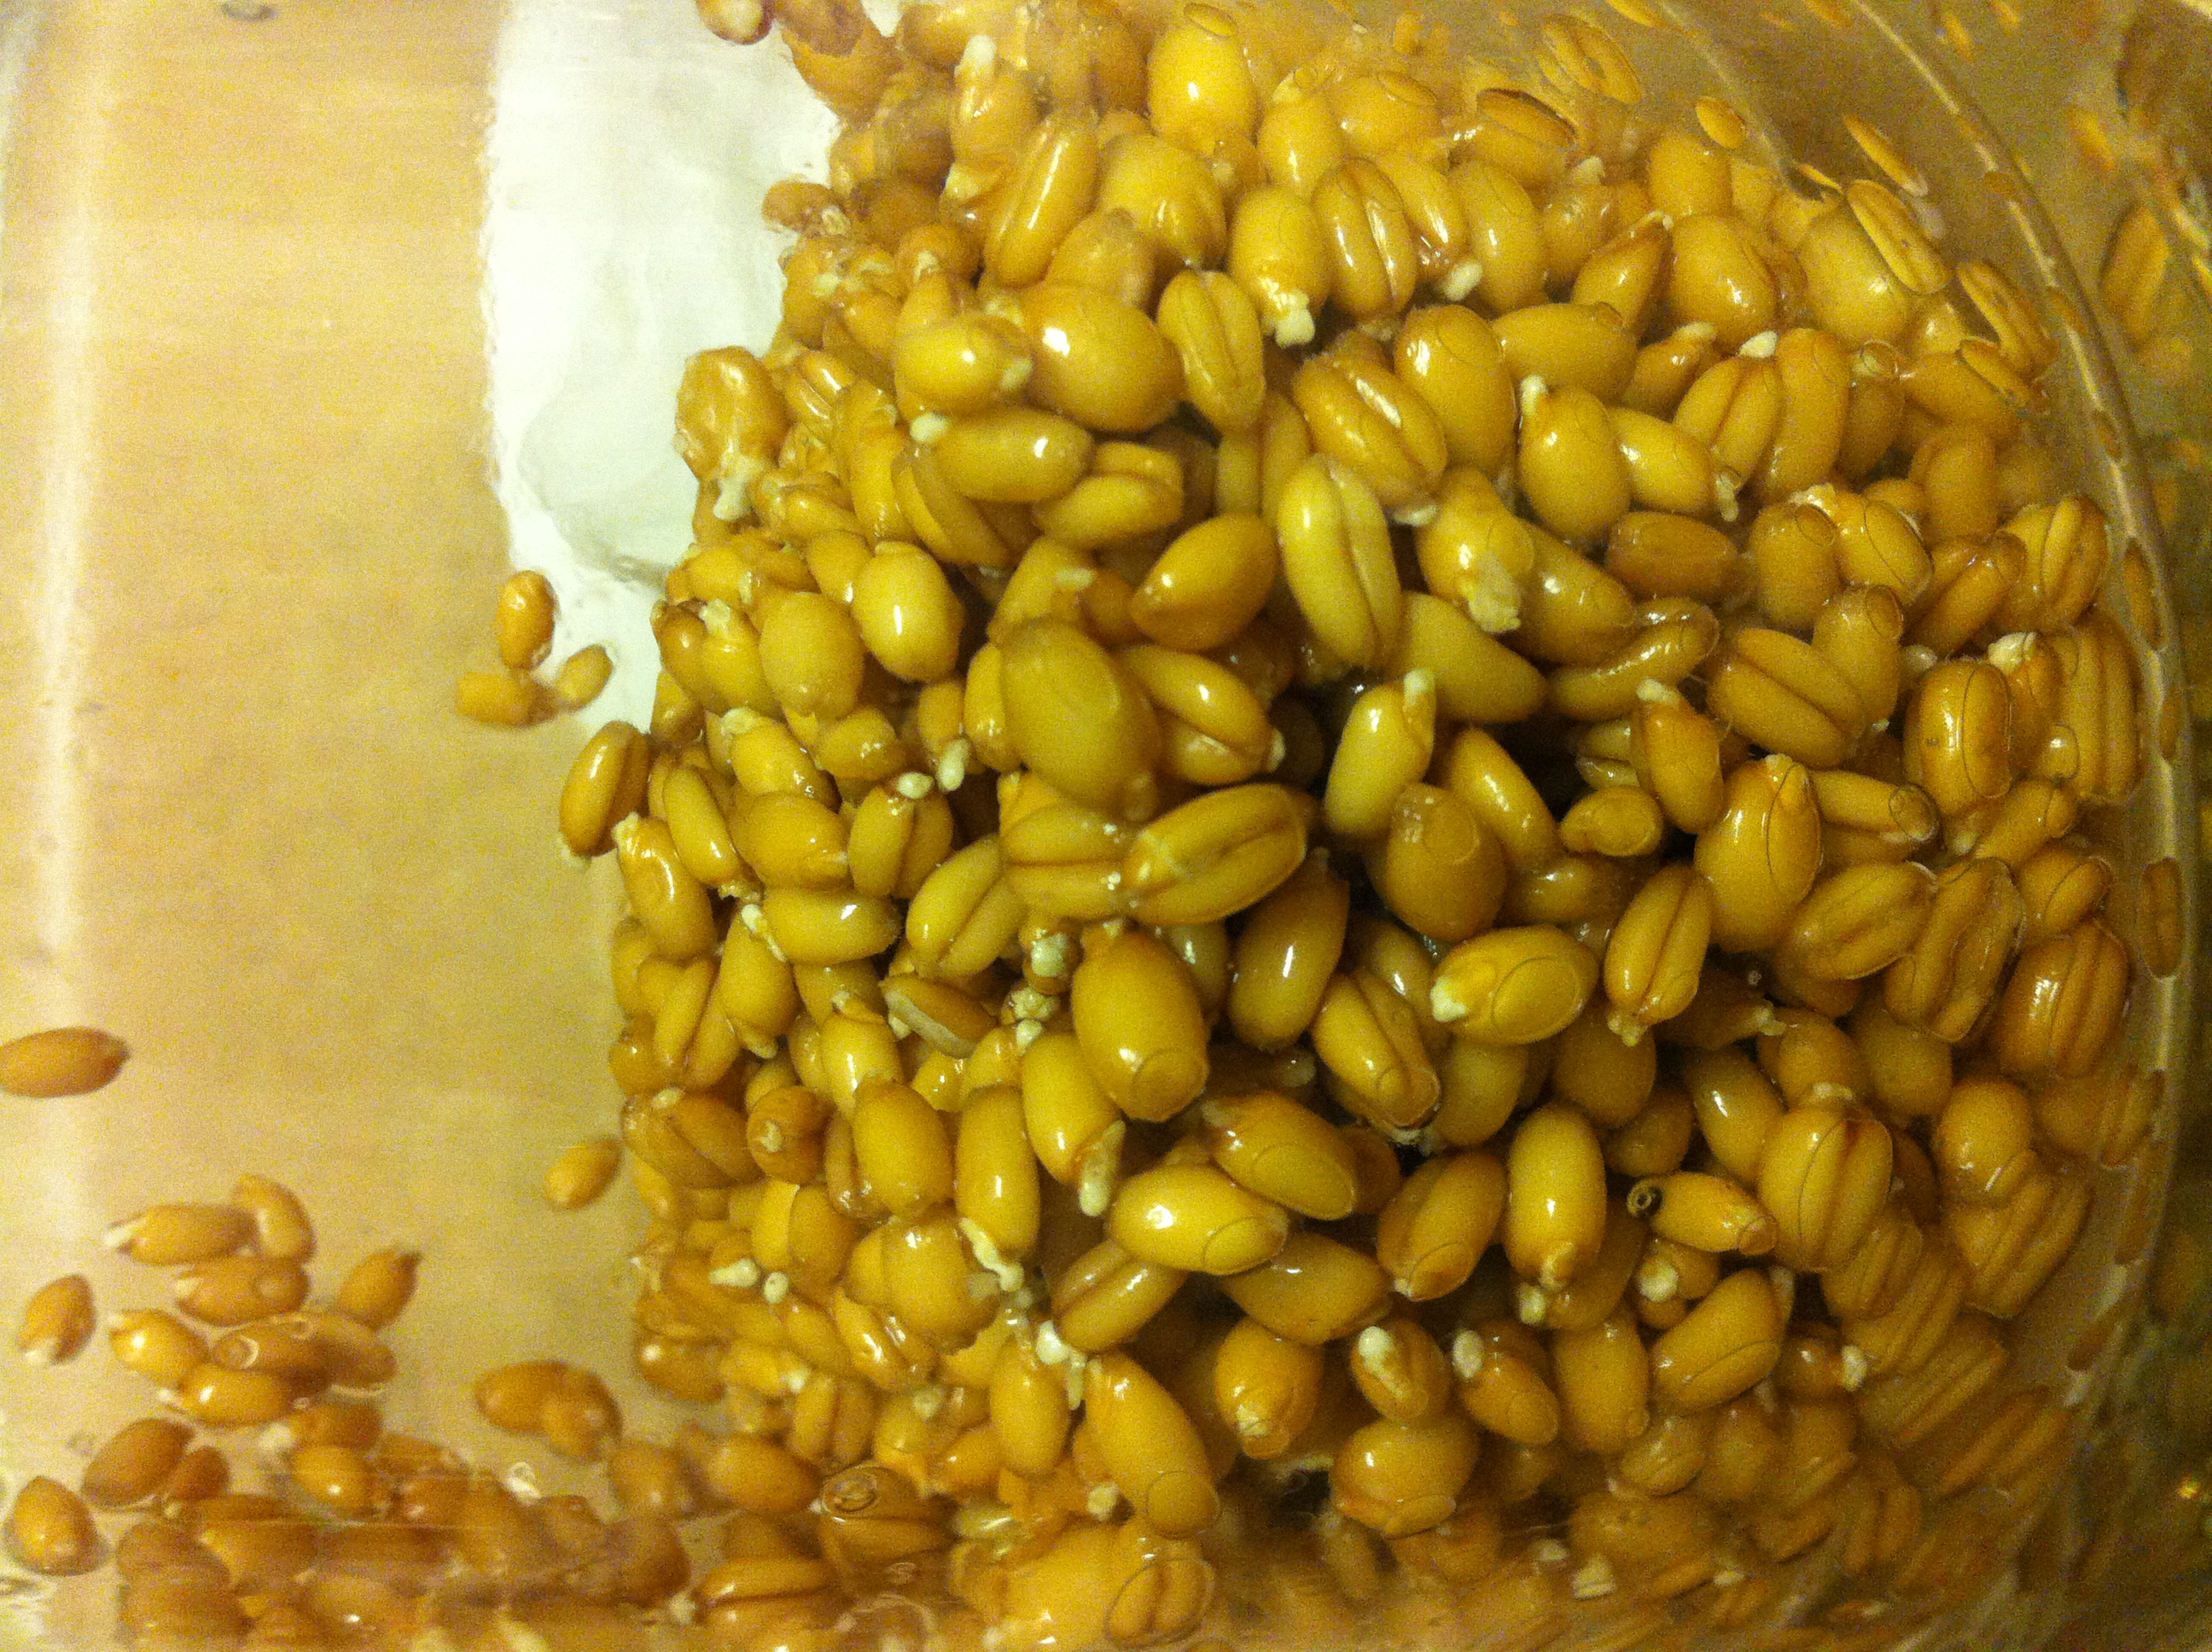
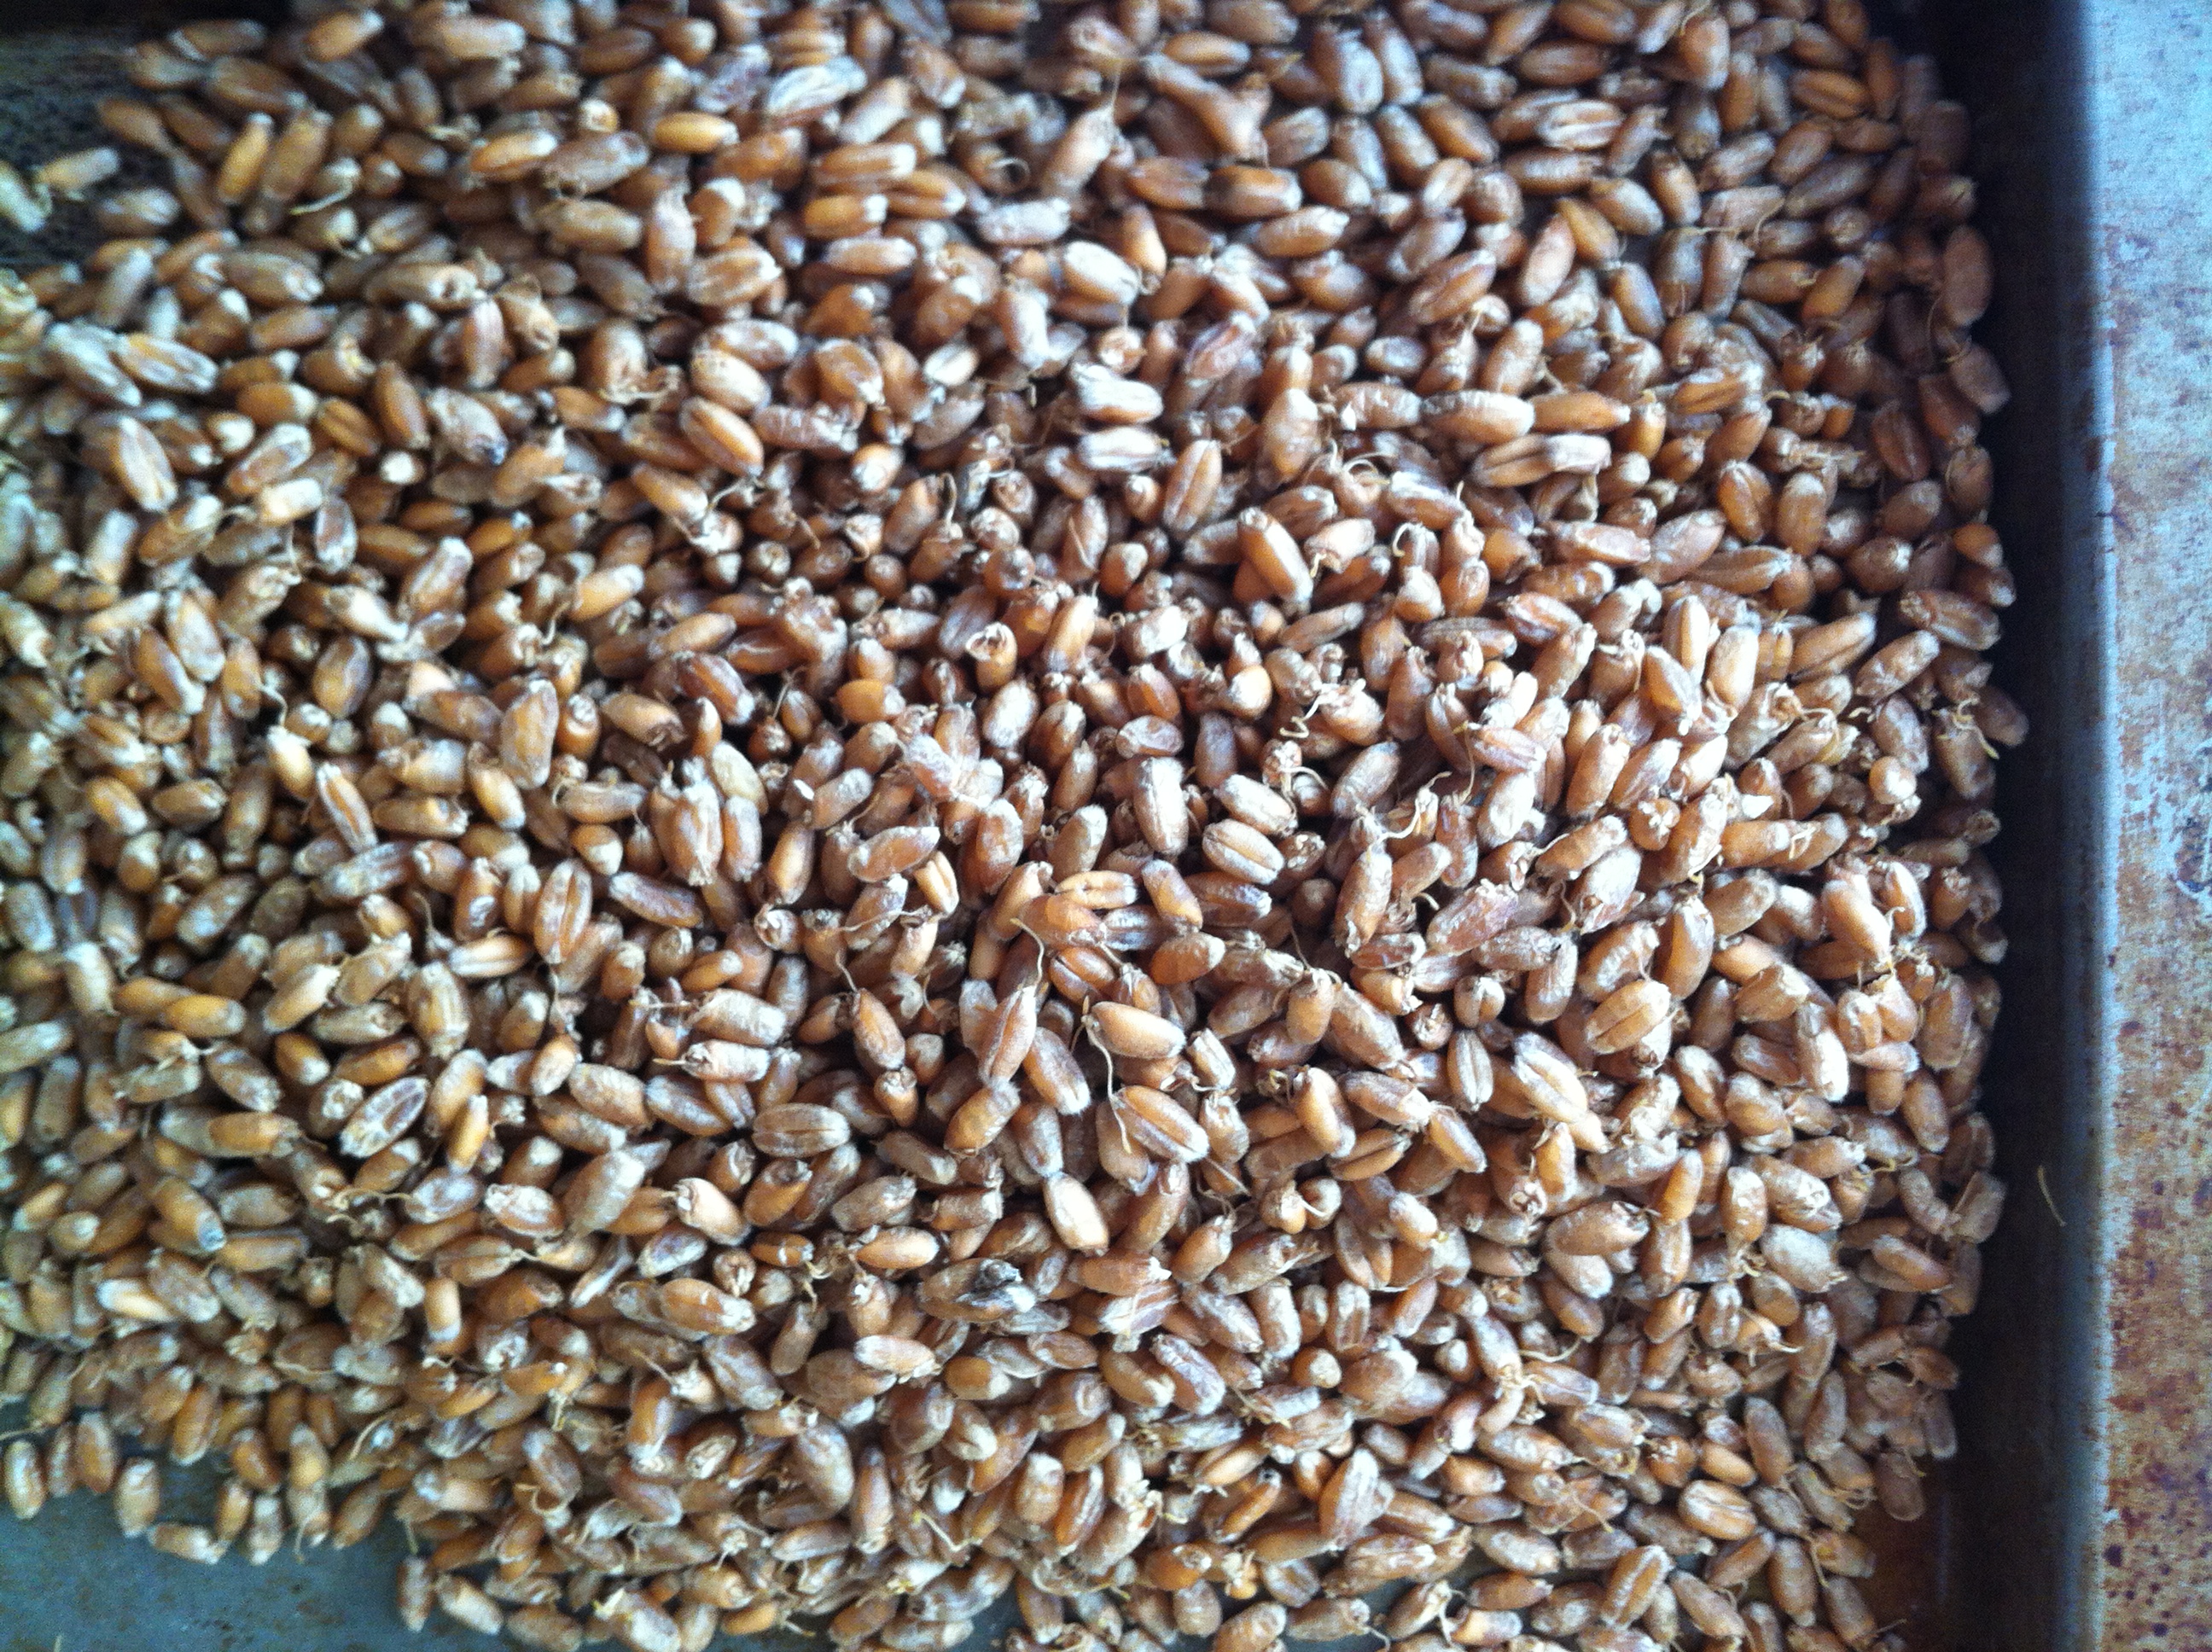
I left the grains in the water overnight (about 12 hours). I then turned the vase upside down and let all the water drain through the nylon sock. As you can see in the picture below, the grains had already started sprouting a little.
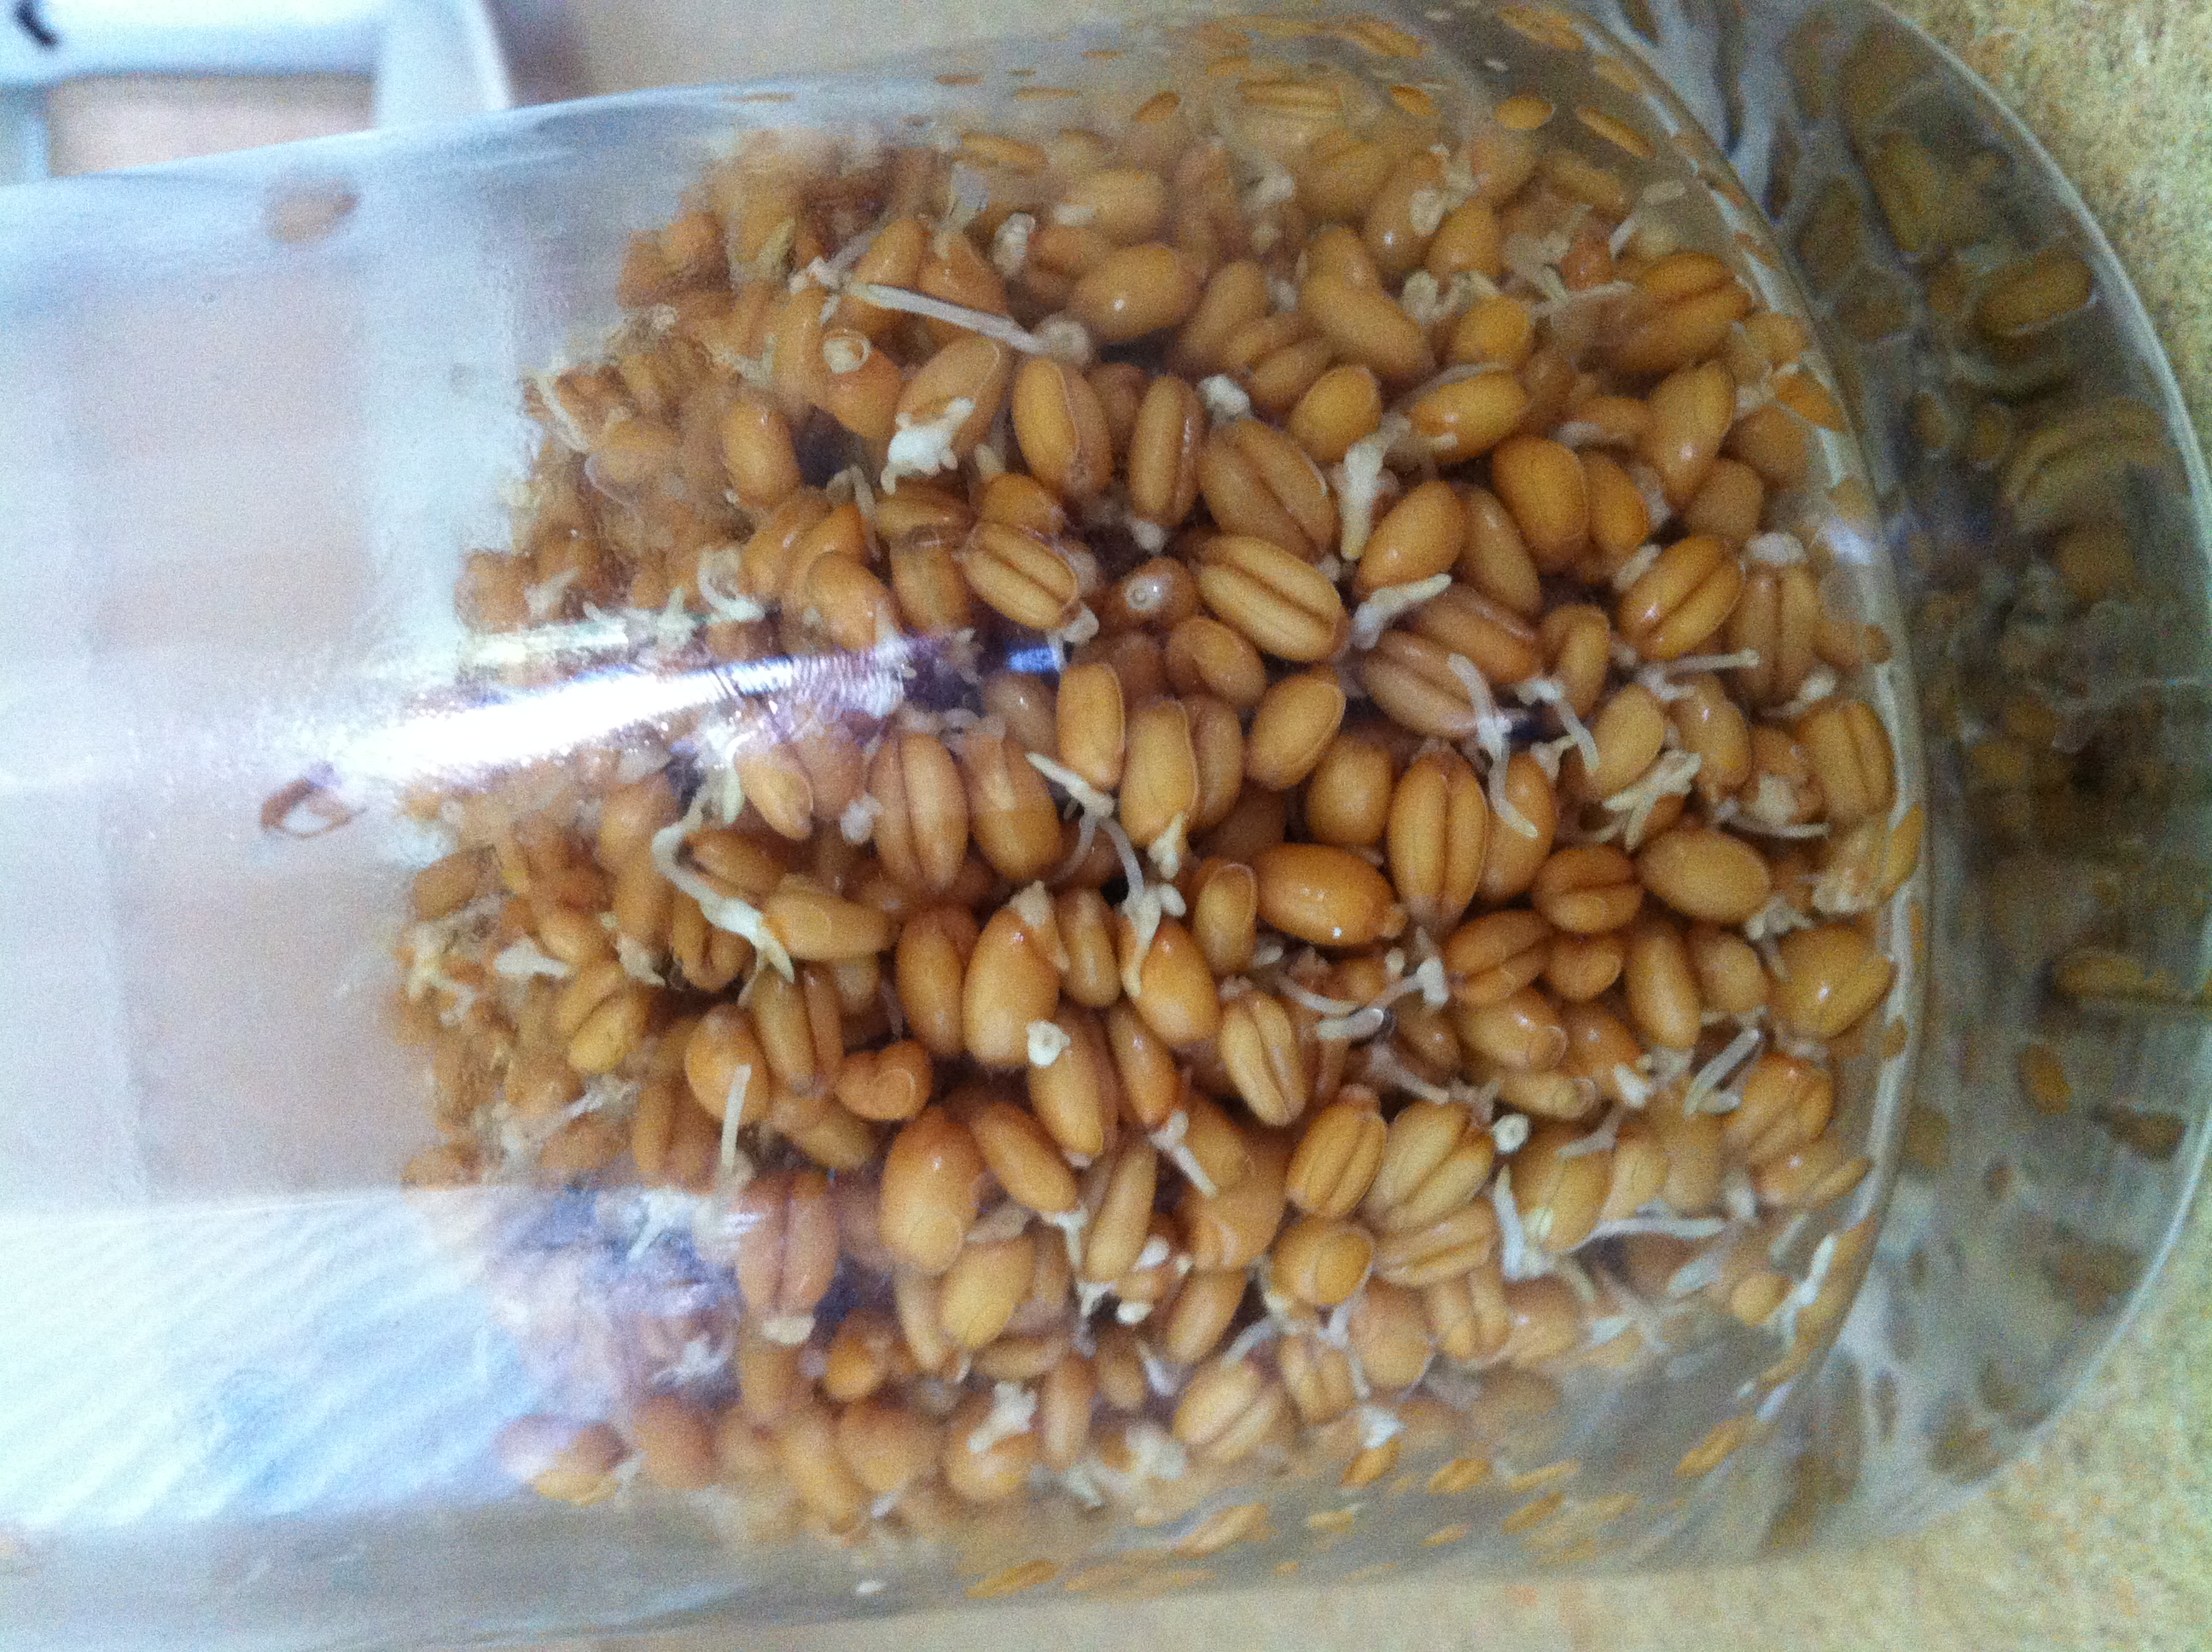
For the next 4 hours I left the vase propped at an angle upside down to let any water left drain meanwhile allowing air to still circulate. After 4 hours I rinsed the grains with water. I repeated this rinse and drain process 3 times that day (every 4 hours). The directions say to repeat the process for two days unless the sprouts become as long as the grains themselves. After a day and a half, mine did – so I stopped the process early (only rinsing and draining once the second day instead of the directed 3).
Since I don’t have a dehydrator, I used a cookie sheet to dry out the grains. I turned on my oven to the lowest possible temperature and then turned it back off after 5 minutes. I placed all the sprouted grains on a cookie sheet. I then put the cookie sheet with the wheat berries in the hot turned off oven for 3 hours. I then removed the cookie sheet, turned on the oven again and repeated the heating and turning off step. I repeated this step 3 times.
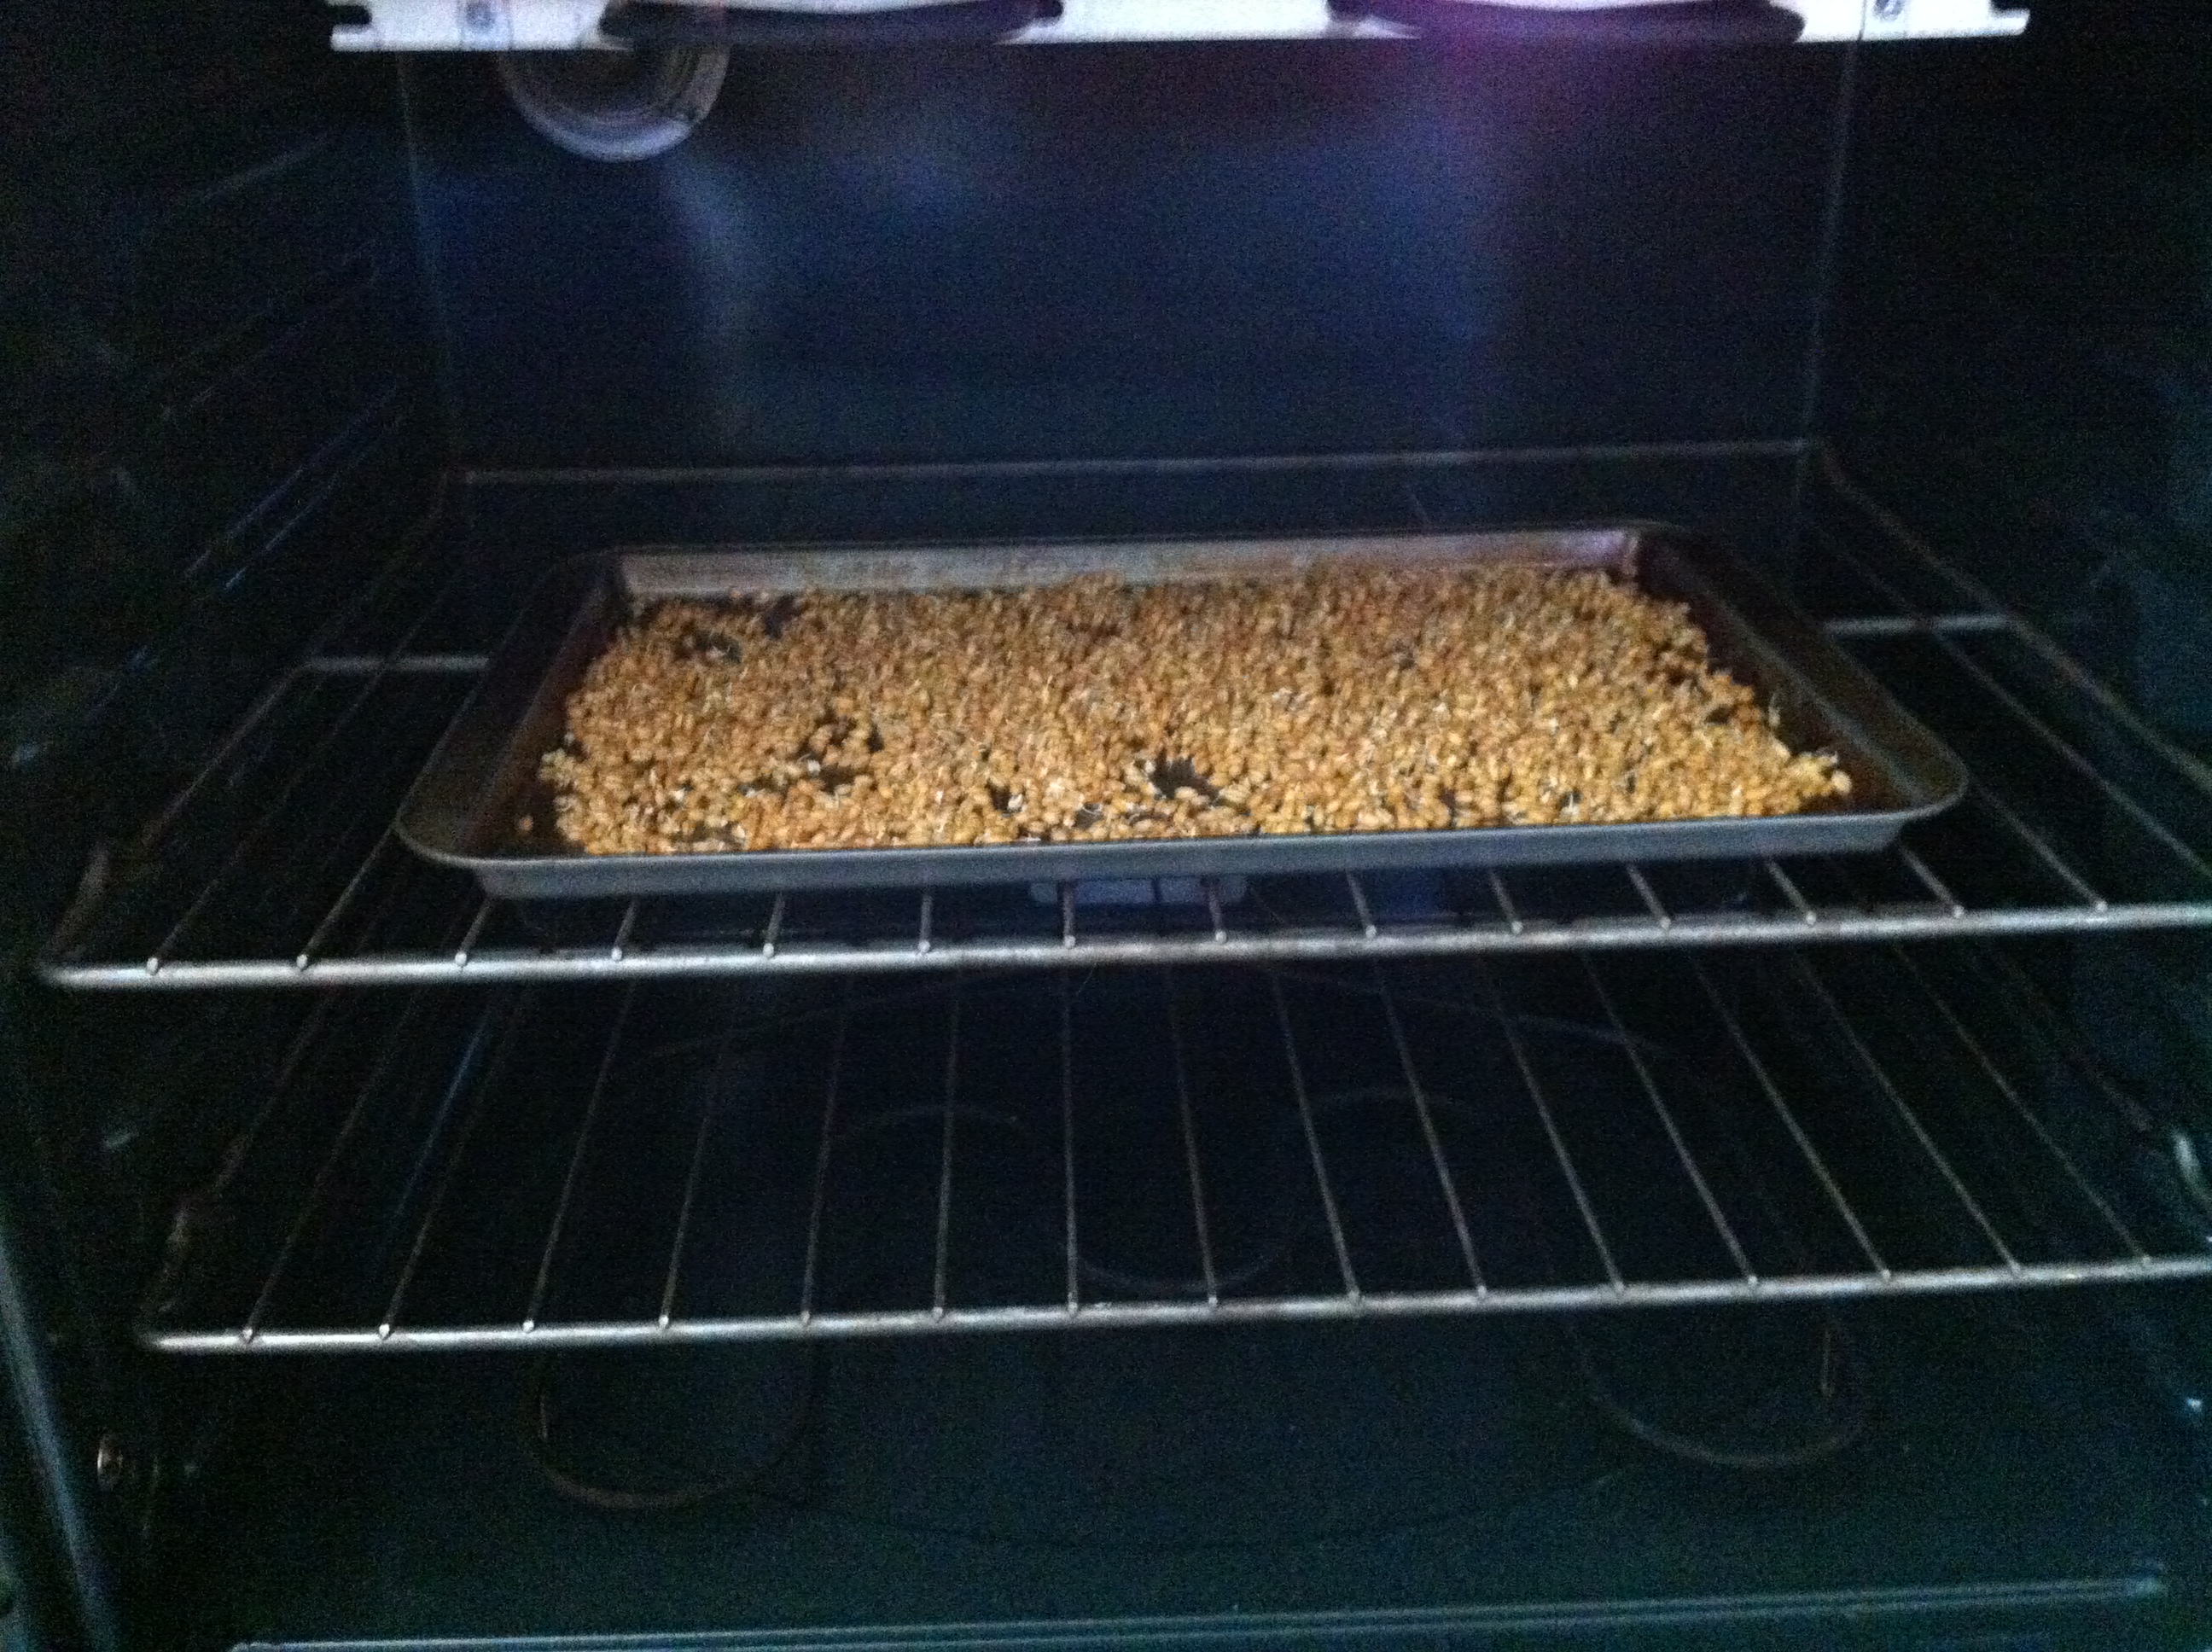
After the third time in the oven, the berries were completely dry.
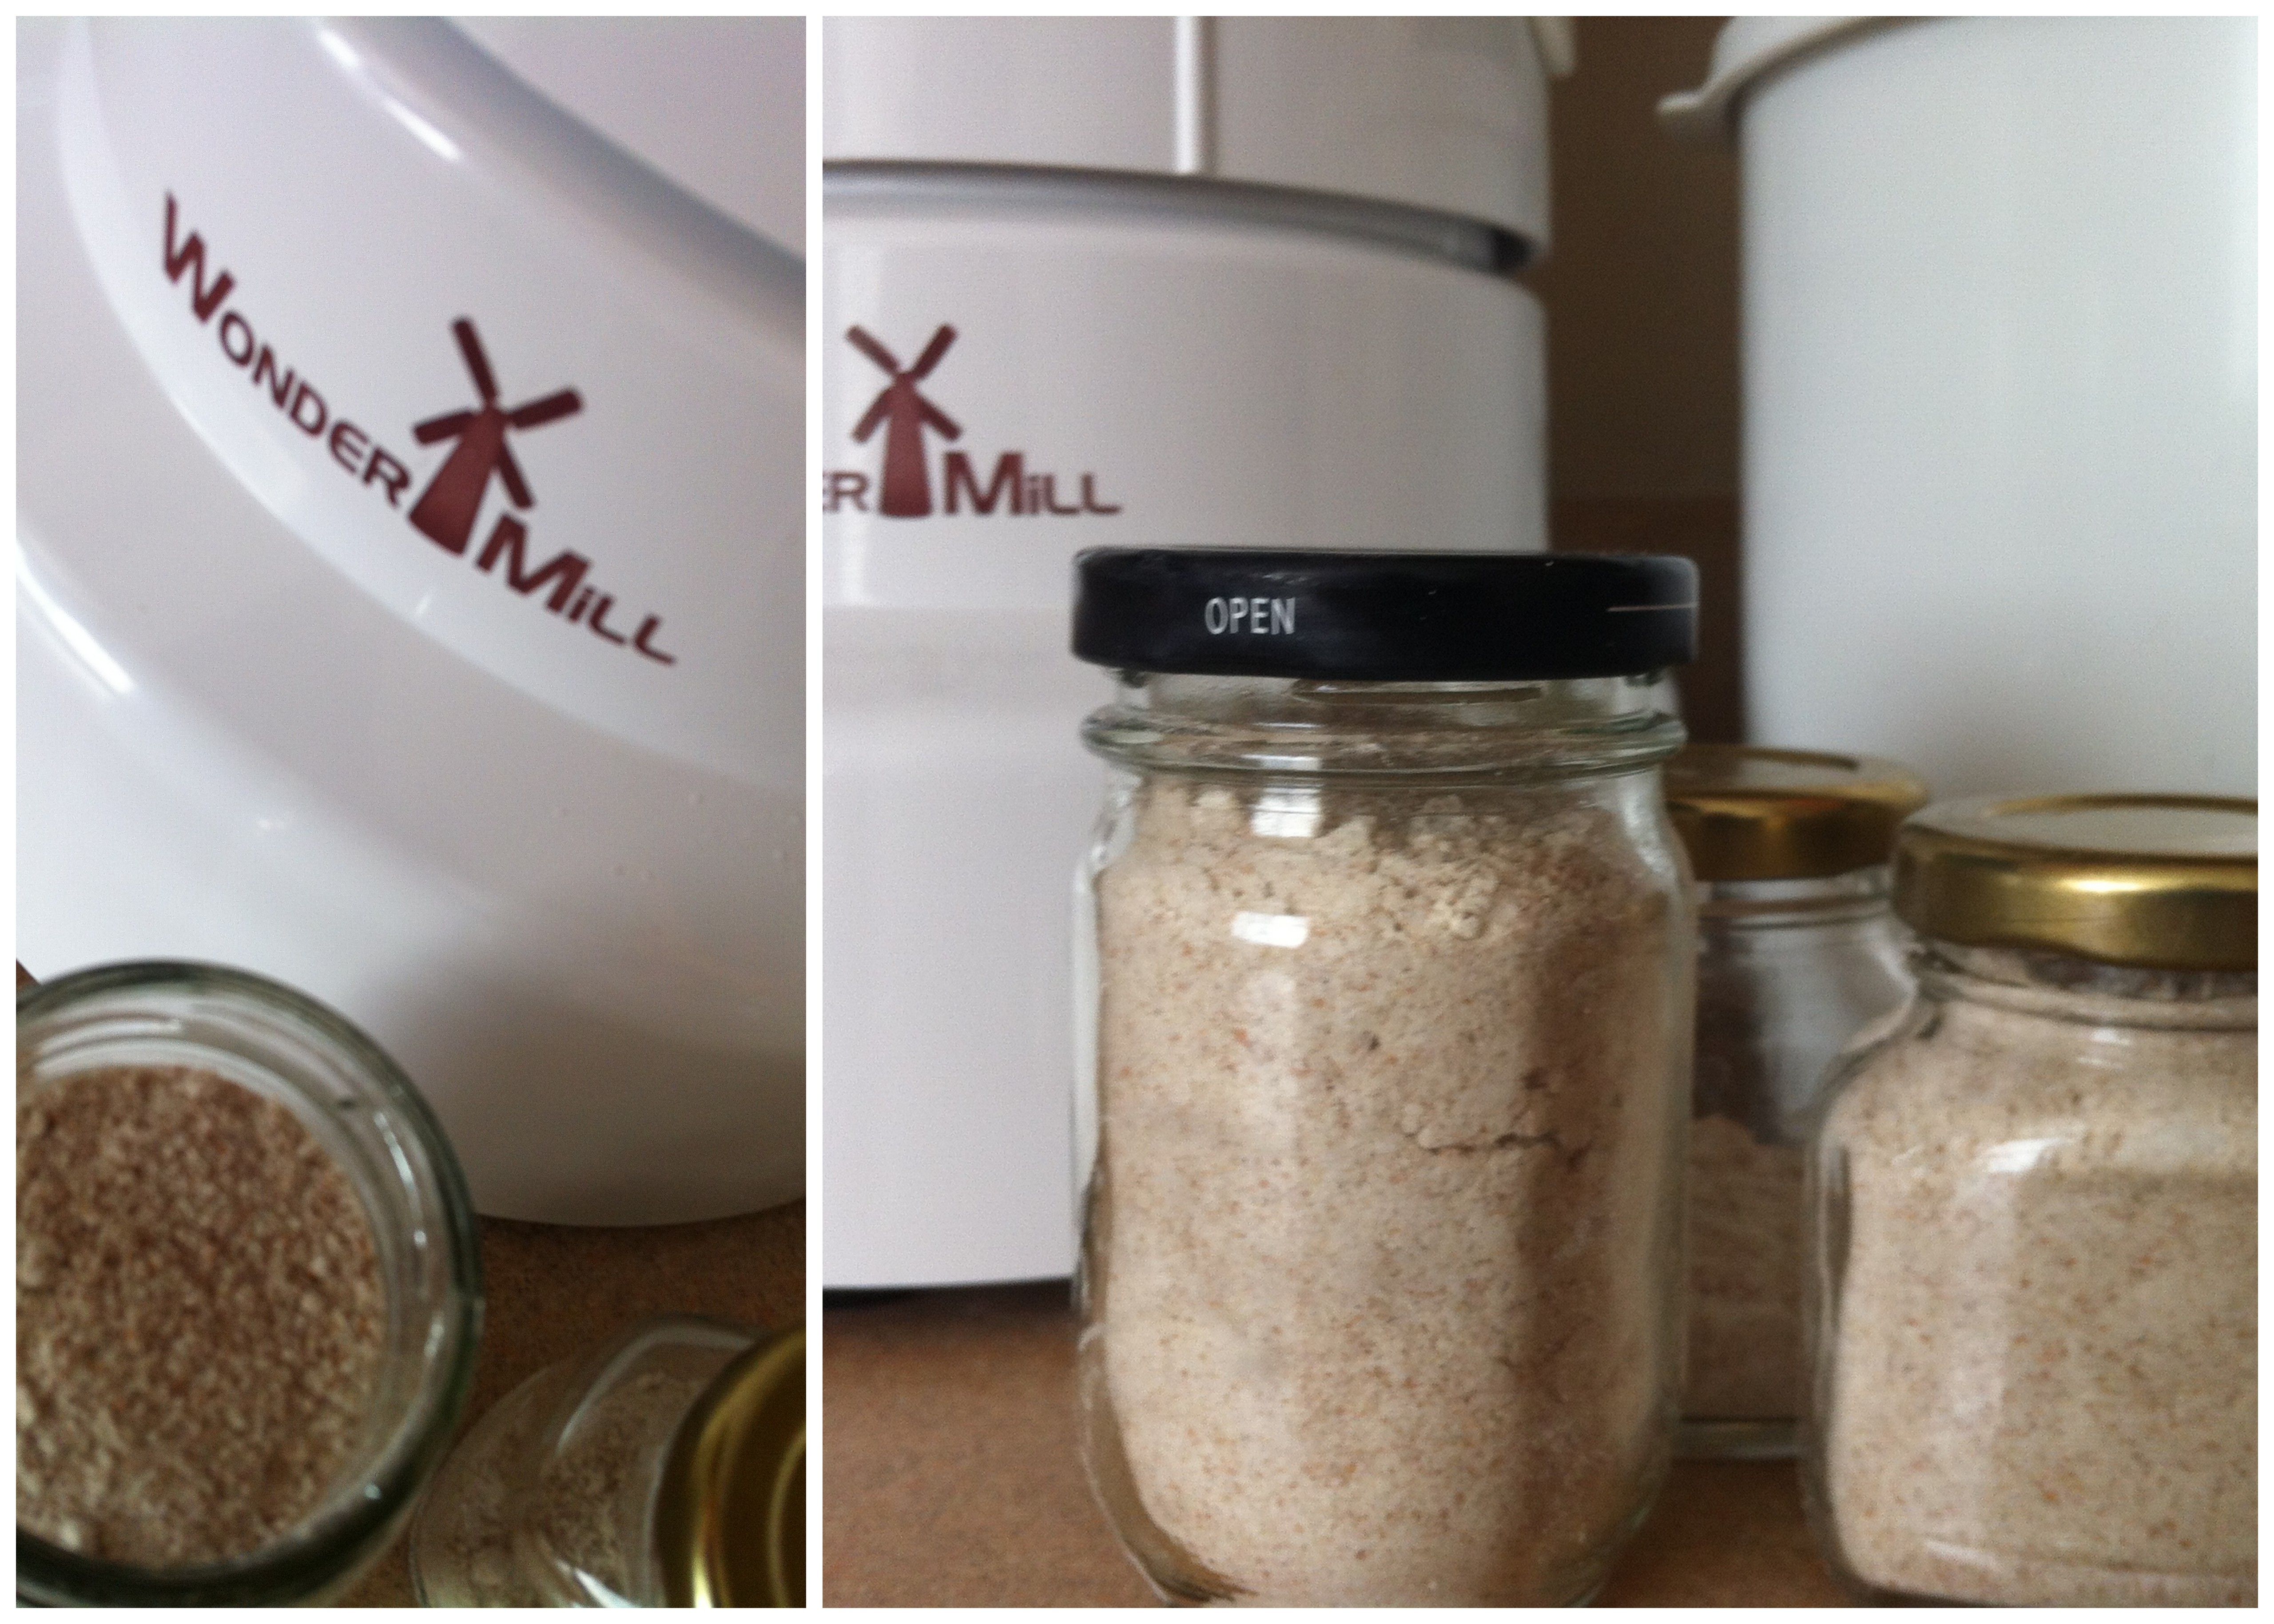
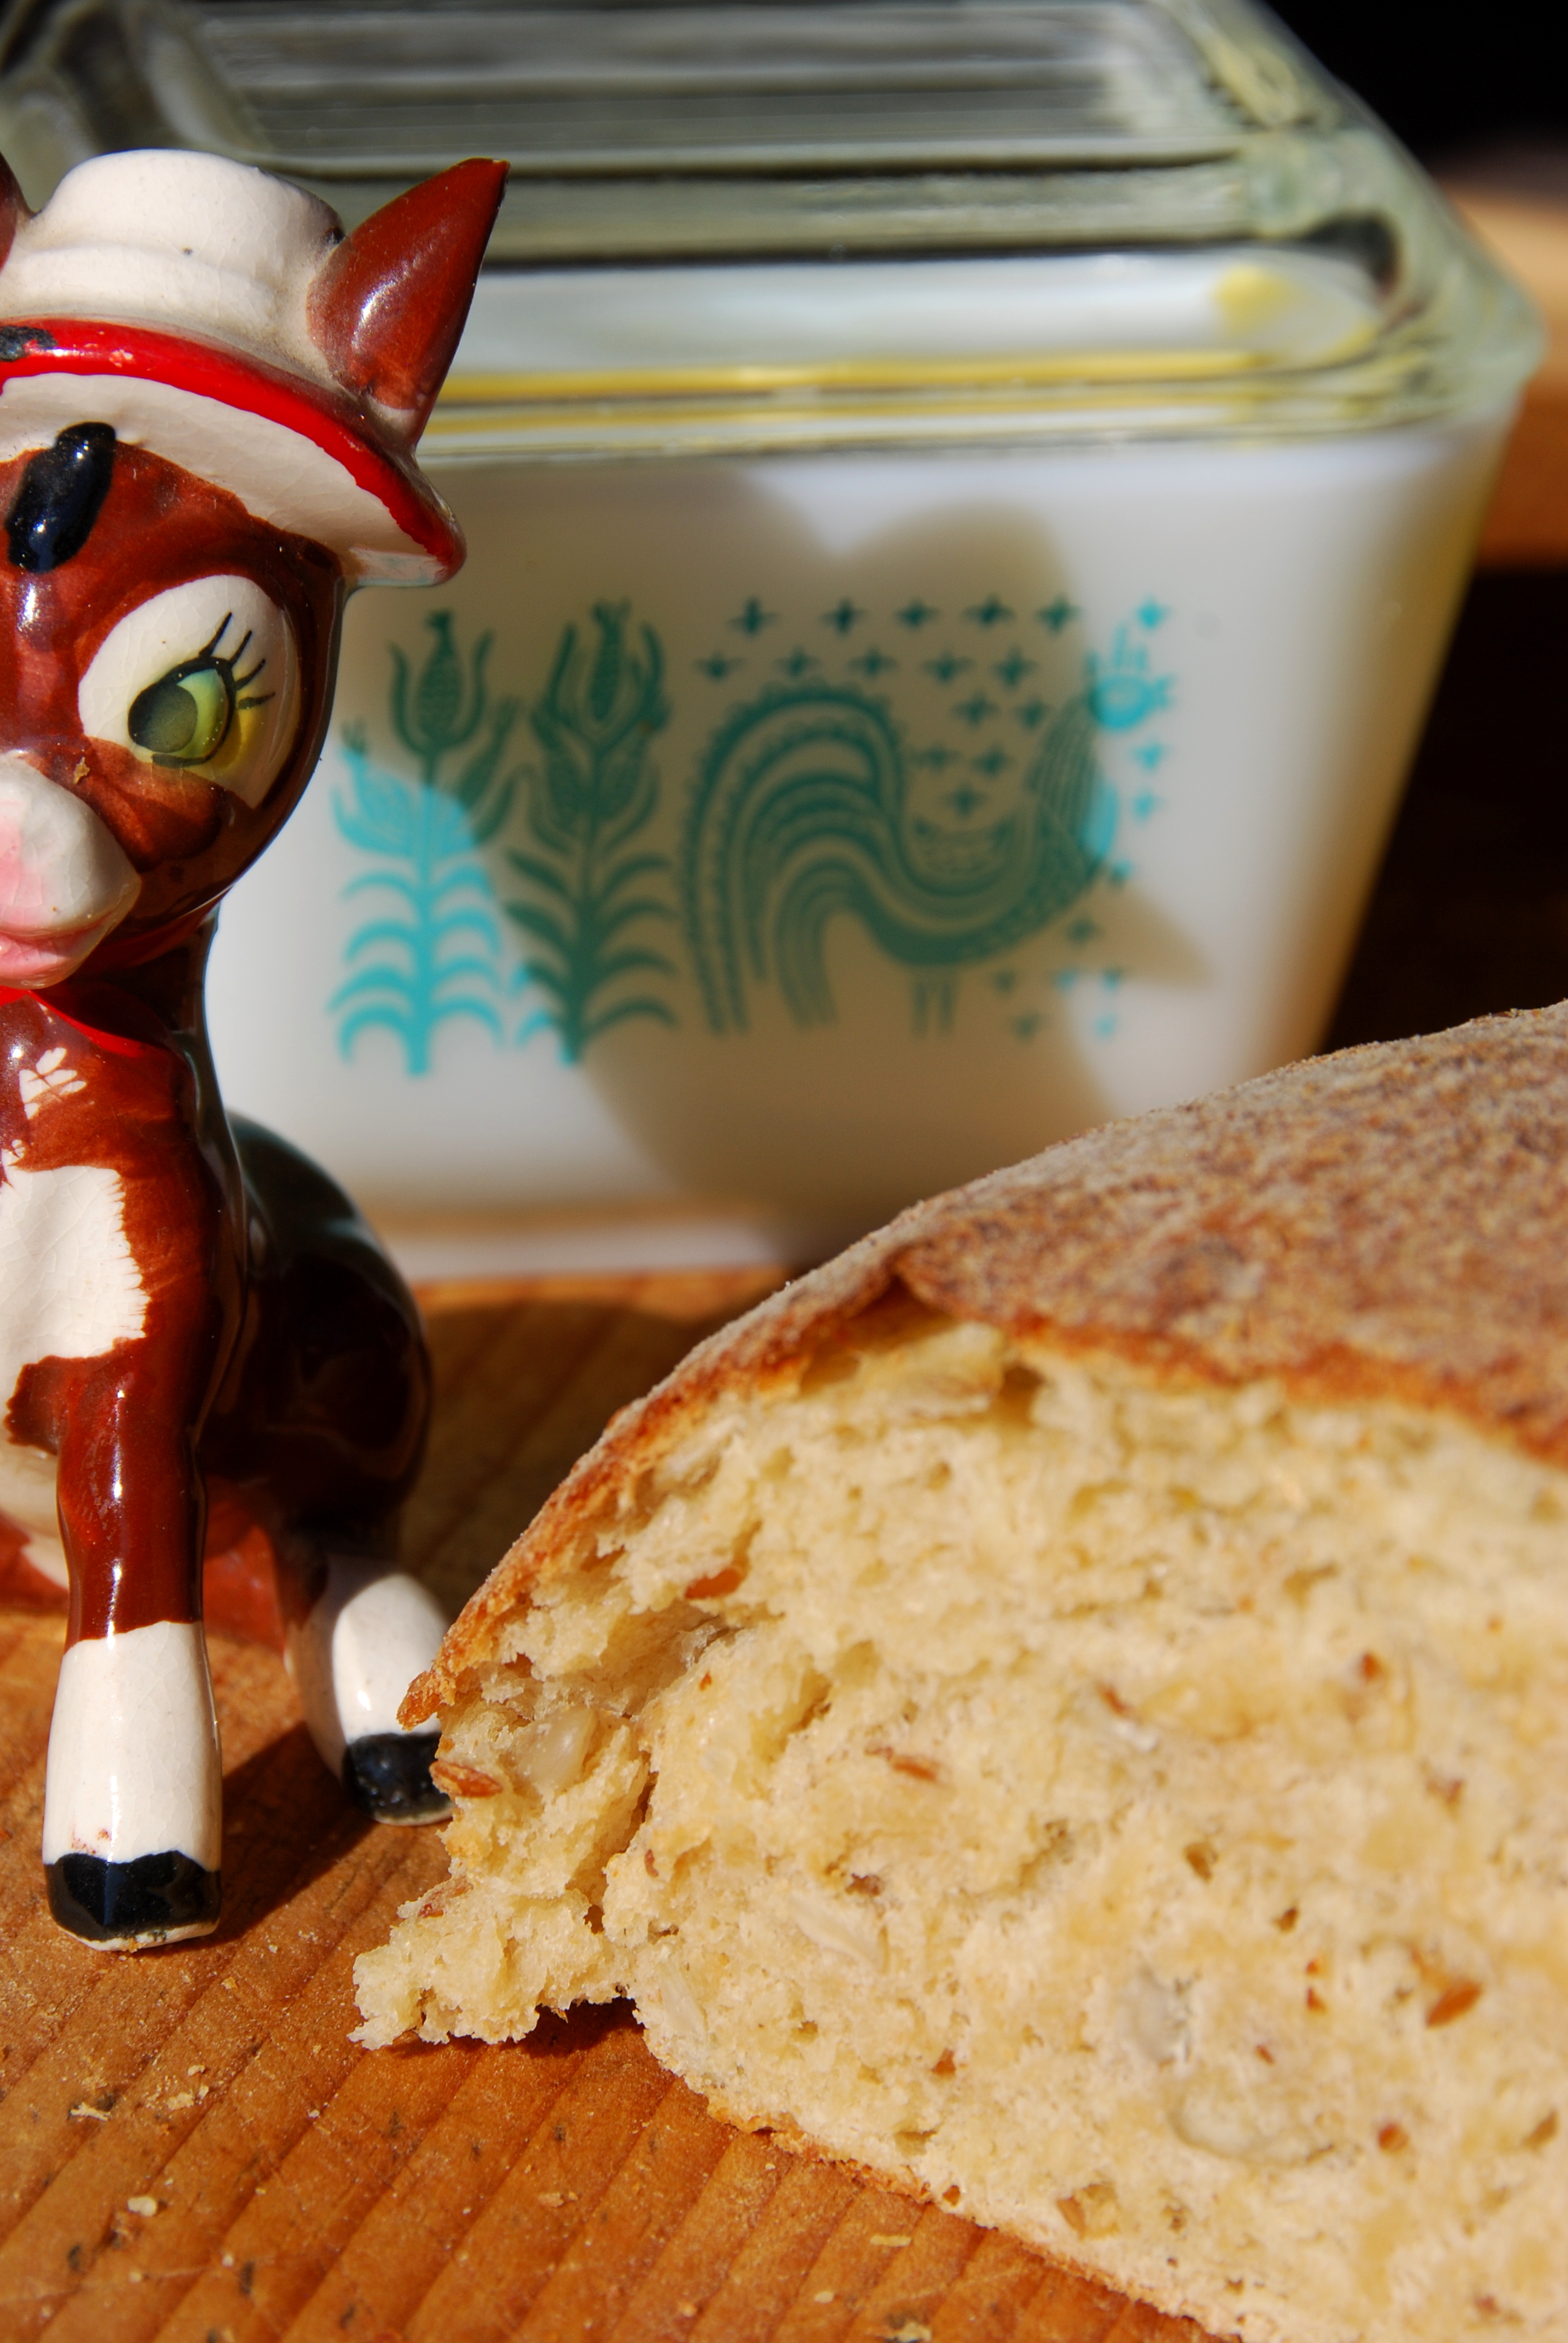
I then put the dried berries in my WonderMill and turned it into a flour. And voila – malt!

It may seem like this is a lot of work. And it is:) But you don’t have to make it very often (it goes a long way) and you don’t have to stare at it for two whole days during the sprouting process:)


3 Responses to Diastatic Malt