
Okay, so we know most cake is not healthy for us. BUT I do allow myself to splurge every now and then. Yesterday was my birthday, so I had a great excuse to make this lovely gem. I don’t feel too bad when I make cake, because at least I know what all the ingredients are, and there are no bizarre chemicals I can’t pronounce. So yes, it’s a treat and it’s got sugar, but hey, it’s not from a box.
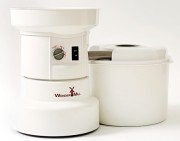
Before I get started on any yummy baked good, I grind some wheat (if I don’t have some left over in the pantry). As it turns out, I was fresh out, so I dumped some hard red white in the grinder.

Start to finish, this process took 2 minutes, and I got about 8 cups of flour out of that (yes please!).

Chocolate Oreo Cake (original recipe adapted from Mommy I’m Hungry)
For cake:
- 2 c. sugar
- 1-3/4 c. all-purpose flour
- 3/4 c. Hershey’s Cocoa
- 1-1/2 tsp baking powder
- 1-1/2 tsp baking soda
- 1 tsp salt
- 2 eggs
- 1 c. milk
- 1/2 c. vegetable oil
- 2 tsp vanilla extract
- 1 c. boiling water
- 10-15 oreos twisted to separate cookies and reveal cream center
- 15 oreos, chopped directly in half through cookie
For icing:
- 1/2 c. (1 stick) butter, melted
- 2/3 c. Hershey’s Cocoa
- 3 c. powdered sugar
- 1/3 c. milk
- 1 tsp vanilla extract
For filling:
- 1/3 c. whipping cream
- 2 tsp powdered sugar
- small dash vanilla extract
- 1/8 c. oreo cookie crumbs, made from reserved oreo sides
Directions:
- Preheat oven to 350 degrees and prepare two 9-inch round baking pans, lining with parchment. -On one layer of cake, place cookie halves that have been separated into the bottom of one pan, cream side up.
- Stir together sugar, flour, cocoa, baking powder, baking soda and salt in large bowl.
- Add eggs, milk, oil and vanilla; beat on medium speed of mixer 2 minutes.
- Stir in boiling water (batter will be thin).
- Pour batter very carefully into prepared pans.
- Bake 30 to 35 minutes or until wooden pick inserted in center comes out clean.
- Cool 10 minutes; remove from pans and place onto wire racks.
- Remove parchment and cool completely.
-Meanwhile, make frosting:
- Stir melted butter into cocoa.
- Alternately add powdered sugar and milk, beating to spreading consistency.
- Add small amount additional milk, if needed. -Stir in vanilla. (About 2 cups frosting.)
-Meanwhile, make filling:
- In the bowl of an electric mixer, whip the cream, sugar and vanilla until stiff.
- Gently fold in the cookie crumbs.
- Scoop the mixture into a piping bag (or gallon sized ziploc bag).
- When cake is completely cooled, make icing dam around the top edge of the layer of cake that has oreos baked into it.
- Fill icing dam with a layer of cream filling.
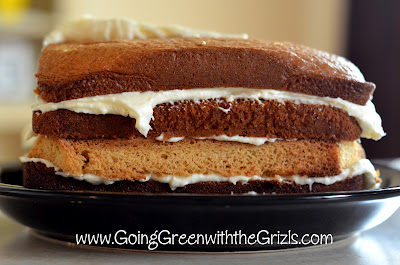
- Place other cake layer on top, and frost with chocolate frosting.
- Place oreo halves around bottom edge and top of cake.
- Serve or store in refrigerator.
It takes a bit longer than cake in a box, but it’s TOTALLY worth it and tastes SOOOO much better.
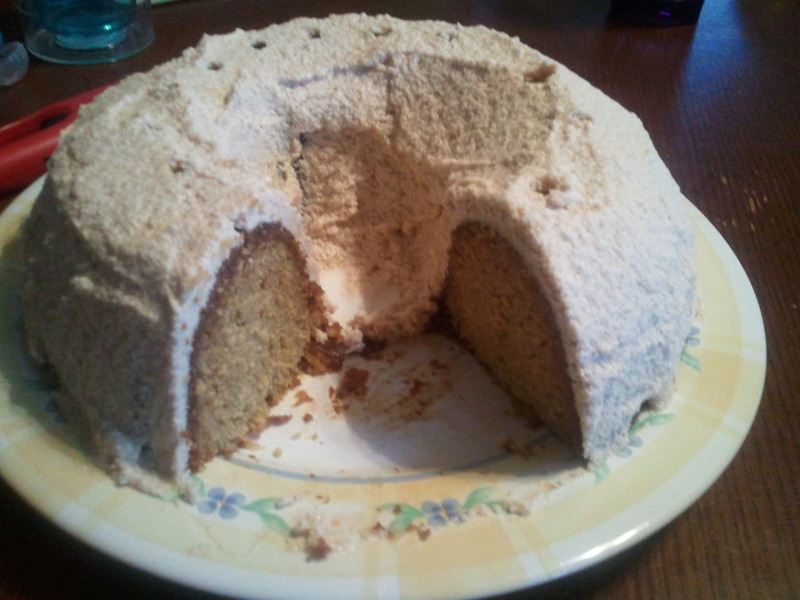
Here’s some pics of last nights festivities (excuse the iphotos!).


No one in their right mind would turn that baby away. Enjoy!